








Introduction:Using an electric grinder to grind coffee beans can significantly improve efficiency, but there are also many important details to pay attention to. This article takes an in-depth look at the correct operation and differences of grinder “cleaning,” explaining why you should start the grinder before adding beans, and how to use a sieve test to detect burr wear and maintain optimal grind quality. Mastering these practical tips ensures that every brew delivers stable and flavorful coffee.
I. What Might You Be Getting Wrong About “Grinder Cleaning”?
Many people think “grinder cleaning” is just a single action, but it can actually be divided into two scenarios, each with its own purpose and method. First, before grinding freshly roasted coffee beans, many baristas will pre-load a small amount of beans. This step is what’s known as a “quick cleaning.”(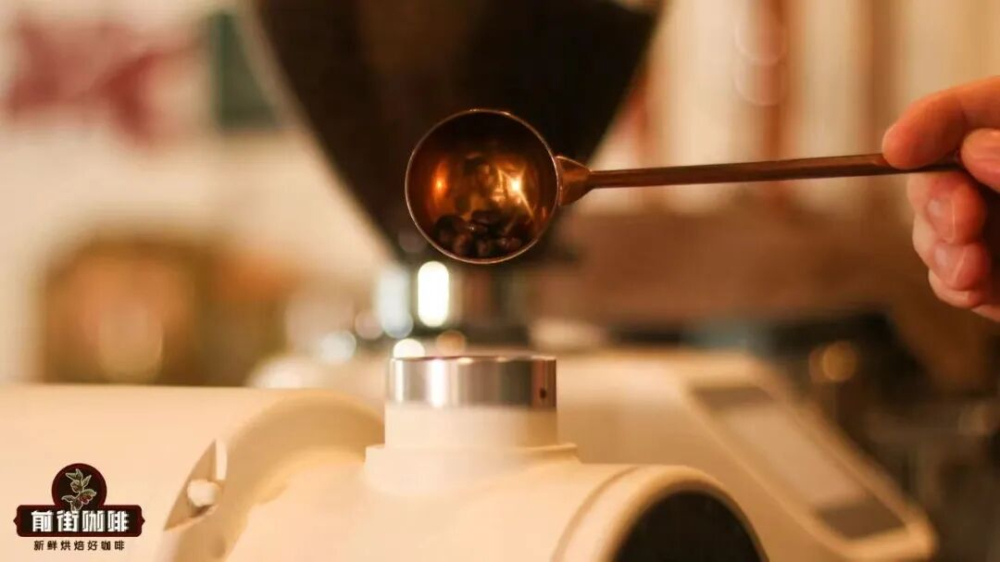 ). This is not for testing grind size, but rather to clear old coffee grounds, oils, and other unwanted residues from the burrs through pre-grinding.
These residues come from previously ground dark roast beans, which typically release more oils and aromas. If not cleaned properly, newly ground beans can easily be contaminated, affecting the purity of the flavor. It is generally recommended to use1–2 grams, or about 3–4 coffee beansfor this step—too little is ineffective, too much is wasteful. If you frequently work with dark roasts, you’ll need to perform this action more often.
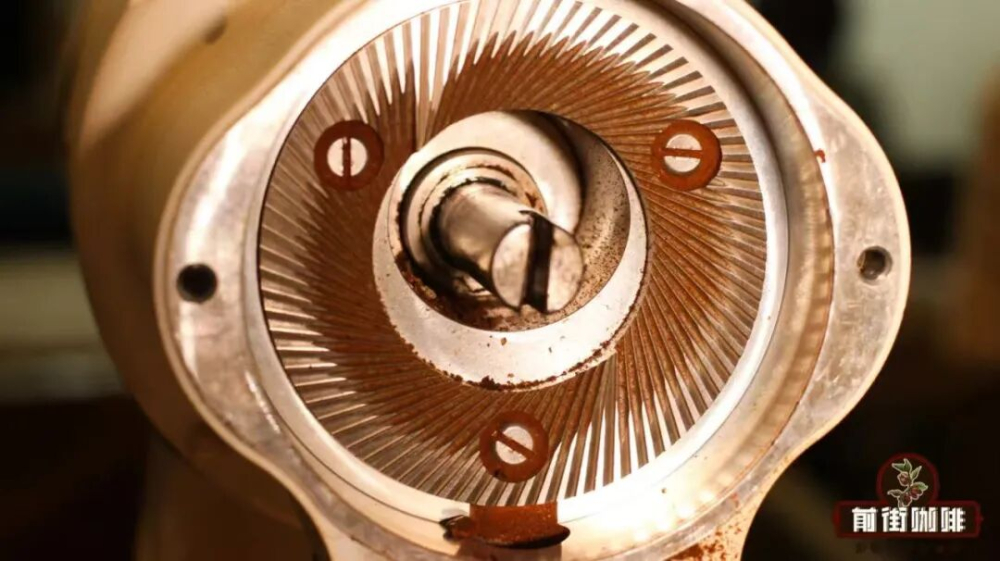
Another type of “grinder cleaning” is a deep cleanse of the grinder, especially when you notice your coffee extraction becoming increasingly dull or developing noticeable off-flavors. This may be due to excessive buildup of residual oils and fine particles on the burrs. In such cases, a full disassembly and cleaning should be performed according to the manufacturer’s instructions(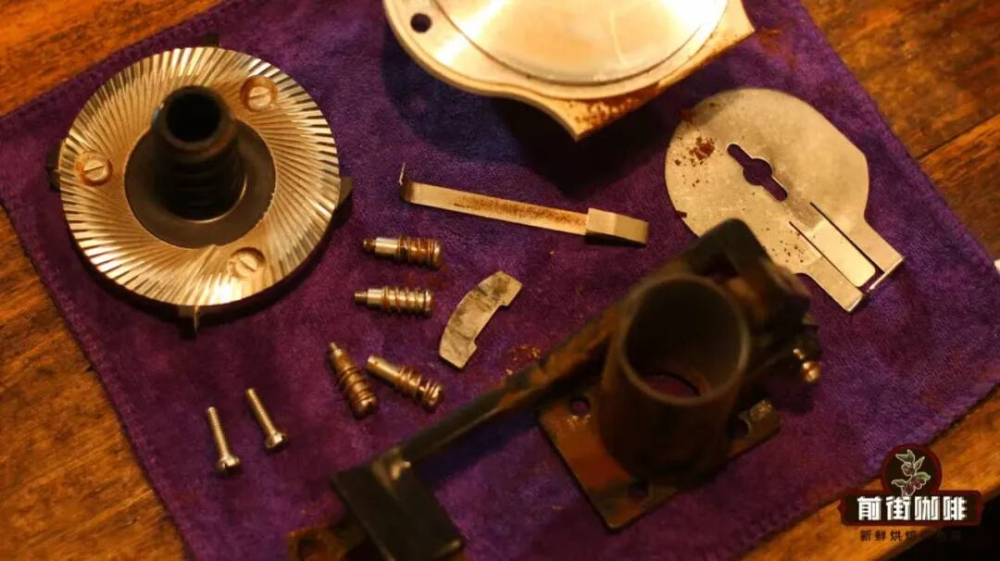 )to restore the burrs to their original performance.
II. Turn On the Grinder First, Then Add Beans – Protecting the Burrs and Improving Stability
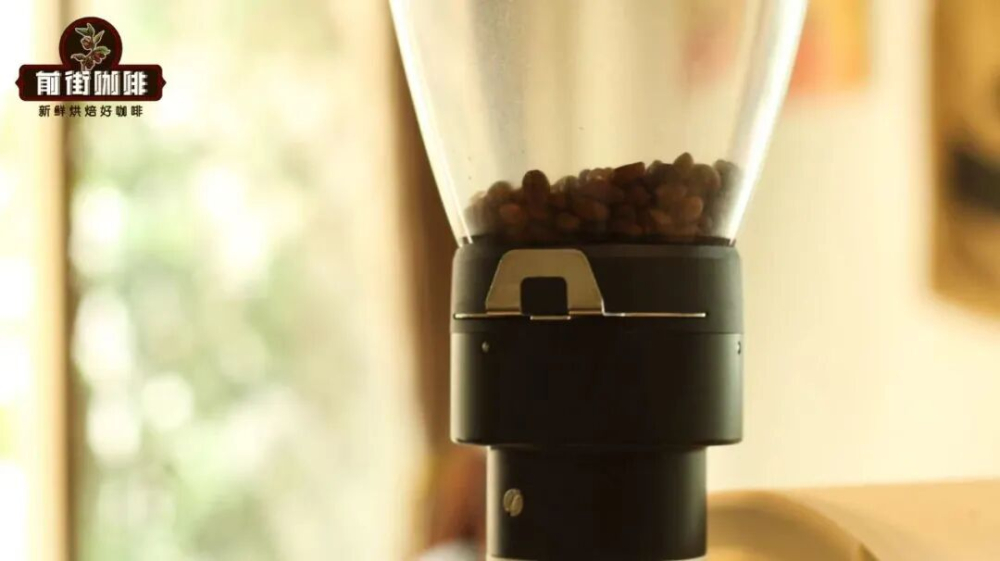
When operating an electric grinder, never rush to pour coffee beans into the machine. The correct procedure is to “start the grinder first, wait for the burrs to reach a stable speed, then add the beans”(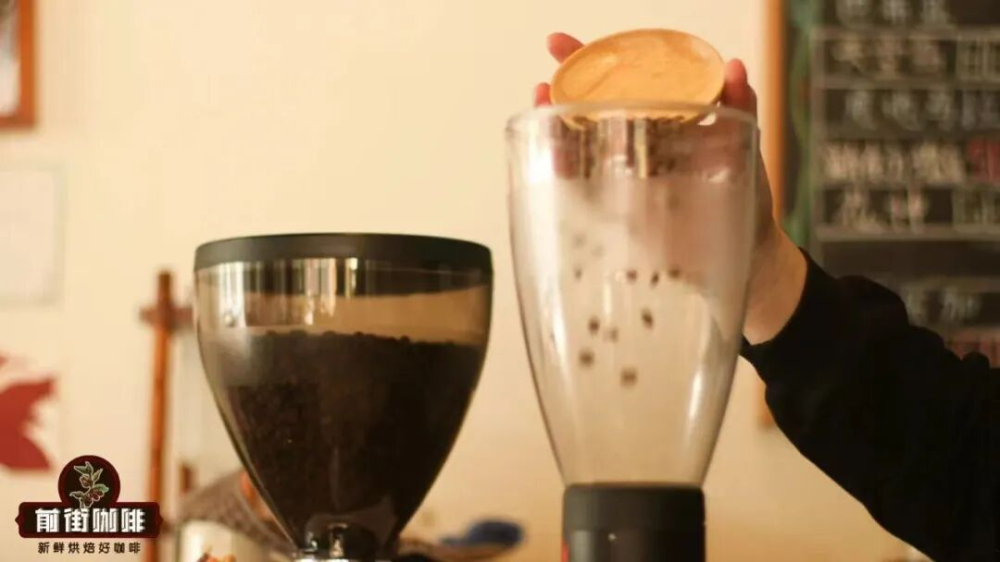 ). Doing so has two benefits: first, it prevents the burrs from experiencing additional resistance during startup, which can lead to increased wear or even motor overload; second, it maintains a consistent grinding speed, ensuring each bean is evenly stressed and resulting in more uniform particle size.
Especially for small home-use models, adding beans before the burrs reach working speed can not only cause jamming but also damage internal components due to sudden excessive resistance. Therefore, developing the habit of “starting the machine before adding beans” can effectively extend the grinder’s lifespan and lead to more stable extractions.
III. Regularly Check Grind Size to Avoid Under-Extraction Due to Burr Wear
Over time, the burrs of a grinder will inevitably wear down, which can result in coarser coffee grounds even when set to the same grind setting(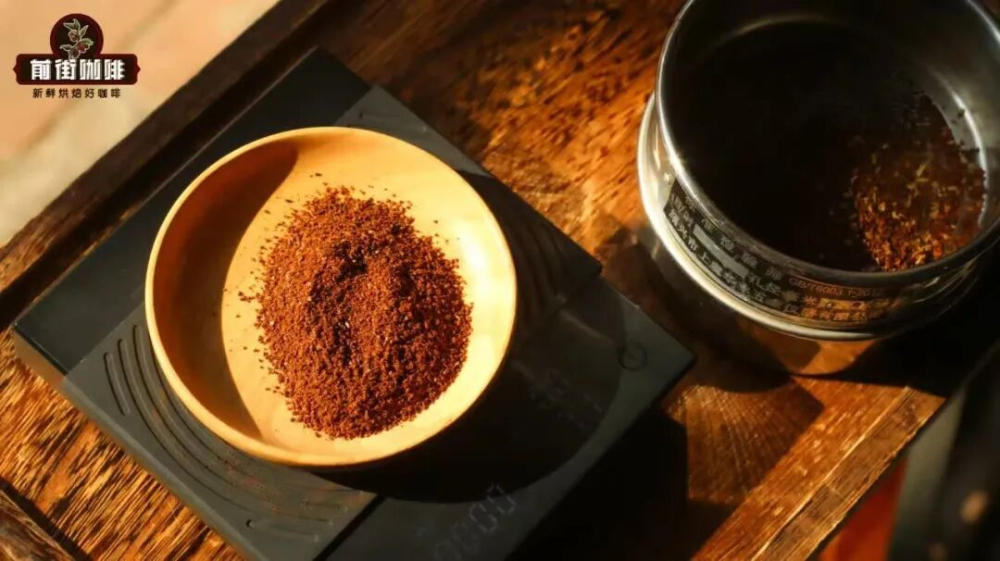 ). When coffee particles are coarser, water flows through faster, leading to reduced extraction of flavor compounds. The coffee may taste weak and flat, or show obvious signs of under-extraction.
To monitor this change, it’s advisable to have aNo. 20 sieveon hand to measure the coffee’s sieve retention rate, helping assess the degree of burr wear. If you notice a decline in extraction quality, try slightly adjusting the grind setting to a finer level until the familiar flavor profile returns. This adjustment is particularly important for users of espresso grinders, as the changes in settings can be more pronounced(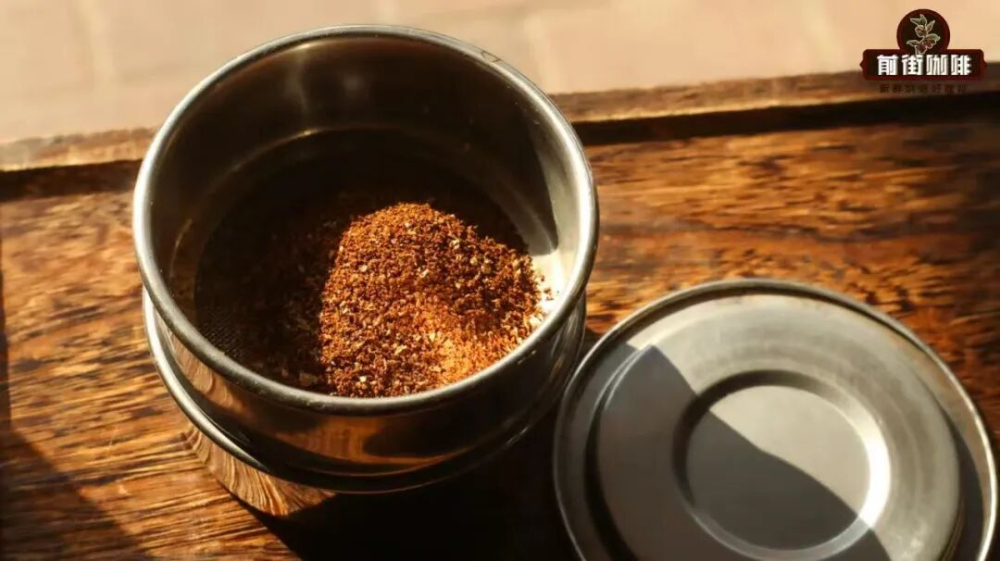 ).
IV. Don’t Overlook Fine Particle Clogging – A Common Operational Issue
When using an espresso grinder, you might sometimes find that although the burrs are spinning after startup, no coffee grounds are coming out. This issue is often caused by “fine particle clogging”(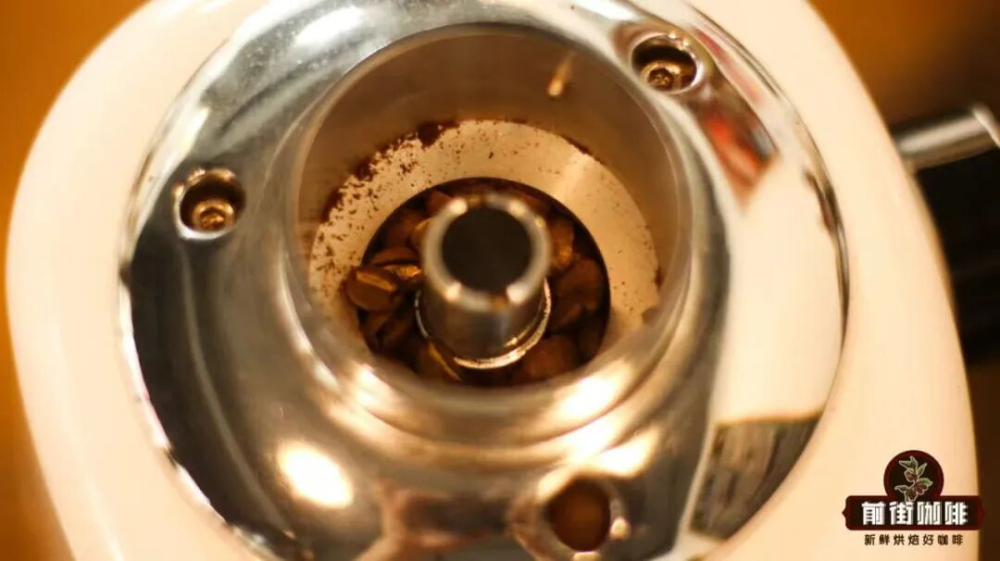 ). When the grind is set too fine, coffee particles can accumulate between the burrs and the chute, obstructing the normal flow of grounds.
In such cases, first check if the issue is fine particle blockage. If confirmed, there are two solutions: adjust the grind to a coarser setting to reduce fine particle production and restore smooth powder flow; or thoroughly clean the grinder, especially the area around the burrs where fine particles accumulate(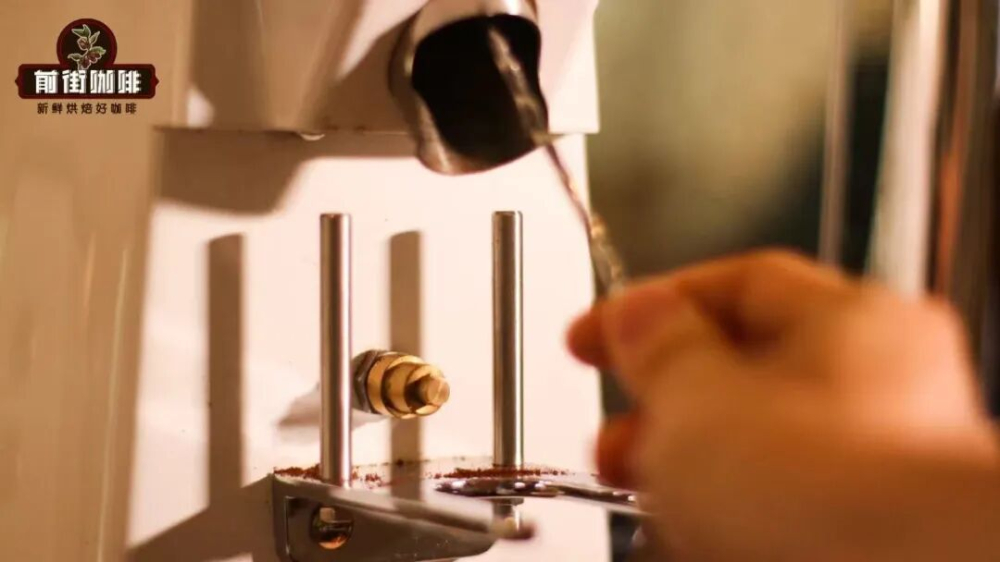 ), ensuring the exit path is completely clear. Regular inspection and prompt troubleshooting can help avoid disruptions to your daily brewing process and preserve coffee quality.
By mastering these operational and maintenance tips for electric grinders, you can not only extend the life of your equipment but also ensure that every batch of ground coffee is in its best condition—laying a solid foundation for your pour over or espresso brewing.
Image Captions:This article retains 11 image placeholders, corresponding to the scenarios in each section, including pre-grinding actions, burr illustrations, deep cleaning suggestions, sieve testing, and blockage removal, helping readers better visualize the operational details(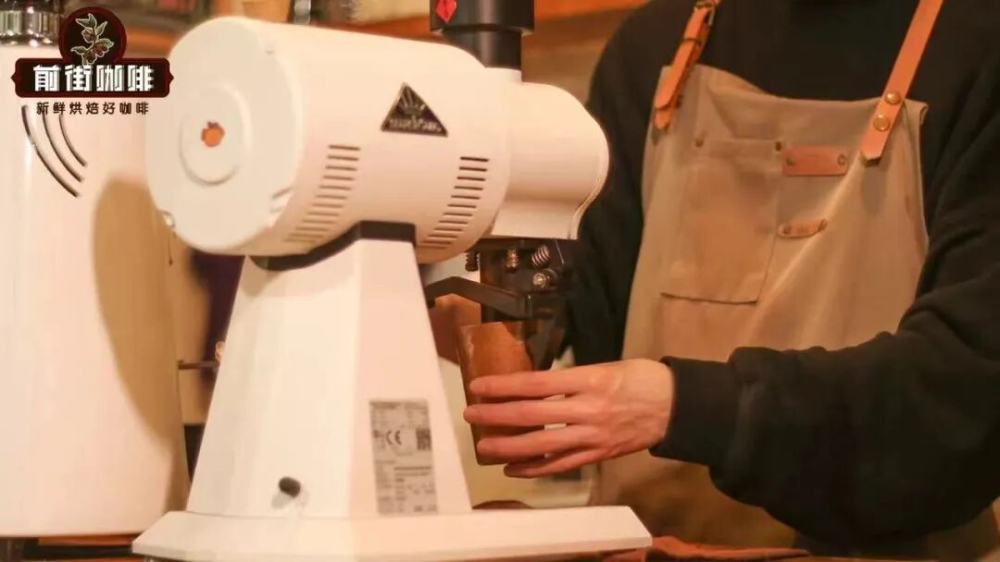 ~).

The above content is compiled by CoffeeHunters, a coffee news website.


