








Introduction:Struggling to pour beautiful latte art despite your best efforts? This article delves into the science behind latte art, from the interaction between espresso crema and milk foam to the key steps of pouring and pattern formation. Master the core techniques for consistently creating stunning designs. Whether you're a beginner or an experienced coffee enthusiast hitting a plateau, you'll find practical tips to improve your latte art skills.
Many coffee beginners often face this dilemma: why can others effortlessly pour hearts, leaves, and other intricate patterns with their milk pitchers, while you can only manage a messy lump of white? The answer may not lie in your hands, but in the details of your pitcher grip and technique.
The principle of latte art actually stems from the interplay between the crema (the espresso's oily layer) on the surface of the shot and the fine milk foam produced by steaming. Since milk foam is less dense, it floats atop the coffee. When the two blend, the dark coffee contrasts vividly with the lighter foam. By controlling the flow and pouring position of the milk foam, you can create a variety of beautiful latte art patterns.
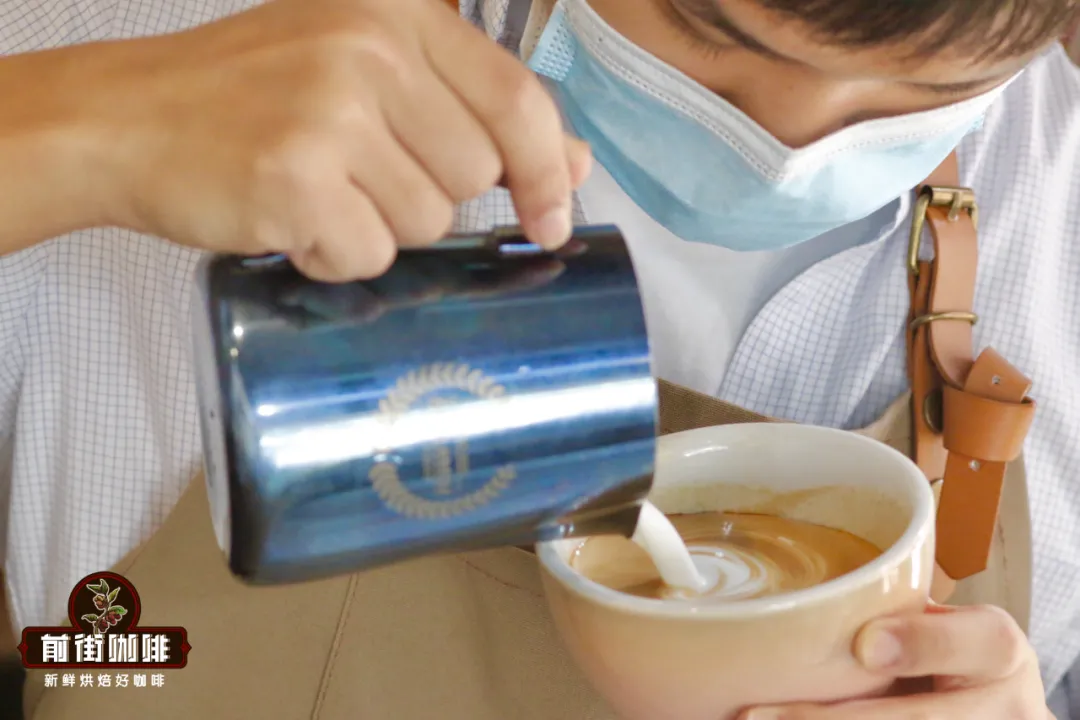
The complete latte art process can be divided into two main stages: first is the blending stage, where the pitcher is held slightly higher, allowing the milk to flow into the coffee at an appropriate speed to ensure the foam and coffee mix thoroughly, without leaving obvious white patches on the surface.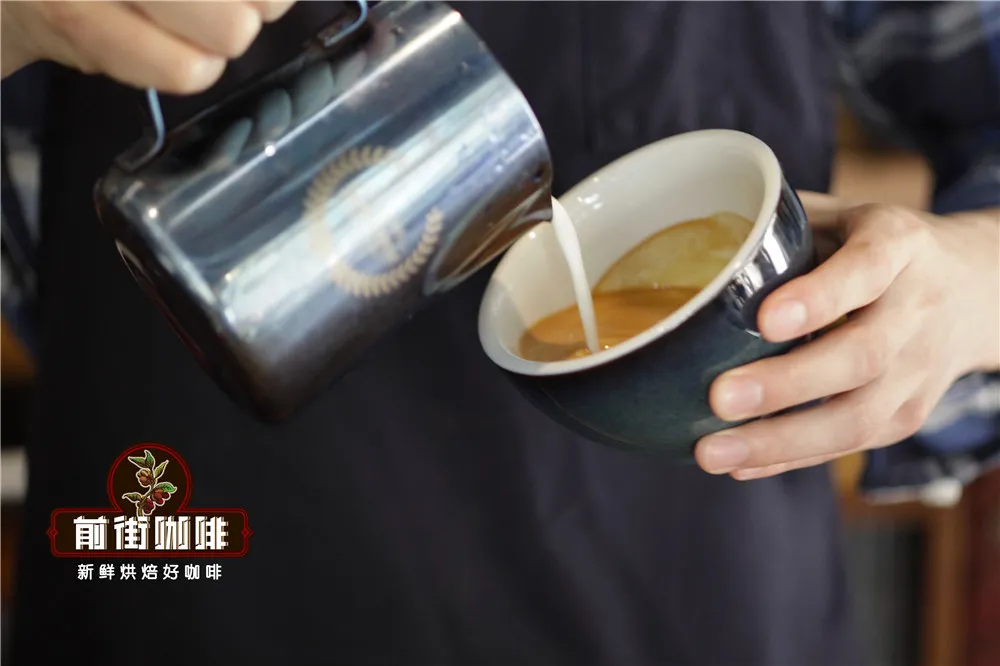 . Then comes the pattern shaping stage, where the pitcher is lowered, letting the foam gently settle on the coffee’s surface. By varying your pouring technique, you can form diverse white designs.
For beginners, establishing a consistent pitcher grip is crucial, as it helps build muscle memory and improves pouring stability. Many learners watch different tutorial videos and end up constantly switching their grip, leading to poor practice results, wrist strain, and unstable patterns. .
No matter which grip you choose, the core principle remains the same: keep the pitcher stable while maintaining flexible wrist movement. A special reminder—don’t grip the pitcher too tightly, as this restricts your wrist’s natural motion. A standard latte pitcher weighs about 180–280 grams, and with milk added, the total can exceed 500 grams. Practicing with improper posture over long periods not only affects pattern quality but can also cause muscle fatigue.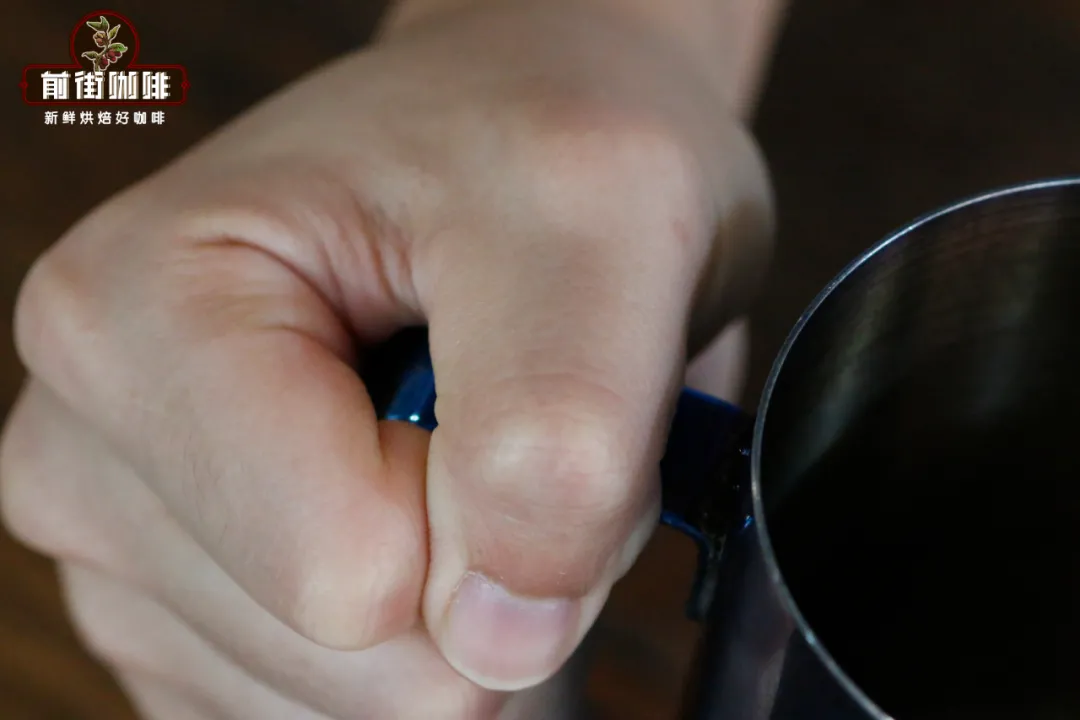 .
Practice has proven that if you stick with a comfortable and consistent pitcher grip for over 20 days, your wrist will naturally memorize the motion, allowing smooth control over milk flow and pitcher movement. This greatly reduces hand shaking and improves pattern stability. Below, we introduce two common and practical pitcher grips—you can choose the one that suits your wrist strength.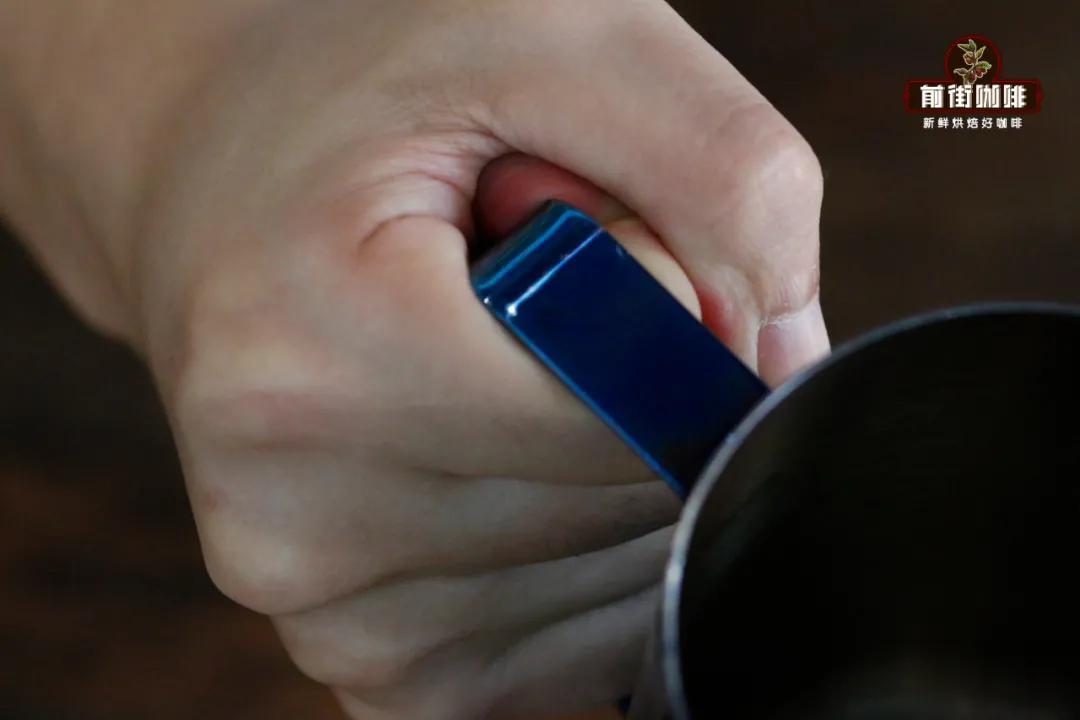 .
The first is the fist grip, ideal for those with less wrist strength or beginners, especially when practicing basic patterns like hearts, tulips, and leaves. The method involves wrapping all your fingers naturally around the pitcher handle. Be mindful to apply moderate pressure—neither too tight (which limits wrist flexibility) nor too loose (which makes the pitcher hard to control). Gripping too hard restricts your wrist’s range of motion, while gripping too loosely leads to unstable milk flow, often resulting in clumpy, poorly defined patterns. .
The second is the thumb-and-index-finger pinch grip, suitable for those with greater wrist strength who want to tackle complex designs or layered patterns. This grip involves pinching the top sides of the handle between your thumb and index finger, concentrating the main force on these two fingers while using the other three for stability. This method allows for more precise control over milk flow, making it especially effective for etched designs or layered patterns. Many professional baristas use this grip when training for advanced techniques.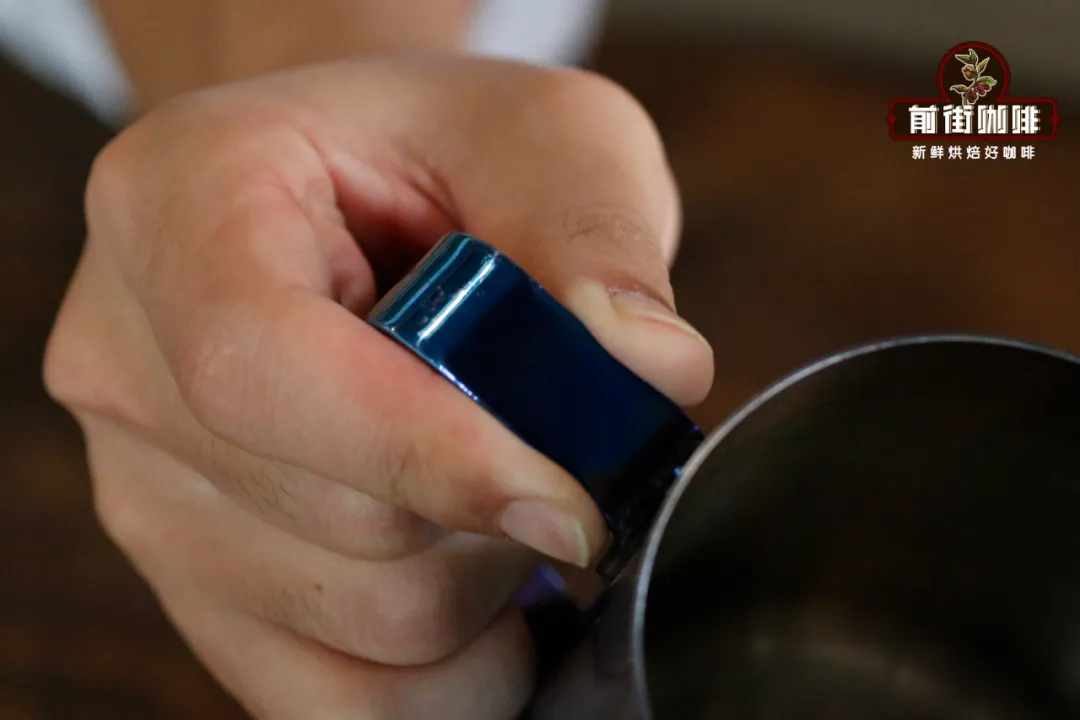 .
Even with well-steamed milk and a proper pitcher grip, improper blending can still prevent you from achieving clear, defined patterns. In fact, the quality of blending greatly impacts both the overall latte art presentation and the flavor of the coffee. It’s recommended to hold the pitcher about 5–8 centimeters above the coffee surface, tilt the cup, and start blending with a slow flow rate. Note that during blending, only the pitcher or the cup should be rotated—not both—to avoid excessive mixing that creates large bubbles. .
When the cup is about seven-eighths full, pause for no more than 3 seconds to let the flow stabilize. This helps maintain milk foam fluidity and prevents pattern displacement later on. Finally, before starting the actual pattern creation, make sure to re-center the cup. Adjusting the angle guides the milk foam flow, which is the final key step to crafting clear, symmetrical latte art.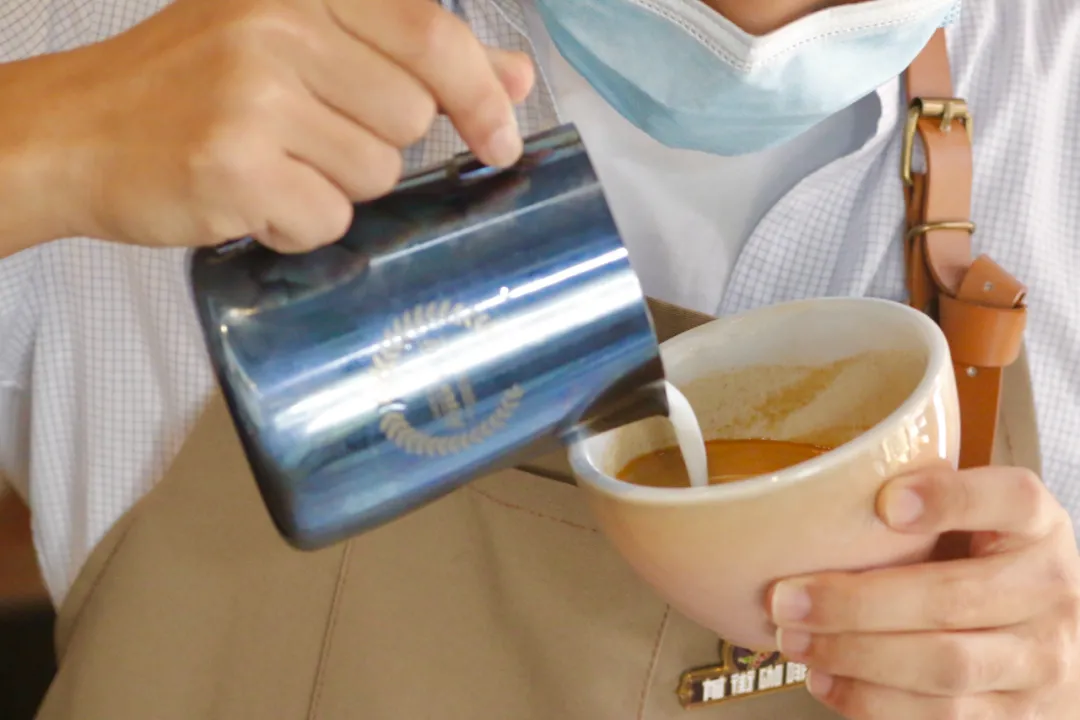 .
The above content is compiled by CoffeeHunters, a coffee news website.


