








Introduction:To create beautiful and smooth latte art, in addition to technique, selecting the right coffee beans and frothing the milk properly are key factors as well. This article will provide a detailed explanation of the characteristics of coffee beans suitable for latte art, espresso extraction parameters, and the complete process from frothing milk to drawing basic patterns such as hearts, leaves, and tulips. Whether you’re a beginner or just getting started with coffee art, you’ll be able to grasp practical skills here and improve your success rate with latte art.
Latte Artis not only a visual treat but also a comprehensive showcase of a barista’s skill and the texture of the milk. Successful latte art relies on three main elements: suitable coffee beans, precise espresso extraction, and delicate milk foam. This article will guide you from the basics, helping you understand how to choose the right coffee beans for latte art, control extraction parameters, and gradually learn how to froth milk and draw simple yet beautiful latte art patterns such as hearts, leaves, and tulips.
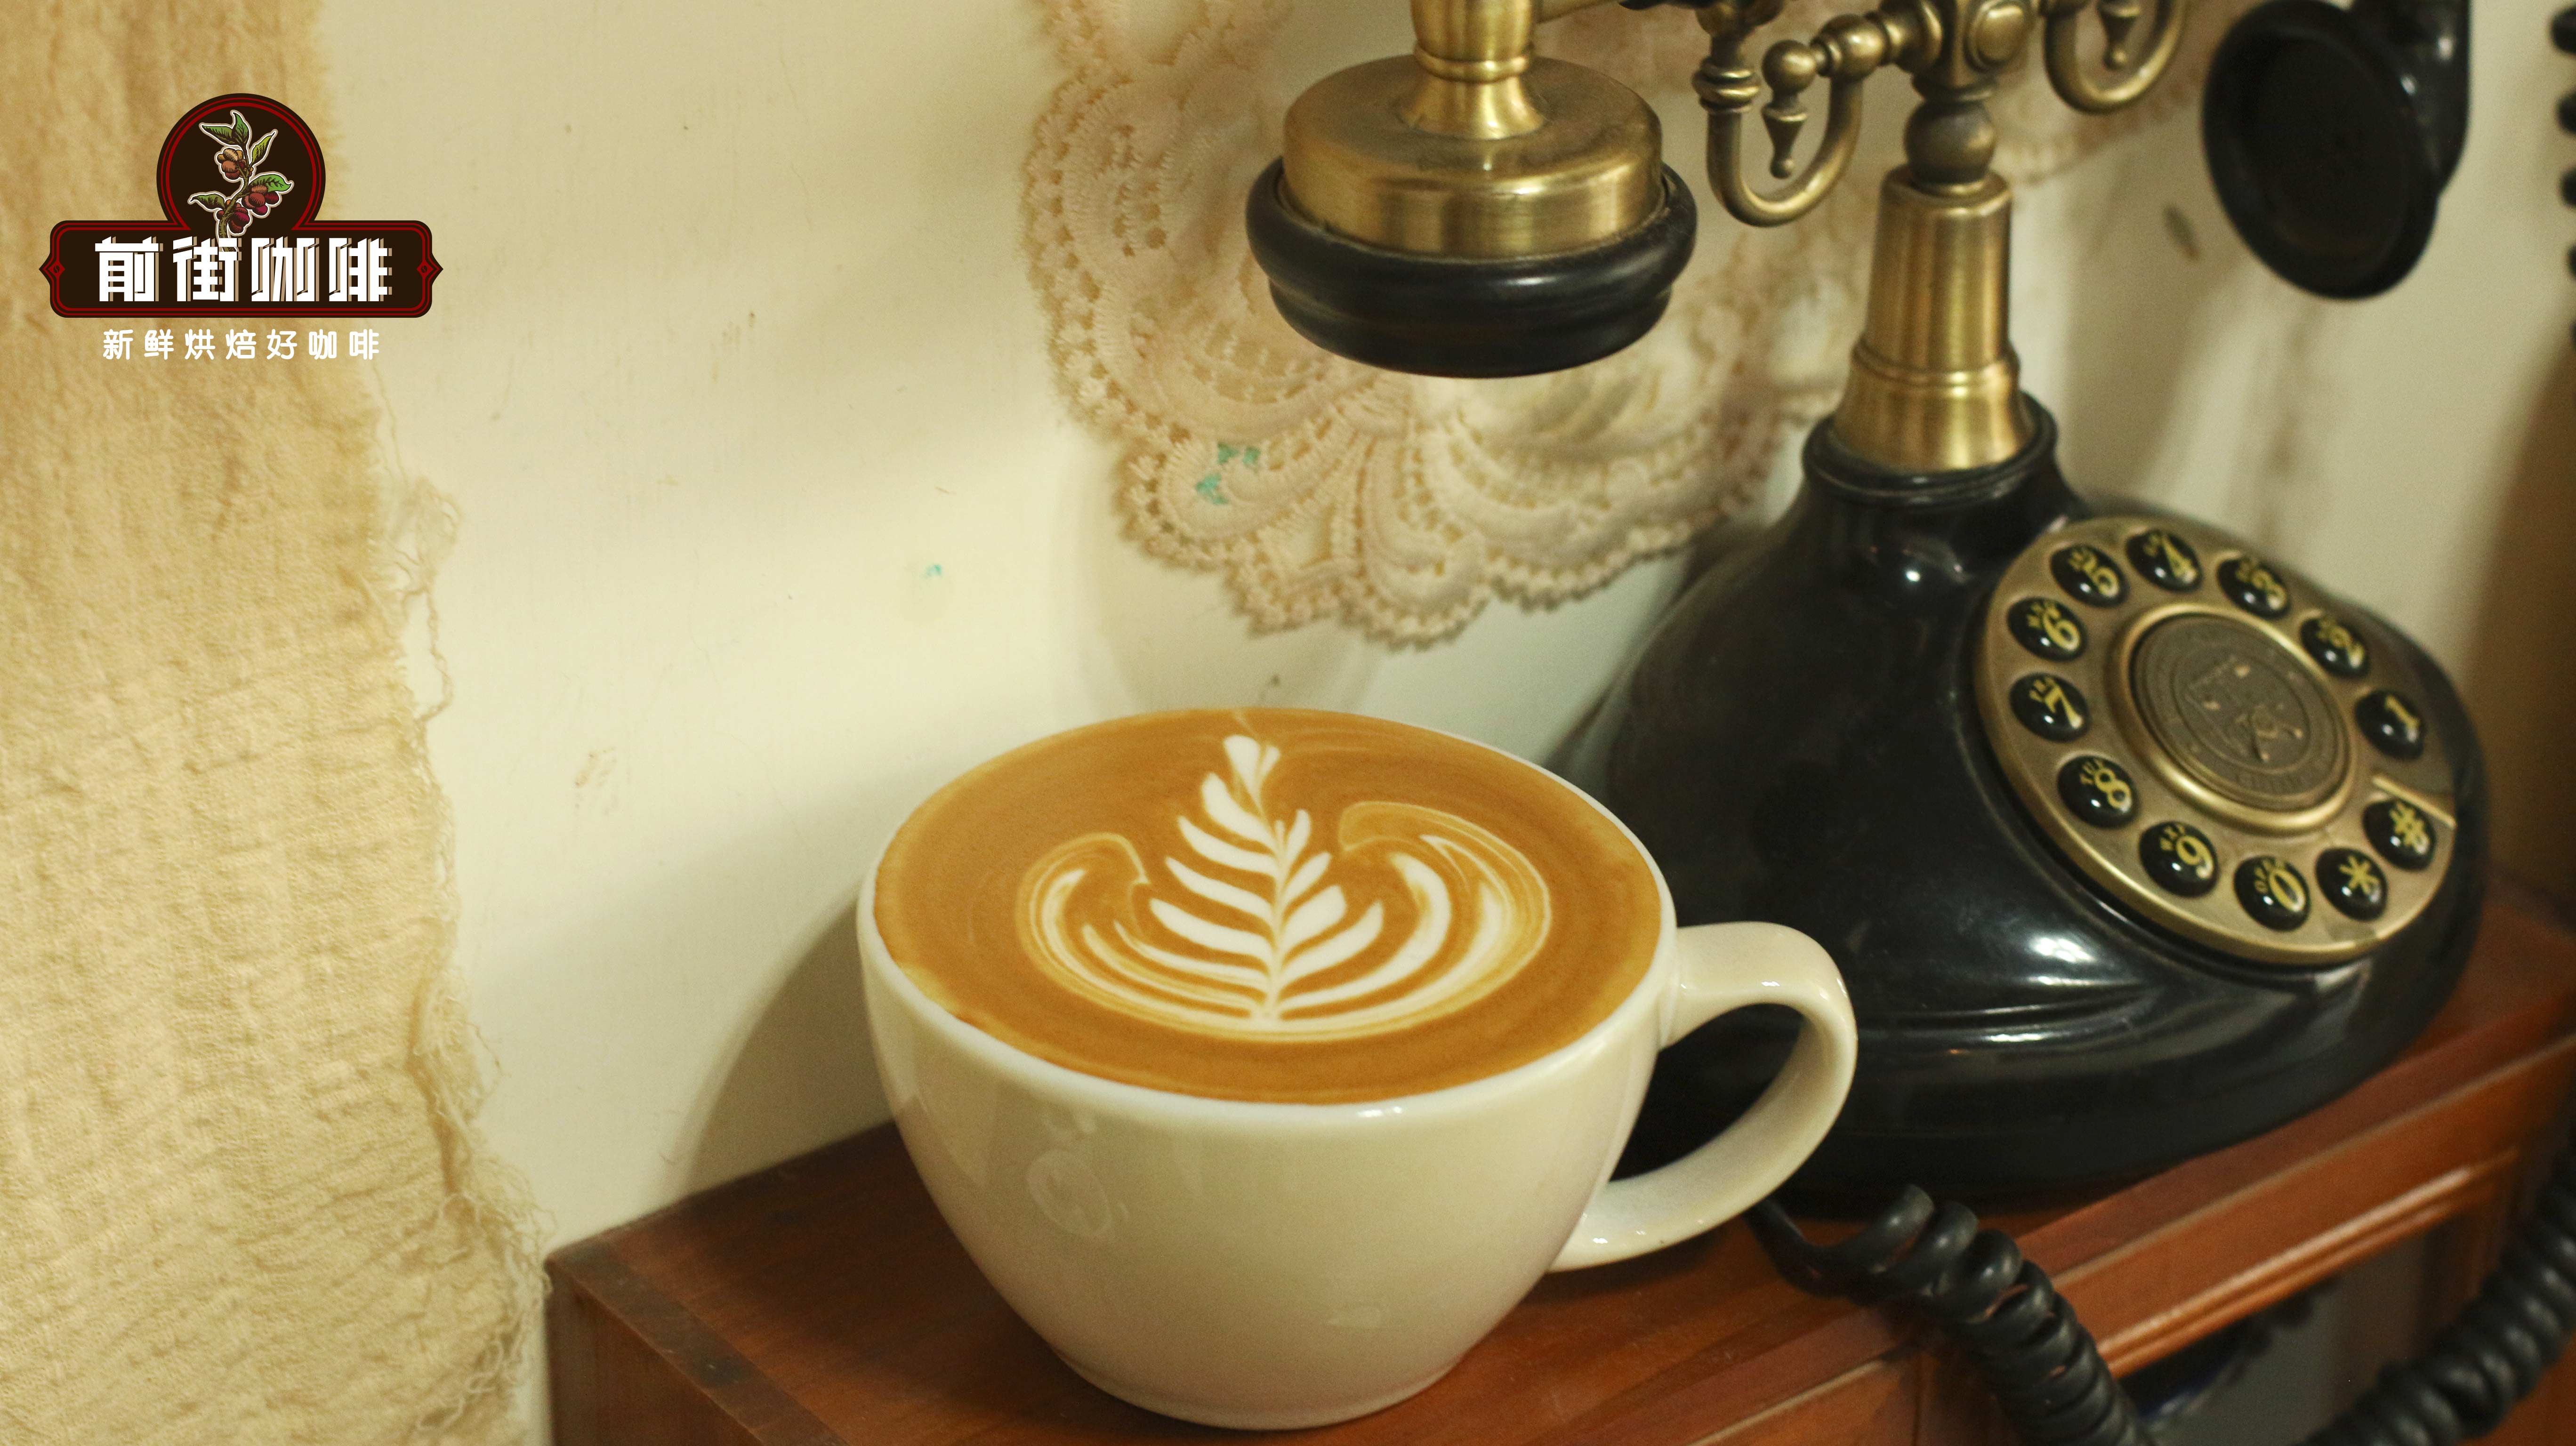
First, when it comes to choosing coffee beans, it is recommended to useblended beans, as blends can balance acidity, sweetness, bitterness, and saltiness, delivering a richer and more layered flavor profile, which is especially important for milk-based coffee art. Common blend combinations may include beans processed using special methods, such as wine barrel fermentation or natural sun-dried processing, which can bring out complex flavors like cream, vanilla, fruit, and even wine-like notes.
Taking a common blend as an example, its recipe might include wine barrel-fermented beans from Honduras, as well as sun-dried Red Cherry Project beans from the Yirgacheffe region. Such blends typically exhibit flavor characteristics of vanilla, cream, fermented wine, citrus, and chocolate. They perform excellently in cupping sessions and are suitable for making milk-based coffees like lattes, also aiding in both flavor expression and visual appeal during latte art.

When extracting espresso, it is recommended to use about14.5 grams of coffee groundsto extract20 grams of espresso, with an extraction time controlled at around28 seconds. This extraction ratio and time frame yield a rich and balanced coffee crema, providing an ideal base for subsequent latte art. The texture and thickness of the crema directly affect the visual outcome and fluidity of the milk integration, making this step particularly crucial.


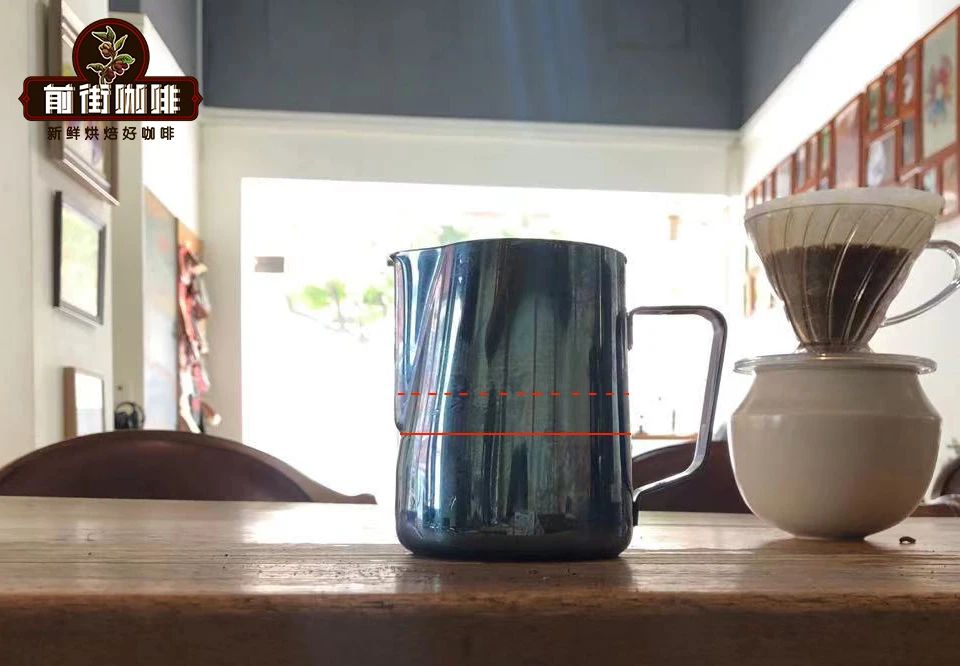
Next is the milk frothing stage, which is one of the key steps determining the success of your latte art. First, choose a suitable pitcher size — if using a 450ml pitcher, it’s recommended to fill it with about 200-250ml of milk; if the pitcher capacity is 500-650ml, then 300-350ml of milk can be used. The amount of milk not only affects handling stability but also relates to the fineness and fluidity of the milk foam.
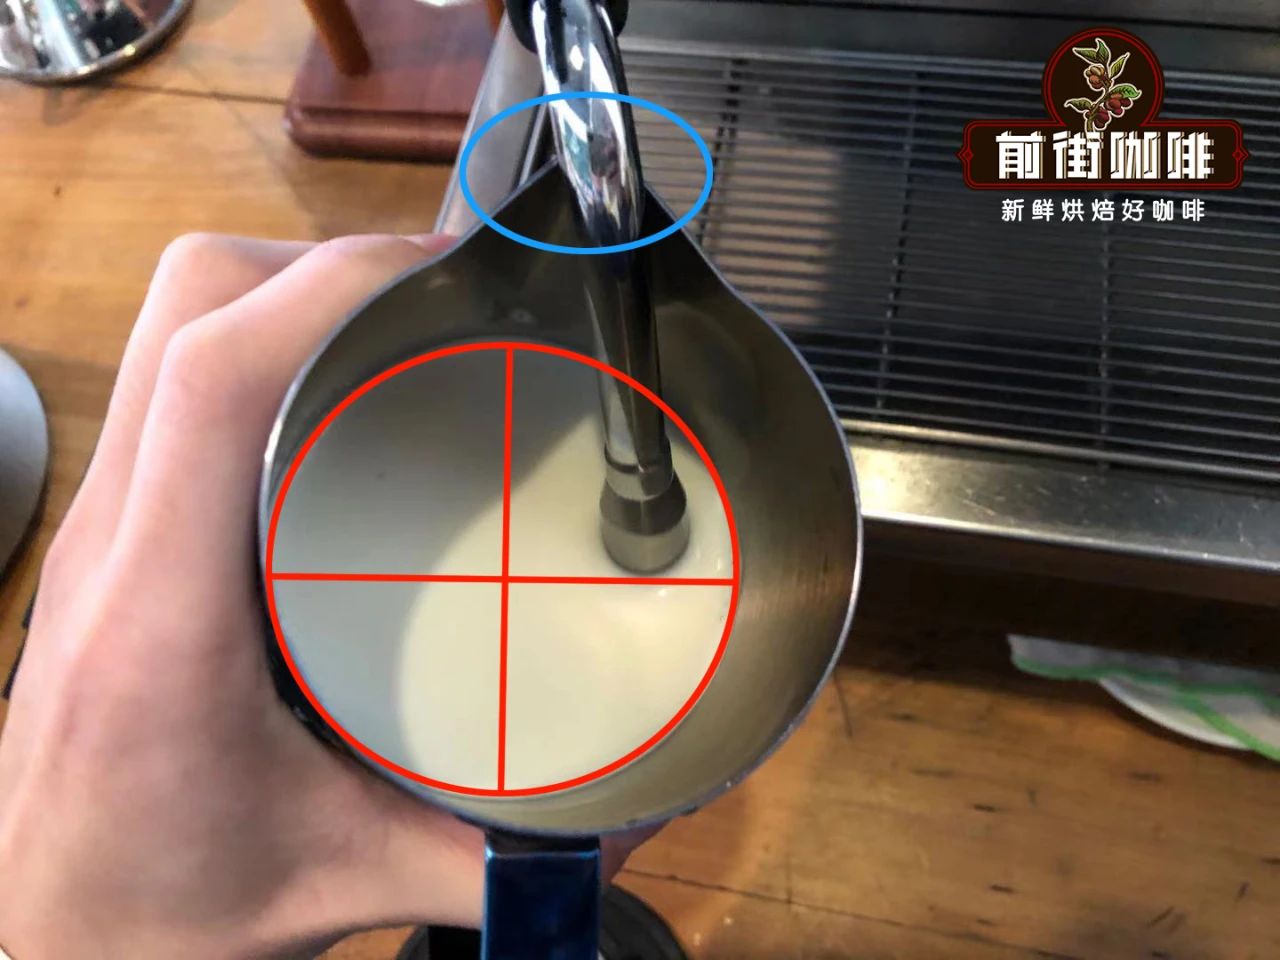
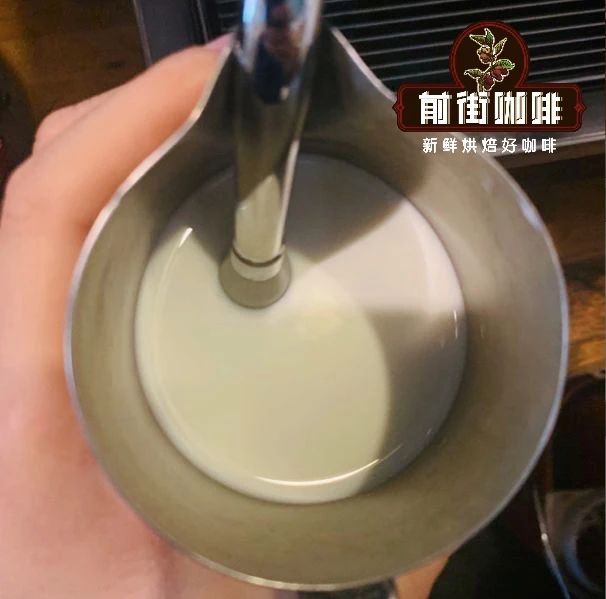
Before starting to froth the milk, be sure to purge the steam wand to remove any condensation, so as not to affect the quality of the foam. When inserting the steam wand into the milk, it is advised to position the steam tip at the 2-3 o’clock or 9-10 o’clock direction on a clock face, and submerge it abouttwo-thirds deepinto the milk — not too deep to prevent foam formation, and not too shallow to avoid large bubbles. During frothing, allow air to enter the milk initially to create fine bubbles, at which point you’ll hear a “hissing” sound. If the sound is too loud or too soft, it may indicate that the angle or depth needs adjustment.
Once preliminary foam forms, adjust the angle of the pitcher and its movement trajectory to create a whirlpool, breaking up large bubbles and mixing the layers to make the milk foam fine and uniform. When the milk temperature reaches55~65℃, turn off the steam, and gently tap the bottom of the pitcher to break up any possible large bubbles on the surface, ensuring the foam is smooth and silky, ready for the next step of latte art.


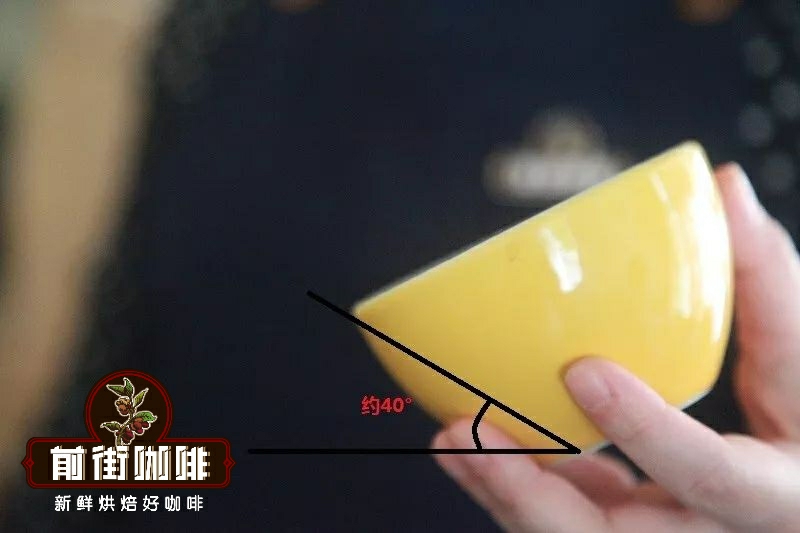
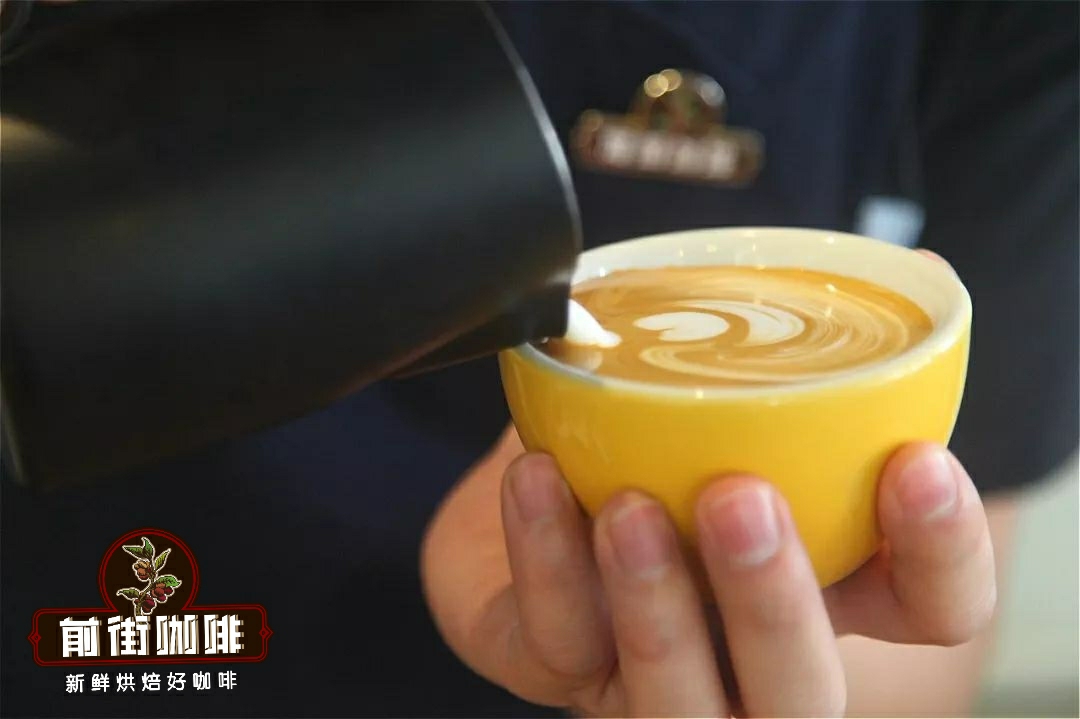
Moving on to the latte art phase, start with the most basic “heart” pattern. First, bring the pitcher close to the rim of the cup and begin pouring milk from the center of the liquid surface, maintaining a steady flow rate. As the cup gradually tilts, increase the milk flow and slowly return the pitcher to an upright position, allowing the foam to form a circle on the surface. When the cup is nearly 180 degrees tilted, slightly lift the pitcher and constrict the flow to let the liquid sink and form a heart-shaped indentation, then push forward to form the tip — completing a simple yet elegant solid heart-shaped latte art.


Another common beginner-friendly pattern is the “leaf.” The technique lies in using multiple pours and movements to form a smooth leaf vein. Start by fully integrating the milk and coffee, pouring from the back center of the cup, shaking to form the base pattern, then rotating the cup and changing the pour point. Use varying flow speeds and pulling motions to create continuous leaf patterns, and at the end, raise the angle and reduce the flow to neatly taper the lines.
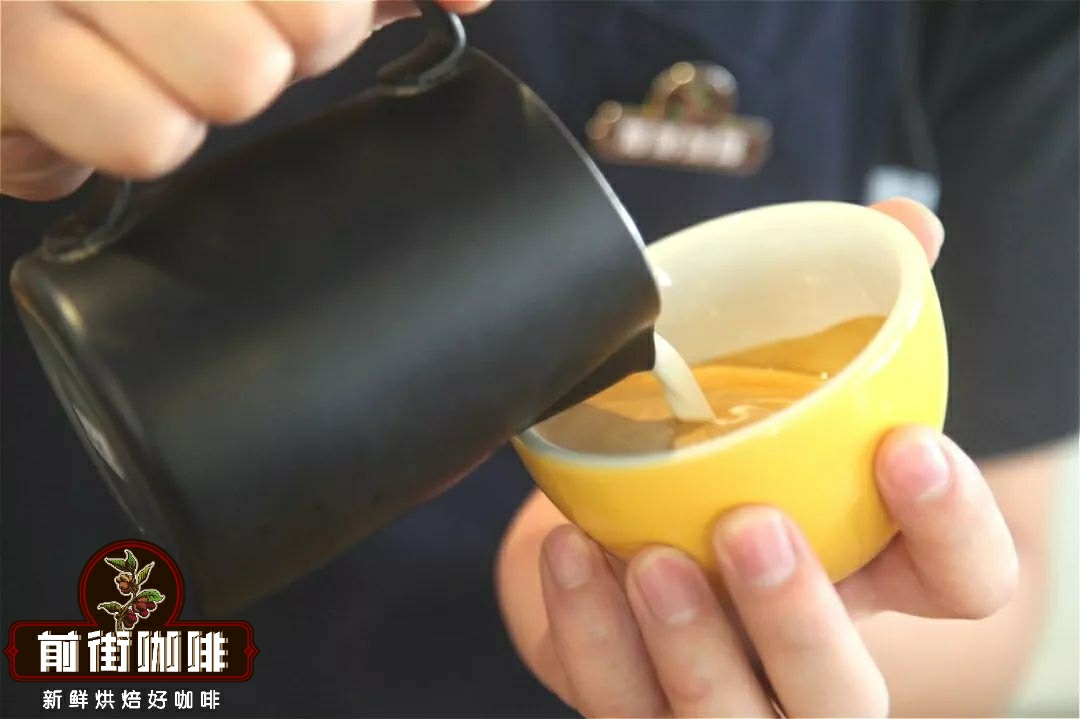

The “tulip” pattern requires multiple pours to create a layered bud effect. Begin by pouring a large flow of milk from the center of the cup to form the first white dot, then shift the pour point backward and repeat this action to build layers. Finally, pull out the tail with a thin straight stream to create a three-dimensional floral shape. Each layer must be controlled in angle and flow rate to ensure the tulip has clear layers and a full, three-dimensional look.

Once you’ve mastered these basic techniques, continue practicing milk foam texture and latte art hand movements to gradually enhance the beauty and consistency of your designs. Whether for home enjoyment or professional latte service, fine milk foam and precise latte art can greatly elevate the coffee experience.
The above content is compiled by CoffeeHunters, a coffee news website.


