








Introduction:To pour beautiful and clear latte art patterns, besides technique, the quality of milk foam is the key. This article delves into the three core conditions of milk foam suitable for latte art: fluidity, fineness, and moisture content, and explains in detail how to create stable and delicate foam by controlling frothing time, steam heating, and stabilizing the pitcher—helping you improve your latte art skills.
The aesthetic quality of latte art depends not only on the barista’s skill but more critically on the texture of the milk foam itself. To pour clear and smooth patterns, the milk foam must achieve an ideal state in terms of fluidity, fineness, and moisture content. This article will analyze these three aspects in depth, guide you on how to properly froth milk foam suitable for latte art, and provide practical operation tips to help you improve both the success rate and visual appeal of your latte art.

Before learning latte art techniques, there is a more fundamental yet crucial task: creating high-quality milk foam. Even if your hand movements are steady, poor-quality foam will still result in blurry and messy patterns. So, what kind of milk foam is ideal for latte art? Let’s break it down based on three key indicators.
1. Fluidity is the Foundation of Smooth Latte Art
First, milk foam suitable for latte art must have good fluidity. If you’re just pouring a simple big heart, the requirement for fluidity is relatively low; but if you want to challenge patterns like leaves, layered hearts, or more complex designs, the foam needs a certain level of fluidity to allow the patterns to extend naturally from the spout without hesitation or breaks.
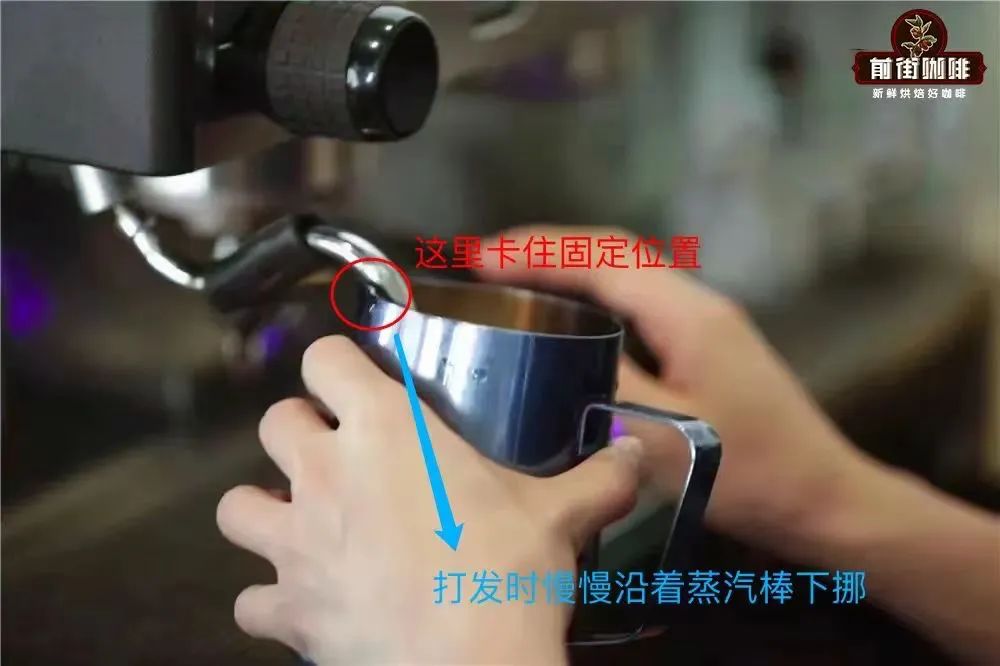
The fluidity of milk foam is closely related to its thickness. Generally speaking,the foam thickness should be around 1 centimeter—too thick will slow down the flow and make it hard to spread the patterns; too thin and the design may float unstably, making it hard to control. In practice, the number of frothing sessions and the duration directly affect the foam’s thickness, but many people unconsciously “froth a few extra times” during the texturing stage, making the foam overly dense. It’s recommended to stabilize the frothing process byanchoring the pitcherto reduce hand shaking and the risk of over-frothing.
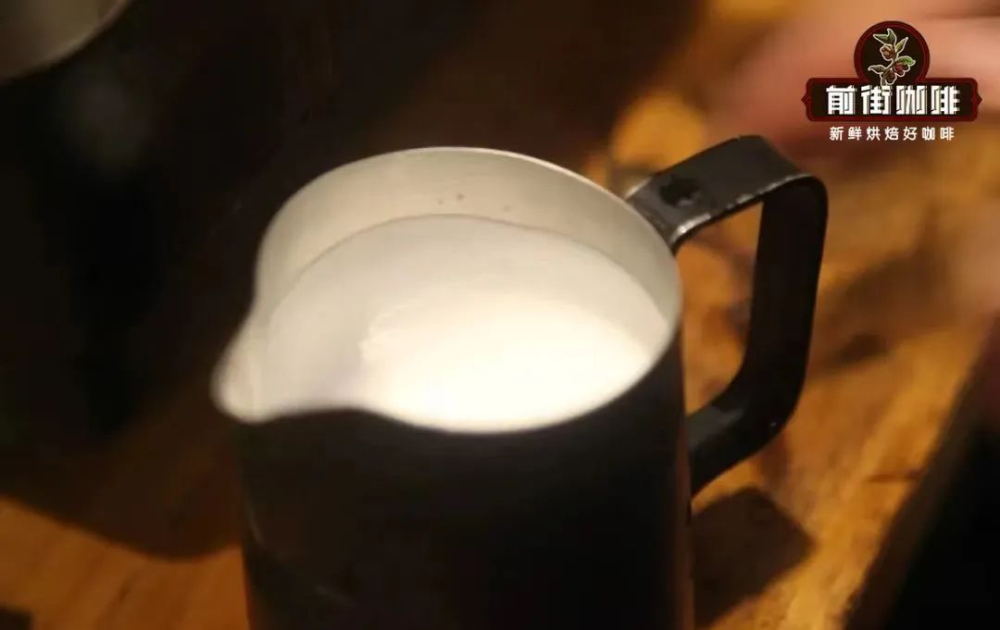
2. A Fine and Smooth Texture Makes Patterns Clearer
Besides fluidity, the texture of the milk foam is also crucial. If the foam contains too many large, coarse bubbles, not only will the texture feel unpleasant, but the patterns will also appear messy and uneven. To create fine milk foam, the key lies inadequate and moderate texturing time. When the steam wand is submerged into the milk to create a whirlpool, it effectively draws in large bubbles and breaks them into tiny ones—this is known as “texturing.”
The longer the texturing time, the finer the bubbles will be, and the milk foam surface will become smoother and glossier. Checking the foam texture is simple: move the pitcher under a light source; if the foam surface shows a mirror-like reflection, the bubbles are fine. Conversely, if it looks dull and rough, more texturing time is needed. If the foam is too coarse, you can trypouring it back and forth or gently shakingthe pitcher to improve uniformity. Additionally, if the milk heats up too quickly and reaches the target temperature before the foam is fully refined, consider lowering the starting temperature of the milk—for example, refrigerating it at a lower temperature—to allow more time for texturing before heating.
3. Controlling Moisture Content to Avoid Blurry Patterns
The final key is the “moisture content” of the milk foam. While proper texturing can enhance the fineness of the foam, if the steam heating time is too long, excessive water vapor enters the milk—not only diluting the foam concentration but also causing the foam to mist and blur during pouring, resulting in unclear patterns or even a “muddy” look.
Besides blurriness, high moisture content can also lead to layering between the foam and coffee after mixing, affecting both visual appeal and taste. To avoid this, it’s recommended to appropriately adjust the starting temperature of the milk—for instance, bylowering the refrigeration temperature—so the milk has more time for proper texturing before reaching the heating target. This not only controls moisture content but also improves the stability of the foam, making the latte art patterns clearer and longer-lasting.
In summary, milk foam suitable for latte art needs to havegood fluidity, a fine and smooth texture, and moderate moisture content. Mastering these three elements, along with stable technique, will enable you to pour exquisite patterns comparable to those of professional baristas. During practice, observe the foam’s state closely, and by fine-tuning steam time, pitcher angle, and milk temperature, you’ll gradually find your own optimal foam formula.
The above content is compiled by CoffeeHunters, a coffee news website.


