








Introduction:Struggling to pour beautiful, smooth latte art at home, only to end up with blurry patterns, broken lines, or uneven milk foam? The key to successful latte art actually lies in mastering the texture of espresso crema and the fineness of milk foam. This article will take you through every detail—from selecting coffee beans, assessing crema condition, steaming milk properly, timing your pour, to executing designs—helping you gradually improve your latte art skills and create silky, professional-quality patterns.
Many home baristas often face issues such as unclear patterns, fuzzy lines, or clumpy milk that fails to integrate smoothly. To pour an aesthetically pleasing and fluid coffee design, it’s essential to balance both the texture of the espresso crema and the fineness of the milk foam. Factors such as the roast level and freshness of the beans, extraction pressure, milk foam fluidity, and the timing of the pour all directly affect the final visual and taste outcome. This article will break down common reasons behind latte art failures from aspects like crema thickness, bean selection, extraction parameters, milk quality, and pouring rhythm, and provide practical tips to help you craft smooth, layered latte art designs.

One common challenge many home coffee enthusiasts face is getting latte art patterns to appear clearly. Even when following tutorial videos step by step—from pulling the shot, steaming the milk, pouring, to creating white designs—your final result may still fall short of expectations. In such cases, we recommend troubleshooting based on specific issues to effectively improve your results.
A frequent question is: in the latte art process, does the espresso crema or the milk foam play a bigger role? The answer is clear—both are indispensable. If the crema isn’t in optimal condition, even the finest milk foam won’t produce a sharp, contrasting design. Conversely, if the milk foam isn’t smooth and velvety enough, even thick crema won’t blend well, often causing the foam to float on the surface or sink to the bottom, making it impossible to form a complete latte art shape. In short, to achieve smooth and beautiful latte art, you need espresso with moderately thick crema and fine, uniform milk foam.

1. Coffee Bean Roast Level, Freshness, and Fresh Grinding & Brewing
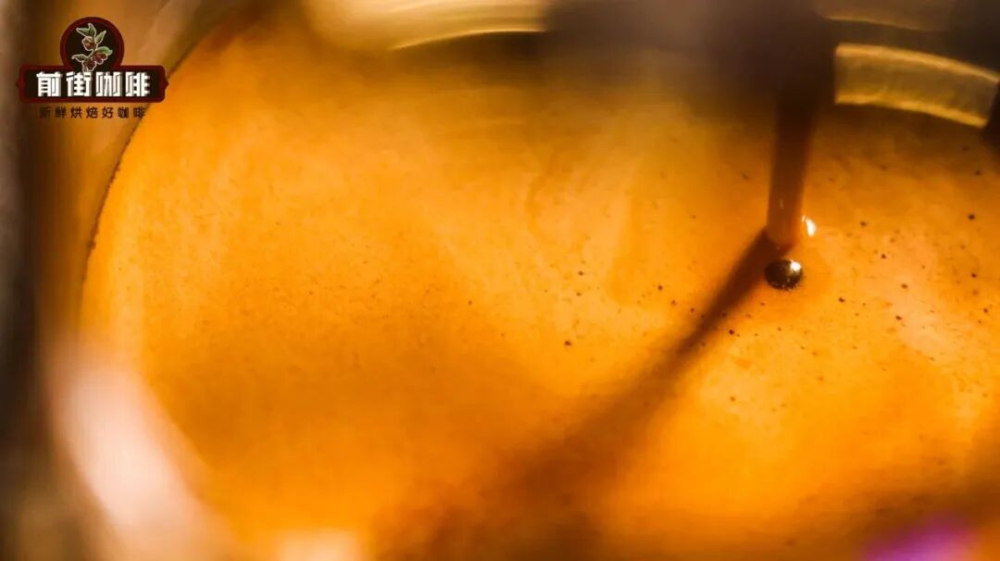
For latte art, the thickness of the espresso crema is crucial—too thin or too thick can both negatively impact the final result. When the crema is too thin, it’s hard to control the flow of the milk foam, which can cause the pattern to “drift” during pouring. If the crema is too thick, the milk foam won’t spread out easily, resulting in a pile-up that can’t be shaped. Ideally, for milk-based drinks like lattes, the crema should be about0.5 to 0.7 centimetersthick. This thickness maintains a rich, viscous texture while also having moderate fluidity.
To achieve this ideal crema condition, the first rule is to avoid using pre-ground coffee, as it has already lost much of its carbon dioxide and aroma. It’s recommended to choosemedium-dark roastedespresso blends and ensure the beans are within their optimal freshness window. For example, classic blends, commercial blends, and dark chocolate blends are all excellent choices that offer both great crema performance and flavor, making them highly suitable for latte art.
It’s worth noting that overly fresh beans, due to high carbon dioxide content, may produce overly thick crema; whereas beans that have been stored too long lose gas, resulting in thin crema. Based on experience, it’s advised to let the beans degas for about7 to 10 daysafter roasting, and use them withintwo monthsfor the best crema and flavor performance.
2. Espresso Machine Extraction Pressure
If your coffee beans meet the above conditions, but the extracted espresso has pale crema, fluffy and uneven foam, appears chunky when shaken, and the milk foam doesn’t merge smoothly during pouring—even clumping chaotically—this is likely due to insufficient extraction pressure from your home espresso machine.
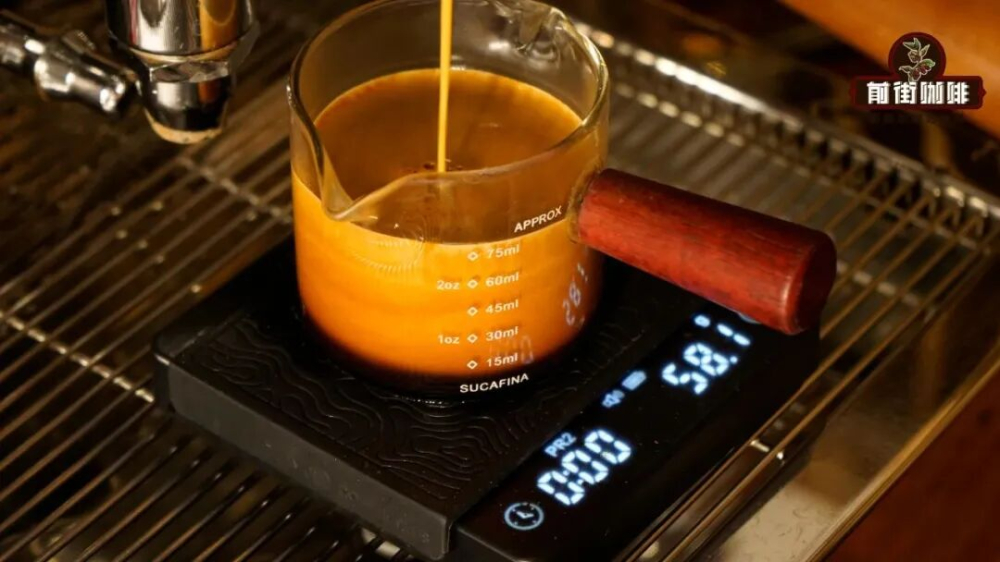
If you want the espresso to develop rich flavor quickly while maintaining delicate crema, you can try adjusting the grind size and coffee dose. A practical approach is: on your current base, increase thecoffee dose by 0.5 grams, raise the extraction pressure, and extend the extraction time by about3 to 4 seconds, extracting only the first and middle parts of the shot, around32 gramsin output. This not only makes the flavor more concentrated but also reduces interference from coarse bubbles in the tail end, which can negatively affect latte art.
3. Maintaining Milk Foam and Crema Fluidity
When it comes to milk steaming, once stirring stops, the foam and milk tend to gradually separate, and the crema also changes in fluidity over time. If you don’t pour and start latte art immediately after steaming, you might end up pouring mostly milk with the foam floating on top, leading to clumps of foam entering the coffee during pouring and preventing a smooth flow.
The solution is to find a stable pivot on your workstation and gently swirl the milk pitcher clockwise with your wrist to remix the foam and milk. Similarly, you can also lightly swirl the espresso cup to improve overall fluidity, aiding in better fusion and latte art results.
4. Pouring Technique and Flow Rate Control
For beginners, it’s recommended to rotate either just the milk pitcher or just the cup during the initial pour. If both are rotated at the same time without proper skill, it can easily throw off the rhythm, causing the milk and coffee to collide inside the cup and produce large bubbles that harm the texture of the latte art.
Before creating textured patterns, it’s advisable to keep the distance between the milk pitcher and the cup rim between5 to 8 centimeters. Pouring too low can cause the milk to spread out too early, leading to uneven fusion; pouring too high may generate irregular bubbles due to excessive impact. The flow rate during the initial pour should be relatively thin, helping the milk foam and coffee mix thoroughly while keeping the crema clean in appearance and color.
As for the amount of liquid used in the initial pour, adjust according to the complexity of the design. For basic heart or leaf patterns, you can pour until the cup is about6 to 7/10 fullbefore starting to lower the pitcher for latte art. For more intricate, layered effects, it’s recommended to begin pouring the design when the cup is about4 to 5/10 full.
5. Pouring Rhythm and Texture Techniques
Many beginners, after mastering the basic steps of latte art, often make the mistake of immediately lowering the pitcher and starting to wiggle upon finishing the initial pour, resulting in lines that don’t meet expectations or fail to continue smoothly.
The correct texture-pouring process is: after completing the initial pour, first steadily lower the pitcher to pour a layer of even milk foam. Once the white foam dots stabilize on the surface, gently and evenly wiggle the pitcher left and right along that point to create clear, well-defined textured patterns.
The above content is compiled by CoffeeHunters, a coffee news website.


