








Introduction:The flavor performance of pour over coffee hinges on precise control of the coffee-to-water ratio and pouring technique. This article delves into the scientific definition and calculation logic of coffee-to-water ratios, explores the core principles of segmented pouring, and provides a beginner-friendly universal three-stage method: 15 grams of coffee grounds with a 1:15 ratio, totaling 225 milliliters of water, poured in three stages of 30, 95, and 100 milliliters. It also includes equipment selection, bean variety recommendations, water temperature and grind size references, along with a complete operation guide to help you establish a stable pour over framework.
The charm of pour over coffee lies in precisely controlling the interaction between water flow and the coffee bed to unlock the rich layers of flavor within the beans. Among these, the coffee-to-water ratio is not only a fundamental parameter determining coffee strength but also a key factor influencing extraction efficiency and taste balance.
As the name suggests, the coffee-to-water ratio refers to the weight of coffee grounds relative to the total volume of water poured. Taking a common recipe as an example: 15 grams of coffee grounds with 225 milliliters of hot water corresponds to a 1:15 ratio, meaning each gram of coffee is in contact with 15 milliliters of water. This ratio directly affects the final strength of the brew—increasing the water volume tends to produce a lighter, more diluted cup, while reducing it enhances concentration and yields a fuller-bodied, more focused flavor.

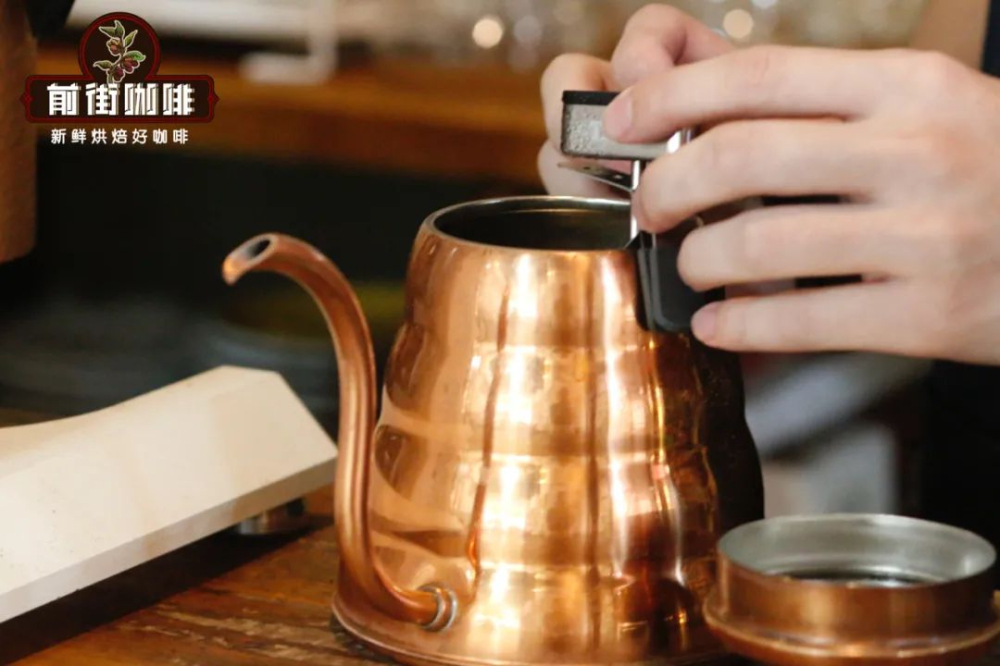
Starting with equipment preparation, a basic pour over setup should include: a gooseneck kettle for precise water control, a filter cone and paper to remove impurities, a server to catch the brewed coffee, a grinder for consistent particle size, as well as a scale to monitor water volume and time, and a thermometer to ensure optimal brewing temperature. Together, these tools form the technical foundation for stable extraction.
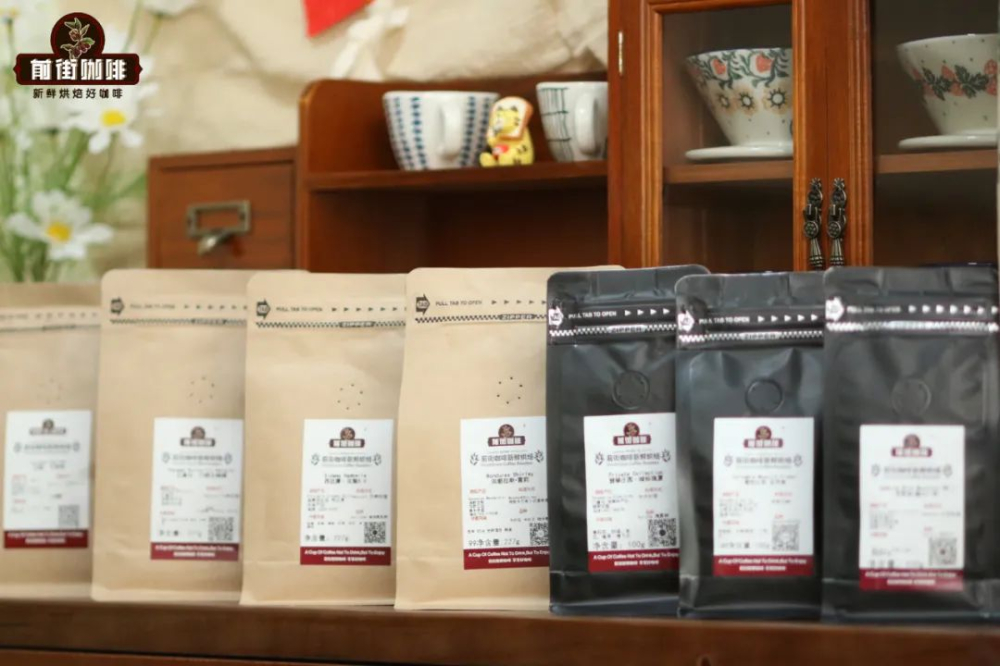
The choice of coffee beans is equally crucial. It’s recommended to use freshly roasted beans within 4 to 30 days of the roast date, when their flavor compounds are at their peak. Use them as soon as possible after receiving to avoid aroma loss due to prolonged storage.
Why emphasize segmented pouring? This is because the soluble substances in coffee (such as acidity, sweetness, and bitterness) are not released all at once. By controlling the water flow in stages, you can more precisely guide the sequential extraction of different flavors. Observing a professional barista’s brewing process, you’ll often notice pauses mid-pour—this is a hallmark of segmented extraction.
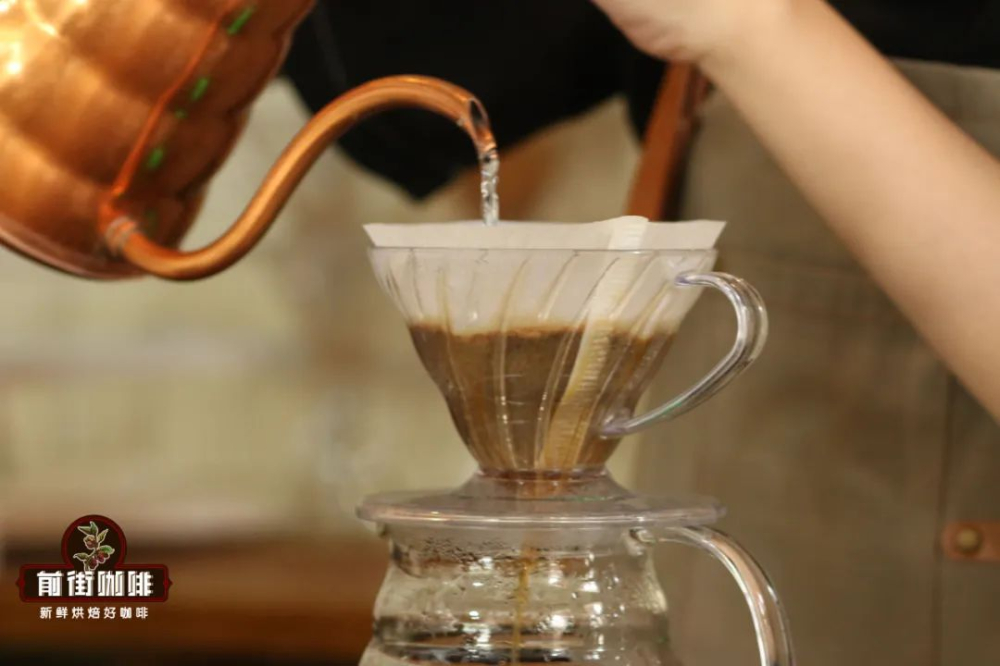
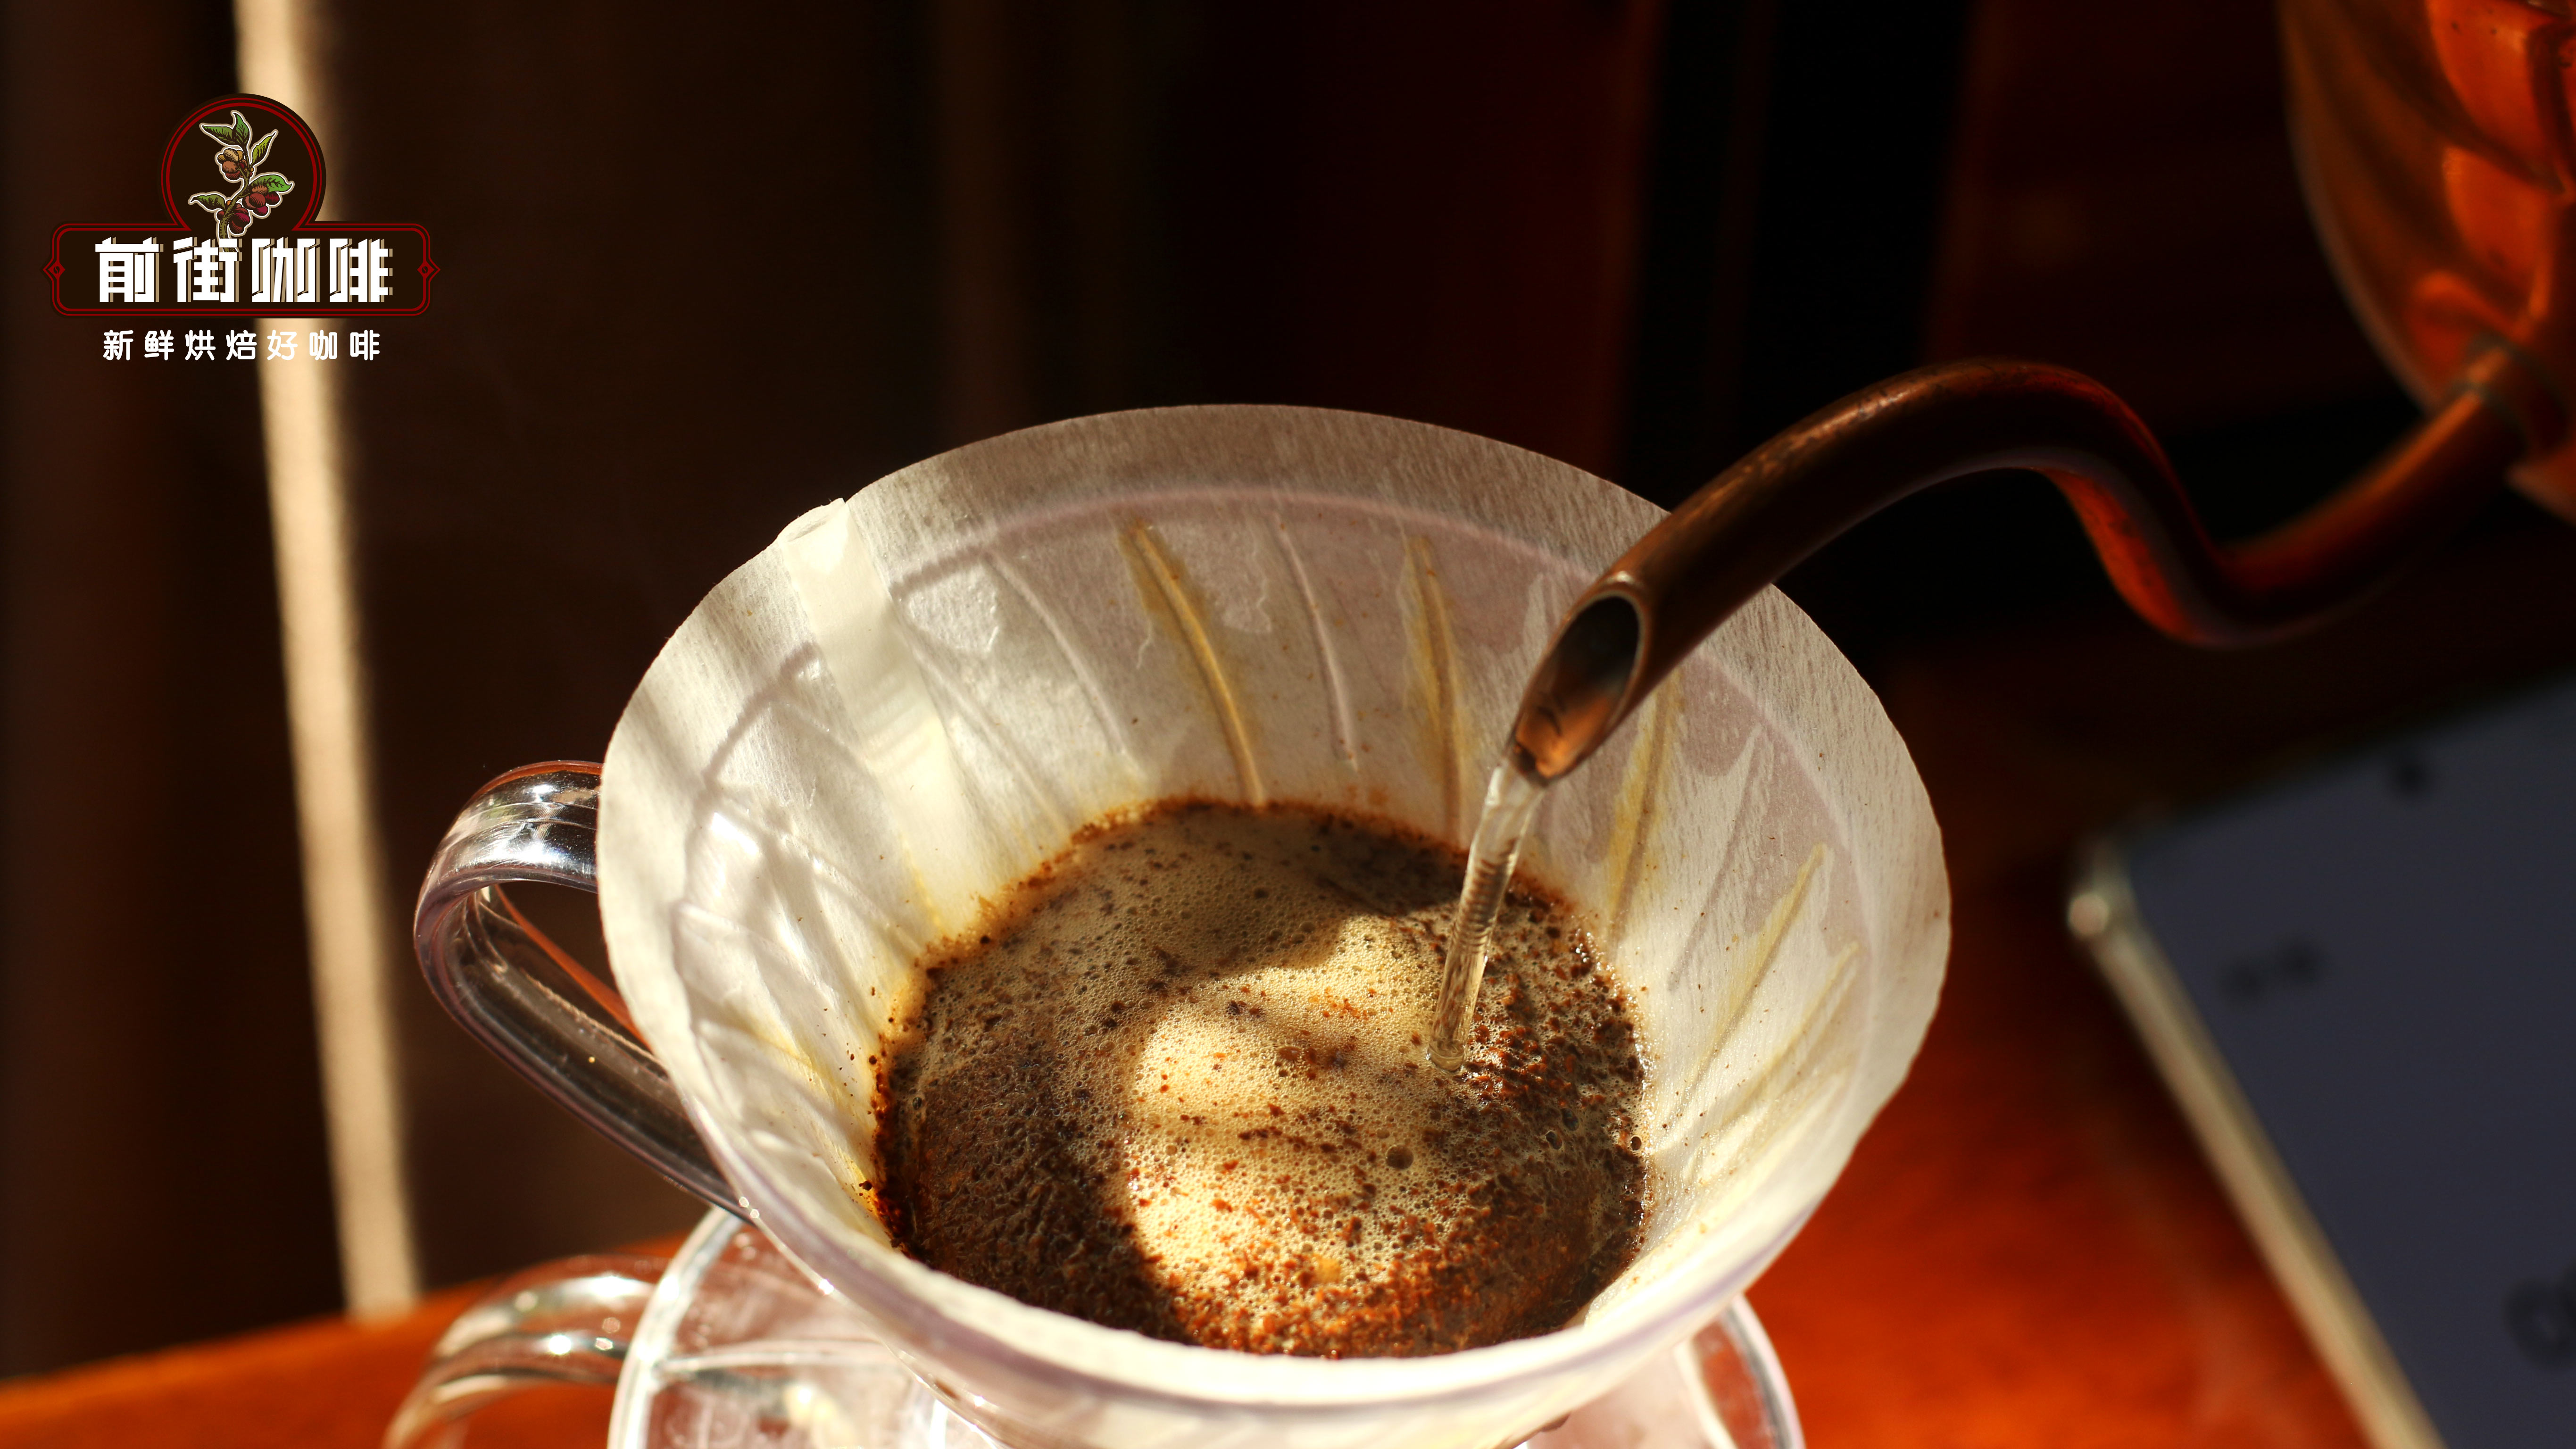
The foundation of segmented pouring is the “bloom” phase. Pour hot water evenly over the surface of the coffee grounds, using 1.5 to 2 times the weight of the grounds (e.g., 30 milliliters for 15 grams), and let it sit for about 30 seconds. This step aims to release carbon dioxide trapped within the coffee bed, preventing extraction issues later. After blooming, depending on whether you continue with segmentation, methods can vary from a three-stage approach (bloom + two pours) to a two-stage method, among others.
For beginners, the three-stage pouring method is recommended for its moderate difficulty and balanced flavor. Using 15 grams of coffee grounds at a 1:15 ratio as an example: the total 225 milliliters of water can be broken down into 30 milliliters (bloom) → 95 milliliters (second stage) → 100 milliliters (third stage). The corresponding weight milestones on the scale would be 30 grams, 125 grams (30+95), and 225 grams (30+95+100), with a total extraction time of about 2 minutes.
The specific operation steps are as follows: First, wet the filter paper and place it snugly in the filter cone, then add the ground coffee and tare the scale. For the first stage, pour 30 milliliters of hot water in small circles from the center outward using a fine stream, start the timer, and bloom for 30 seconds to ensure even saturation of the coffee bed. Next, increase the water flow and steadily pour 95 milliliters for the second stage, keeping the water column vertical to penetrate the coffee bed. Around 55 seconds, the cumulative water volume should reach 125 grams. In the final stage, switch to an even finer stream, pour the remaining 100 milliliters in small circles, and control the liquid level to descend slowly, completing the drip-through in about 2 minutes total.
Pay attention to equipment and parameter details: A V60 filter cone is recommended for its spiral ridges that aid in gas release and flavor expression; set the grind size to medium-fine (similar to table sugar texture, with about 78% passing through a Chinese standard No. 20 sieve). Too coarse a grind may lead to under-extraction, while too fine can cause bitterness. The suggested water temperature is 92°C–93°C, especially for light-roasted Ethiopian Yirgacheffe and other high-acidity beans, where higher heat better highlights floral and fruity notes.
The volume of each pour can be flexibly adjusted based on personal preference. For instance, aiming for a stronger profile may involve tweaking the ratio slightly to 1:15, while emphasizing clear floral notes and sweetness might call for 1:16. The key is to practice repeatedly and observe how different parameter combinations influence flavor outcomes.
A special note: more stages aren’t necessarily better. While increasing the number of pours can enhance extraction yield and flavor complexity, excessive segmentation may lead to over-extraction in later stages, masking sweetness and introducing off-flavors. Beginners are advised to start with the three-stage method and gradually develop a feel for the interaction between coffee grounds and water.
Every step, from blooming to segmented pouring, involves variables that influence the final flavor. Once you’ve mastered these foundational parameters, try experimenting with beans from different origins or processing methods to experience the subtle changes brought by variations in coffee-to-water ratios and pouring techniques. Remember, the charm of pour over coffee lies precisely in this repeatable, hands-on creative process.

The above content is compiled by CoffeeHunters, a coffee news website.


