







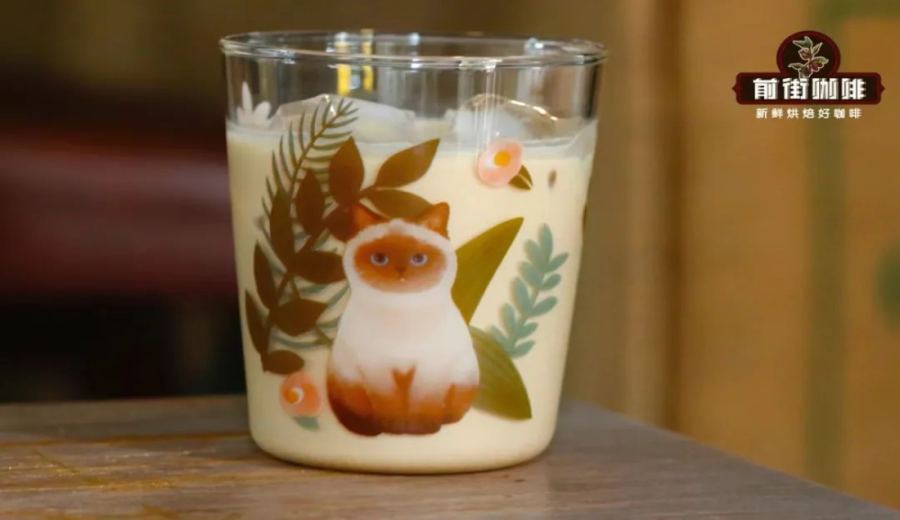
Introduction:Did you know that milk can also be used to cold brew coffee? This article will guide you through how to use milk as the cold brew medium, breaking down the practical process of making cold brew milk coffee step by step—from selecting coffee beans, determining the coffee-to-milk ratio, grind size, to soaking details—and sharing the flavor profile and key considerations based on real tests, so you can easily make rich and smooth cold brew milk coffee at home.
Many people wonder if pour over coffee can be directly extracted using milk instead of water. From the perspectives of water temperature and extraction efficiency, the answer is almost certainly no. However, if you shift your thinking and instead use milk as the soaking medium for cold brewing—extracting flavors through a low-temperature environment and extended steeping time—the whole scenario changes. Below, we’ll detail the operation of cold brewing coffee with milk, including how to choose suitable coffee beans, master the coffee-to-milk ratio, control grind size, and the key points to note during the soaking process, allowing home baristas who love milk coffee to personally verify this novel brewing method.

A reader once asked: “Can pour over coffee be made with milk?” In practice, this idea faces quite a few challenges. First, pour over typically requires hot water at temperatures above 90°C, and at such high temperatures, the amino acids and sugars in milk can easily react to produce compounds like glycosylamine, which are not ideal for health. Additionally, milk is thicker than water, making it difficult for soluble substances in coffee grounds to effectively dissolve, so in terms of extraction efficiency, milk is not an ideal choice for pour over.
However, if you switch to using milk as the soaking medium for cold brewing, the situation takes a turn for the better. Cold brewing does not require high temperatures, so the milk won’t spoil from heating. Moreover, the extraction principle of the immersion method is inherently different from that of drip filtration. Although milk has relatively weaker extraction capability, as long as you extend the soaking time, you can still effectively extract the essence of the coffee.
When it comes to choosing coffee beans, it’s recommended to go for medium to dark roasts. These types of coffee usually exude aromas of dark chocolate, caramel, and roasted nuts, and when paired with milk, they can create a richer and more full-bodied mouthfeel. For example, Brazilian Red Bourbon, Bird of Paradise, and Colombian Huila are all good choices; if you prefer a coffee with a stronger body and higher richness, you might also consider high-quality Golden Mandheling, which undergoes strict screening with an extremely low defect rate, offering clear aromas and pronounced aftertaste.
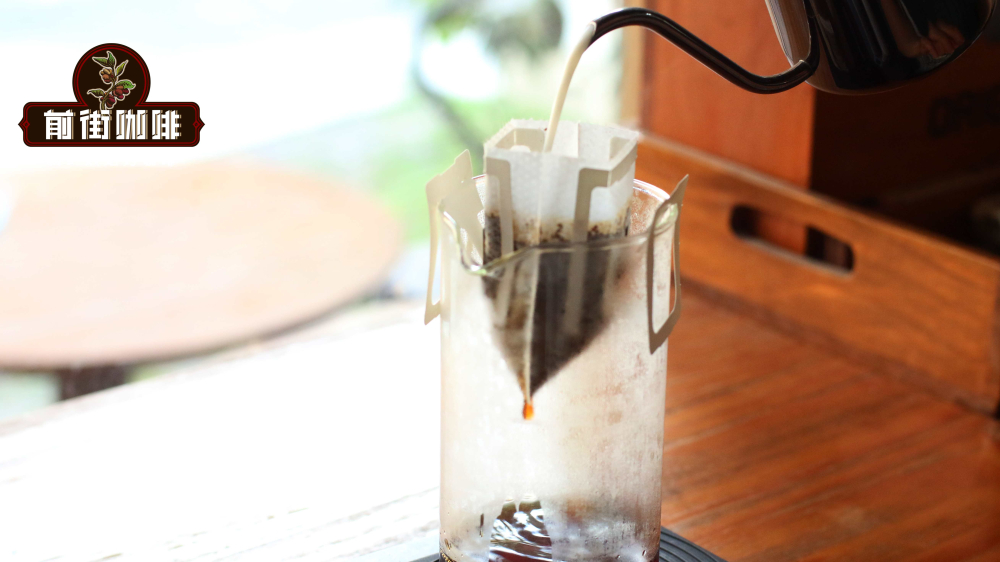
The test brew this time used the Sunflower Warm Sun blend, a coffee also commonly used by the shop for espresso blends. Its flavor notes include vanilla cream, sherry wine, brown sugar, and chocolate. To make the final milk coffee taste even richer, the coffee-to-milk ratio used this time was smaller than usual for cold brew, roughly 1 part coffee grounds to 8 parts milk.
The specific steps are as follows: First, grind 25 grams of coffee beans to a particle size similar to that of fine sugar. It’s recommended to test with a No. 20 sieve, aiming for about an 85% pass rate. Place the ground coffee into a filter bag—this step is crucial. If you try it for the first time by directly pouring the coffee grounds into the milk, you’ll find the milk flows very slowly during subsequent filtering, which is quite time-consuming. Therefore, wrapping the coffee grounds in a filter bag can effectively avoid filtration troubles later on.
Next, place the filter bag containing the coffee grounds into a bottle, then pour in 200 milliliters of fresh milk. You can gently shake the bottle or use a tool to ensure the coffee grounds are fully saturated with the milk. Then tightly seal the bottle cap to ensure it’s well sealed, and place the entire bottle in the refrigerator. This step is extremely important because milk spoils very easily; if not properly sealed or kept at a low temperature, it can easily lead to spoilage of the drink.
It’s recommended to steep in the refrigerator at a low temperature for about 12 hours. Going beyond that risks the chance of milk spoilage. If you want to further enhance the extraction effect, you can gently agitate the filter bag during the soaking process. After soaking, remove the filter bag or simply pour out the milk coffee. At this point, you’ll notice its color is already similar to that of an iced latte, and it gives off a distinct aroma of sherry wine along with the sweet scent of lactose. Take a sip, and the flavor of chocolate milk immediately emerges, with the overall concentration well balanced.
A friend joked: “Add some ice cubes, and your 12-hour iced latte is complete.”
The above content is compiled by CoffeeHunters, a coffee news website.


