







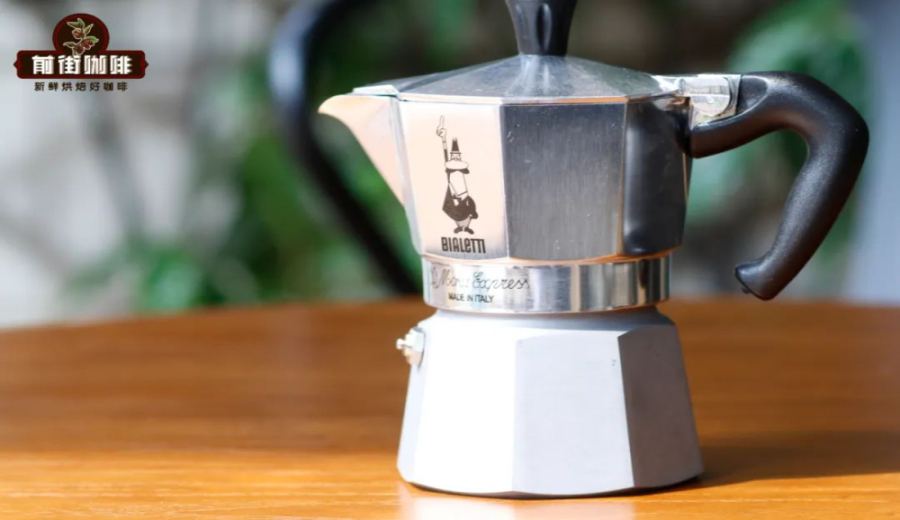
Introduction:The Moka pot is the go-to brewing device for many coffee enthusiasts who want to make espresso-style coffee at home. However, to brew coffee that is rich, not sour, and well-balanced in flavor, the key lies in mastering the correct coffee-to-water ratio, grind size, and heat control. This article provides a detailed breakdown of the Moka pot’s structure and pressurized extraction principle, along with practical steps for use—including water volume recommendations, grind fineness, coffee filling techniques, heating timing, and when to turn off the heat. It also explains the differences between single- and double-valve Moka pots. Additionally, we recommend several medium to dark roast and dark roast coffee beans that are well-suited for the Moka pot, helping you easily extract low-acid, aromatic coffee.
Thanks to its classic design and ability to produce strong coffee using simple home tools, the Moka pot has gained increasing popularity among coffee lovers around the world in recent years. However, although it may seem straightforward to operate, avoiding sour or thin-tasting coffee actually involves careful attention to every step—from the coffee-to-water ratio, grind size, heating power, to extraction time. This article will start by discussing the basic construction of the Moka pot, analyzing the similarities and differences between its pressurized extraction method and that of an espresso machine, and then step-by-step explain how to achieve a balanced, richly flavored cup through proper parameter settings and operational details.
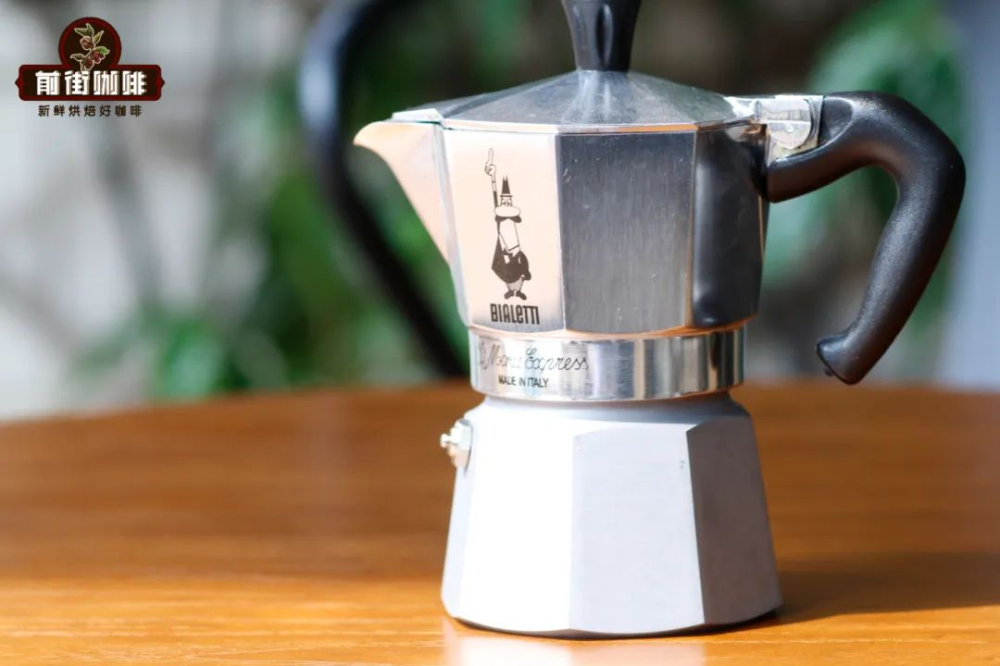
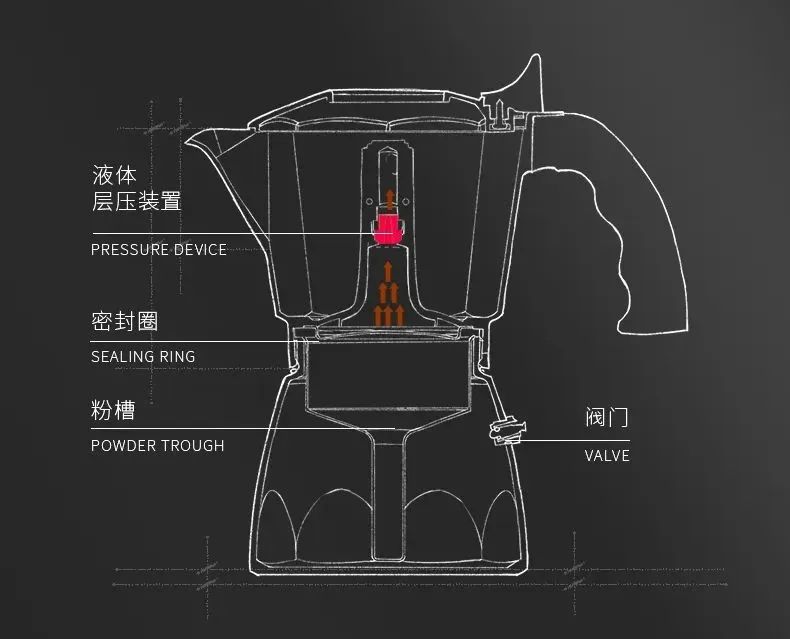
The Moka pot mainly consists of three parts: the lower chamber that holds water, the middle filter basket that holds the coffee grounds, and the upper chamber that collects the extracted coffee. When the lower chamber is heated, the water turns into steam and generates pressure, forcing the hot water through the coffee grounds layer and ultimately pushing the extracted coffee into the upper chamber. This method of extraction using high temperature and pressure is similar to that of an espresso machine, both capable of producing rich and complex coffee flavors. However, the pressure in a Moka pot is generally lower than that of an espresso machine, so the resulting coffee is less thick and typically lacks a pronounced crema, though it still delivers a full body and rich aroma.
If using a Moka pot with a double-valve design, the extraction pressure can be further increased, making the coffee flavor more concentrated and the crema performance relatively richer. However, whether single- or double-valve, the finer details of operating the Moka pot greatly affect the final coffee outcome—including the amount of water added to the lower chamber, the grind fineness of the coffee, the compactness of the coffee bed, the control of heating power, as well as when to adjust the flame and when to turn off the heat. All these are key factors influencing the extraction result.
Before starting to use the Moka pot, in addition to the device itself, you’ll also need freshly roasted coffee beans, a grinder, and a heat source (such as a gas stove or induction cooker). Among these, the freshness of the coffee beans has a huge impact on the extraction results. It is recommended to choose beans roasted within 5 days to ensure optimal flavor. If you’re aiming for consistent quality and reasonable pricing, consider beans from reputable roasting brands, which often provide fast delivery and quality assurance, suitable for all types of coffee enthusiasts.
For Moka pot use, it is recommended to select medium to dark roast or dark roast coffee beans. These beans usually have lower acidity and a richer taste, which can better showcase the extraction characteristics of the Moka pot, bringing out bold flavors such as caramel, nuts, and dark chocolate. For those who prefer milk-based coffee, these beans also pair well with milk, making creamy and smooth lattes or cappuccinos.
Here are the flavor profiles of several coffee beans suitable for Moka pot brewing: First is the Red Bourbon single-origin bean, which offers balanced aroma and moderate acidity, suitable for direct brewing or adding milk; next is the Huila single-origin bean, which has a pleasant acidity and noticeable sweetness, releasing intense aromas after dark roasting; third is the Mandheling, which carries herbal and spicy notes, offering a bitter-sweet profile after dark roasting, ideal for those who enjoy a strong taste. In addition, there are also classic dark-roasted blends and commercial blends—the former can extract rich crema, suitable for various coffee beverages, while the latter can replicate café-grade richness, making it a practical choice for Moka pot users.
When actually using the Moka pot, it is recommended to first fill the lower chamber with hot water, keeping the water level below the safety valve—generally about 130 milliliters. Using hot water can shorten the brewing time and prevent the coffee grounds from becoming overly heated and developing a burnt or bitter taste. Next, grind the coffee to a slightly finer consistency than pour over, with a grinder setting of around 0.5 recommended, and fill the filter basket to about nine-tenths full. Gently level the coffee surface with your fingers—there’s no need to tamp it down firmly, as this could hinder water flow. Once the upper and lower chambers are tightly assembled, you can place the Moka pot on the heat source. If using an open flame, try to keep the flame from extending beyond the base of the pot to avoid localized overheating.
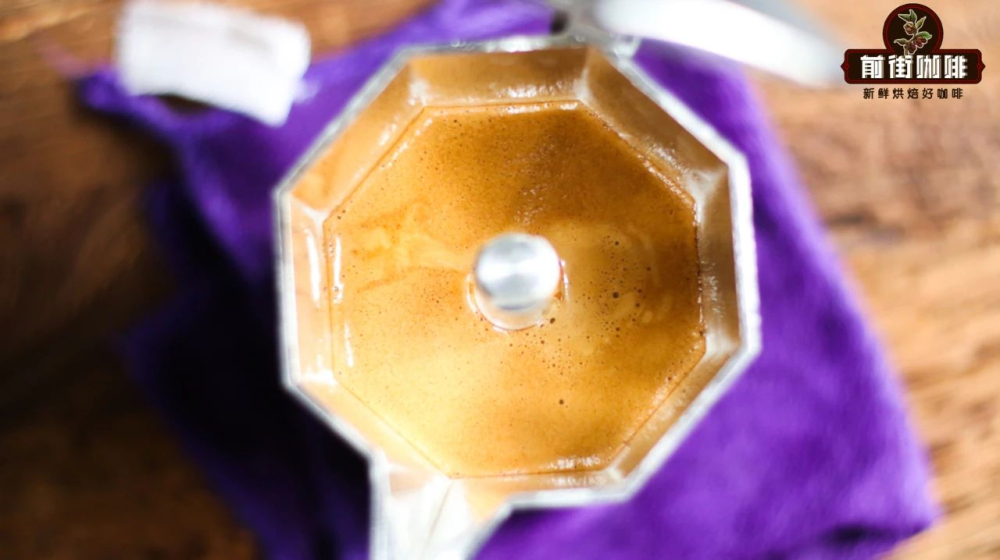
When you hear a hissing sound from the pot, it means pressure is beginning to build. At this point, reduce the heat and observe the flow of coffee into the upper chamber. Once the coffee reaches about half the capacity of the upper chamber, you can turn off the heat and move the Moka pot to a heat-resistant surface to allow the residual heat to complete the final extraction. Be careful not to touch any hot metal parts to avoid burns. If you hear an unusual whistling noise but no liquid is coming out, stop heating immediately to prevent pressure buildup from causing danger.
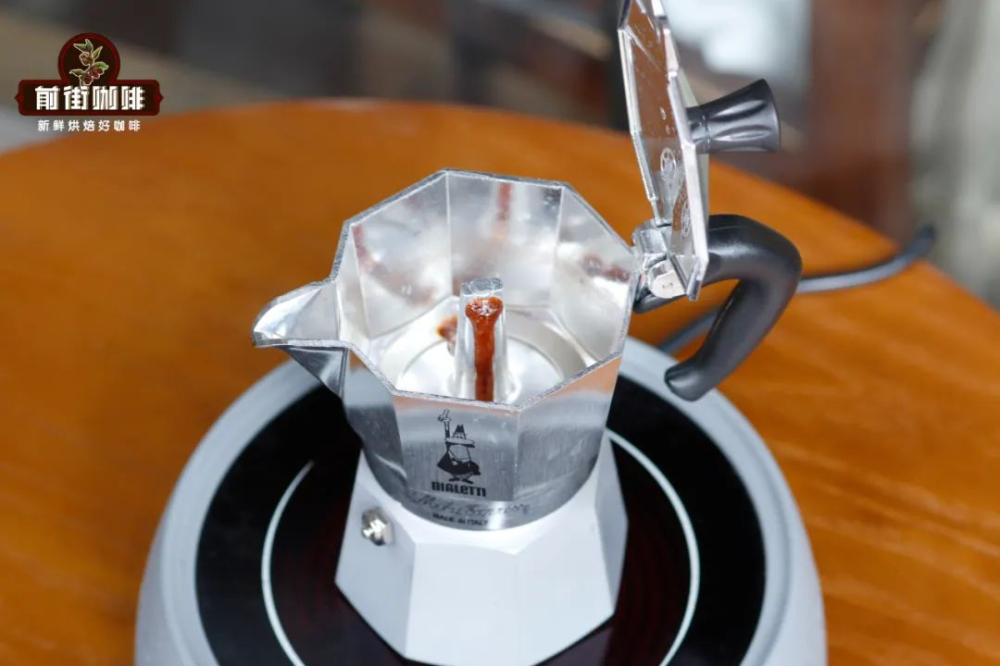
After extraction is complete, it is recommended to pour the coffee into a cup and enjoy it right away. Coffee made with a Moka pot typically carries aromas of caramel, dark chocolate, and nuts, with a rich and full-bodied taste. If you wish to reduce acidity or intensity, you can dilute it with a bit of hot water or pair it with milk to create a smoother coffee beverage. After use, be sure to clean the Moka pot promptly to avoid coffee residue causing odors or blockages—especially the filter plate, gasket, and extraction channel should be kept clean to maintain the quality of extraction for your next use.
The above content is compiled by CoffeeHunters, a coffee news website.


