







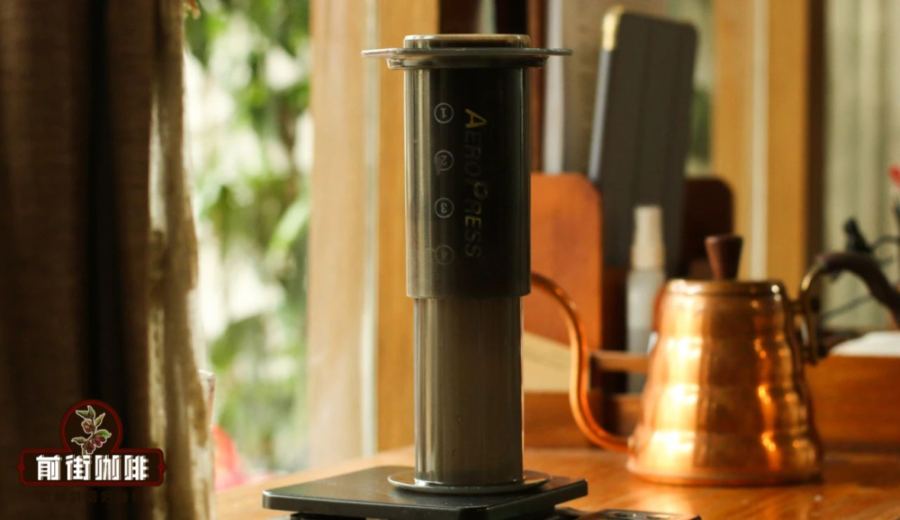
Introduction:Even without an expensive espresso machine at home, you can easily make café-quality iced lattes with just an AeroPress. This guide will walk you through ten clear and easy steps to extract a concentrated espresso base and perfectly blend it with cold milk, resulting in a smooth-textured, sweetly balanced iced latte. It also includes practical coffee bean suggestions and extraction parameters to help you avoid common pitfalls like sourness or watery taste—even beginners can master it on the first try.
Want to enjoy a cool yet rich iced latte but hesitant because you don’t have an espresso machine? Actually, all you need is an AeroPress to make a professional-grade iced latte at home. Just follow ten simple steps—from grinding and extracting to assembling—to create a cup that’s bold in coffee aroma, sweet and smooth in milk texture.
To avoid overly sharp acidity or a thin mouthfeel, it’s recommended to choose medium-dark or dark roasted beans, which typically offer a richer body and lower acidity. For example, some darker-roasted blends have stable flavors and pair well with milk, delivering a rounded and non-greasy drinking experience.
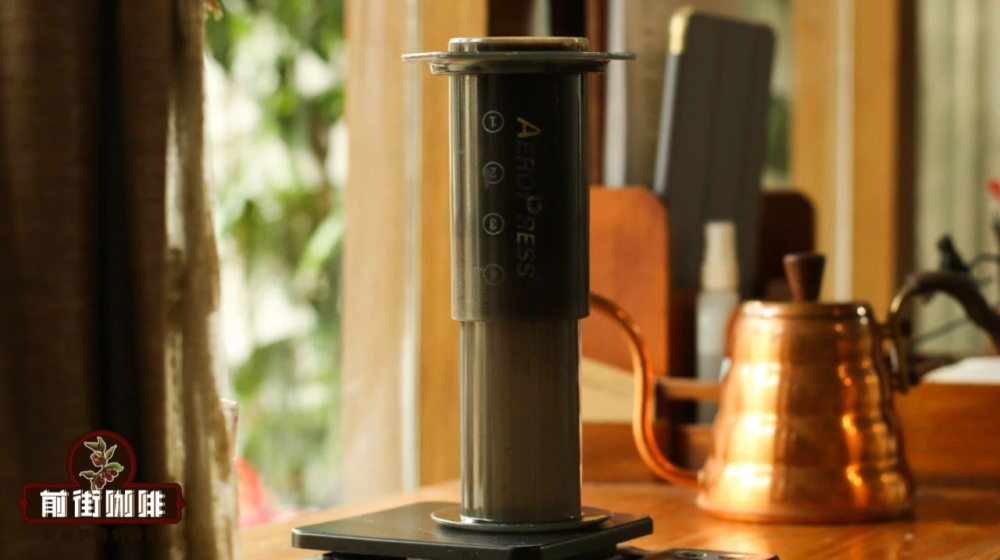
Of course, if you prefer less bitterness, you can also opt for coffee beans with fruity acidity, such as certain blends with fermented notes and fruity aromas. These beans often carry hints of candied fruit, wine, and mild caramel, complementing milk well to create a more layered flavor profile.
Next, let’s dive into how to use the AeroPress to make this satisfying iced latte through the following ten main steps.
Step 1: Prepare ice cubes and cold milkIt’s recommended to chill the milk in advance, then add an appropriate amount of ice cubes right before use to ensure the final drink has a cool and refreshing texture. It’s best to use whole or high-fat fresh milk for better creaminess and a smooth mouthfeel.
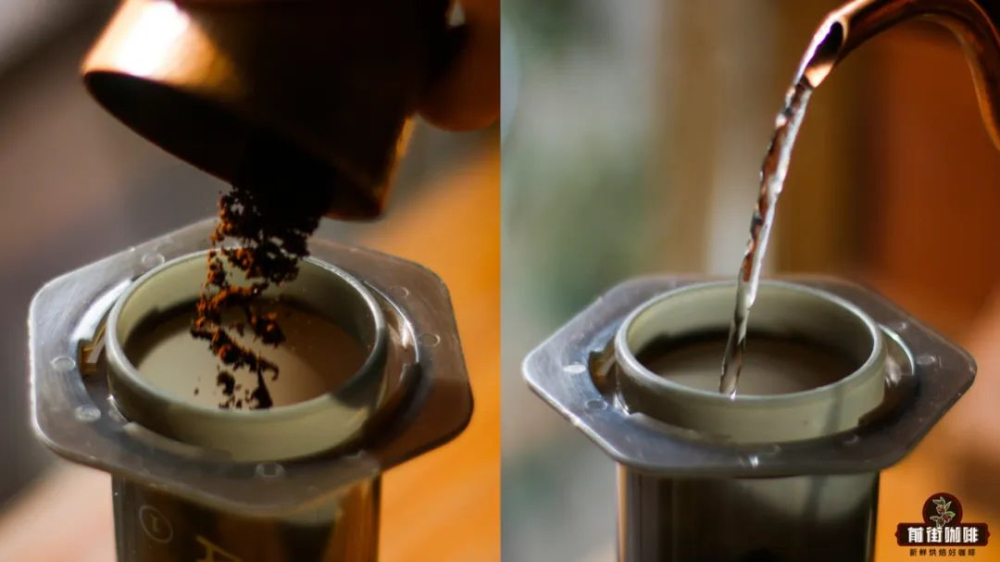
Step 2: Add the appropriate amount of ground coffeeUse a medium-fine grind, slightly coarser than pour over but close to it—about the texture of fine sugar. Place the pre-ground coffee into the bottom of the AeroPress filter chamber.
Step 3: Pour hot water for bloomingThe water temperature should be controlled between 90–93°C. First, pour a small amount of hot water to cover the coffee grounds, then let it sit for about 30 seconds to bloom and awaken the coffee’s aroma.
Step 4: Continue pouring hot water to complete extractionThe total water volume should be around 200–220 ml. Pour steadily and evenly, and gently stir to help ensure even extraction. The entire extraction process should take about 1 minute.
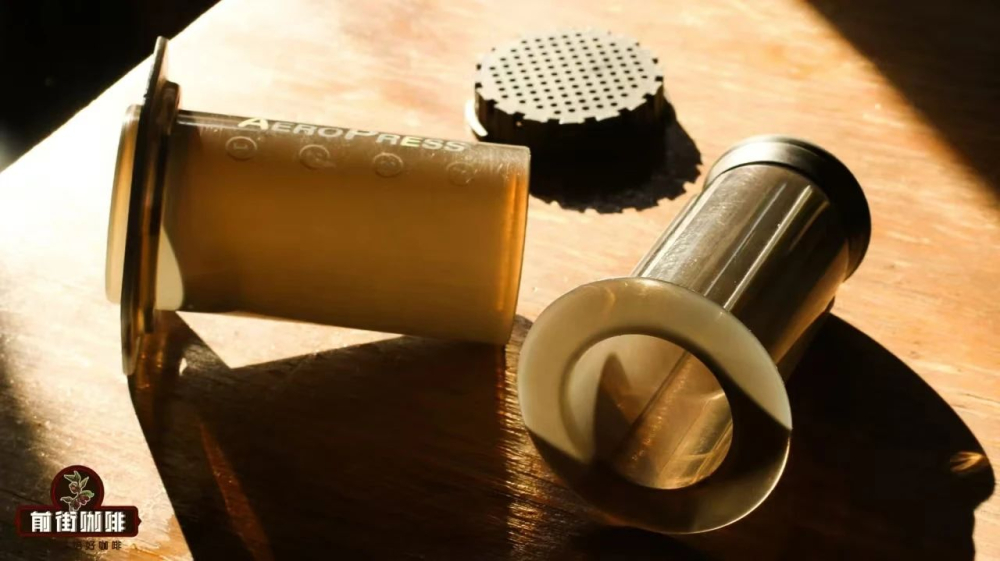
Step 5: Insert the AeroPress plungerOnce the extraction time is up, attach the plunger to the top of the filter chamber in preparation for pressurized extraction.
Step 6: Slowly press down to produce concentrated espressoPress down slowly and evenly, taking about 20–30 seconds to concentrate the coffee liquid in the lower chamber. This step is crucial for determining the coffee’s body and intensity.
Step 7: Pour the coffee liquid into a cup with ice cubesQuickly mix with the ice to lower the temperature, preserving the vibrancy and layered flavors.
Step 8: Add cold milkPour the pre-chilled milk (with ice cubes added) into the coffee liquid. The ratio can be adjusted to personal preference; a recommended coffee-to-milk ratio is 1:2 or 1:3, depending on how strong you like it.
Step 9: Stir gently to combineEnsure the coffee and milk are fully mixed to release a more complete aroma and sweetness.
Step 10: Enjoy immediatelyIt’s best to drink while it’s still cold to enjoy the optimal taste and flavor.

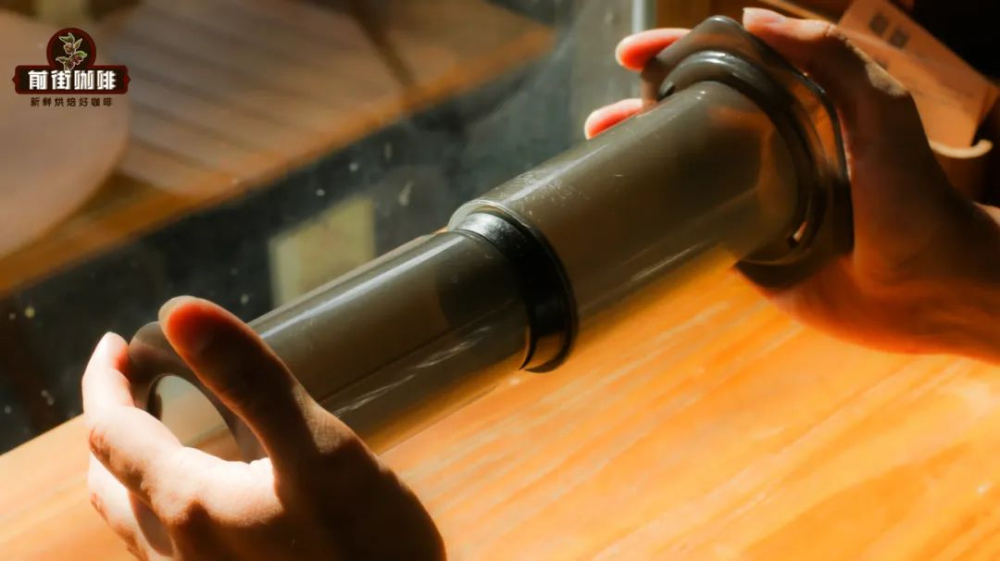
The AeroPress is not just a versatile coffee tool, but also a reliable helper for many home coffee enthusiasts. It can be used for espresso, pour over, French press, and even cold brew—making it perfect for beginners and advanced users alike who want to explore different coffee flavors.
When selecting coffee beans, in addition to roast level and flavor characteristics, don’t forget to consider grind size and water quality, as these directly affect the final extraction result. The right grind ensures smooth water flow and even extraction, while clean water is the foundation for showcasing the true flavors of coffee.
In summary, as long as you master the correct extraction parameters and steps, you can easily replicate café-quality iced lattes at home using just an AeroPress—even without a professional machine. From bean selection and grinding to extraction and assembly, each step holds little secrets that make your coffee even more delicious—waiting for you to experience and explore for yourself.
The above content is compiled by CoffeeHunters, a coffee news website.


