







Introduction:You can easily make smooth and rich milk cold brew coffee at home too! This article details how to create a delicate-tasting and versatile milk cold brew by substituting water with milk in the cold brew process. From selecting the right coffee beans, choosing the type of milk, grind size, to the full step-by-step brewing method, we’ll guide you through the key techniques and share real-world taste profiles. Whether you prefer intense caramel notes or refreshing fruity flavors, you’ll find your perfect formula.
Want to try cold brew coffee at home but intimidated by the strong bitterness of black coffee? Why not try extracting coffee using milk instead of water to create a milk-based cold brew that doesn’t require additional dilution yet offers a smoother and more layered flavor. This approach not only preserves the rich flavor of coffee but also enhances it with the milky aroma and fats of milk, delivering a unique mouthfeel distinct from traditional cold brew.
The inspiration for milk cold brew comes from the desire to balance the intense characteristics of black coffee. Many beginners who try cold brew for the first time often find the heavy texture of pure black coffee off-putting. Hence, the creative idea of using milk as the extraction medium was born. This technique allows milk to fully extract the desirable flavor compounds from the coffee while avoiding excessive dilution, resulting in a final product that is both aromatic and smooth.
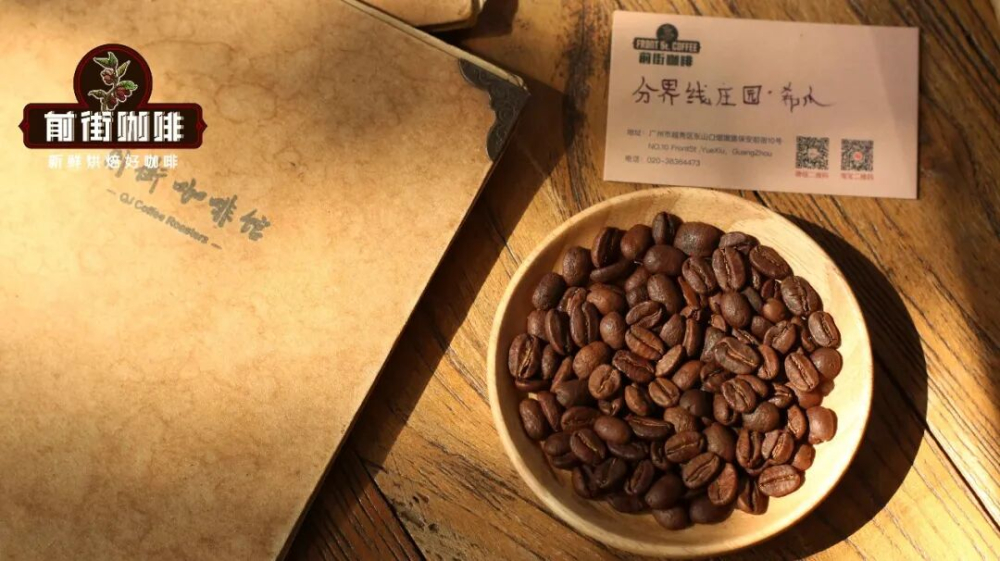
If you’d like to try pairing coffee with milk, it’s recommended to start with medium to dark roasted beans that have notes of caramel, chocolate, or cream. These types of beans typically showcase rich buttery, nutty, or dark chocolate profiles, which pair excellently with the thick texture of milk. For example, common medium to dark roast beans with chocolate and buttery notes, or those highlighting creamy and nutty aromas, are great beginner-friendly options.
If you prefer a brighter flavor profile with more pronounced fruitiness, you can opt for medium roasted beans—especially those described as having flavors of ripe tropical fruits, dried fruits, or a slight fermentation note. Such beans often carry refreshing fruit tones like passionfruit, pineapple, or raisins, bringing a completely different taste experience to your milk cold brew.
To achieve a more rounded overall aroma in your milk cold brew, it’s advisable to choose beans with excellent balance and rich flavor layers. Whether you add milk to the coffee grounds before extraction or mix it in after brewing, freshness of the beans should be a priority. To maximize flavor expression, it's best to grind and brew fresh to retain the maximum amount of aromatic compounds. As for the milk, it’s recommended to use fresh milk with higher fat and lactose content, such as commonly available premium brand fresh milk, to create a silkier texture and creamier mouthfeel.
Below is a set of tested and stable parameters for making milk cold brew: using 30 grams of coffee beans(it is recommended to use medium to dark roasted beans, such as Queen’s Estate),a coffee-to-milk ratio of 1:12, along with 360 grams of fresh milk, and grinding the coffee beans to a coarseness suitable for cold brew—approximately the EK43s at setting 10.5, C40 grinder at 26, or using a Chinese No. 20 standard sieve to achieve about 75% coarse powder. Place the mixture in a sealed container and let it steep in a low-temperature environment for 8 hoursto allow the coffee flavors to fully develop and integrate with the milk.

The actual operation steps are similar to regular cold brew: first, put the ground coffee into a sealable glass bottle or container, slowly pour in the fresh milk and gently stir to mix evenly. Then, seal the bottle opening with two layers of plastic wrap to prevent absorbing odors from the fridge and to ensure no air enters during the steeping process. After refrigerating for about eight hours, take it out and carefully filter out the coffee grounds with filter paper. Please note that due to the higher viscosity of milk, the filtering speed might be slower—patience is advised or you can use a fine filter mesh to assist.
The milk cold brew is ready to drink right after filtering. However, if you’re aiming for an even better mouthfeel, it’s recommended to let it sit sealed in the refrigerator for another hour to allow the flavor compounds to further infuse into the milk, enhancing overall smoothness and flavor integration.
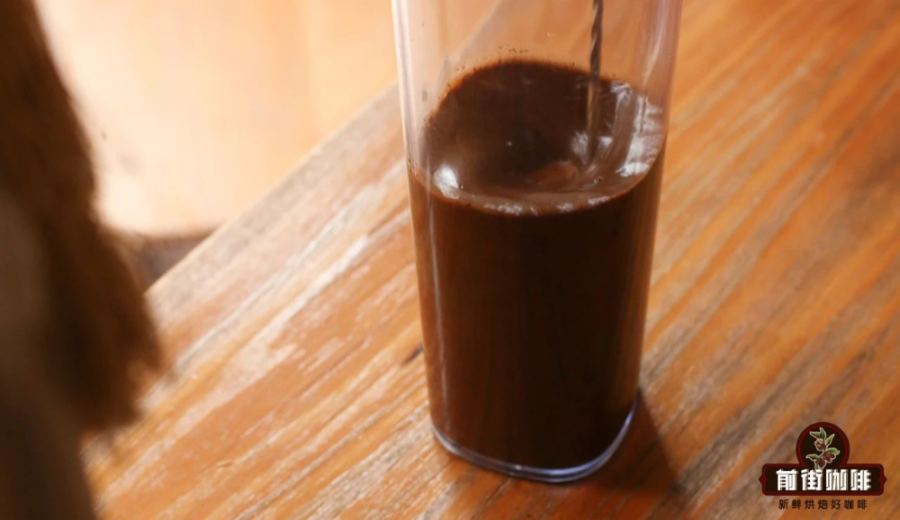
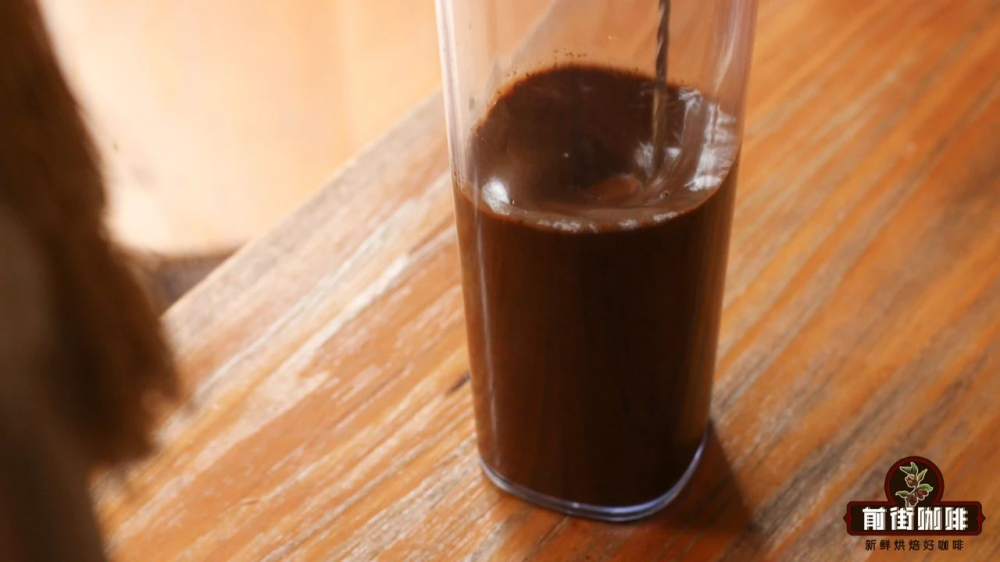
Visually, the finished milk cold brew usually presents a deep milk-tea color with a texture noticeably thicker than regular cold brew, similar in appearance to an iced latte. When tasted, taking Queen’s Estate as an example, the milk cold brew often carries aromas of hazelnuts, mixed nuts, and roasted peanuts. It has a smooth and creamy mouthfeel, almost like sipping a chilled Ovaltine—warm and comforting. It’s perfect for hot summer days or relaxing afternoons.
The above content is compiled by CoffeeHunters, a coffee news website.


