








Introduction:Want to make a latte at home that’s as smooth and silky as those from a café? The key lies in mastering the science of milk frothing and the correct blending techniques. This article delves into the scientific principles behind milk frothing, helping you understand the roles of milk fat and lactose during the frothing process. It also provides practical solutions to three common issues—insufficient espresso extraction, poor milk texture, and incorrect frothing technique. From bean selection tips to a six-step operational guide, it takes you step-by-step to craft professional-level lattes.
The real challenge in making a smooth, layered latte at home often isn’t the choice of coffee beans, but the techniques of frothing milk and integrating it with coffee. This guide starts with the physical principles of milk frothing, detailing the roles of milk proteins, lactose, and milk fat during the process. It also offers specific solutions to three common problems faced by home baristas: espresso extraction quality, insufficient milk concentration, and incorrect frothing posture. Additionally, it outlines six key steps from pouring milk to completing latte art, helping you systematically master the core techniques of latte-making.
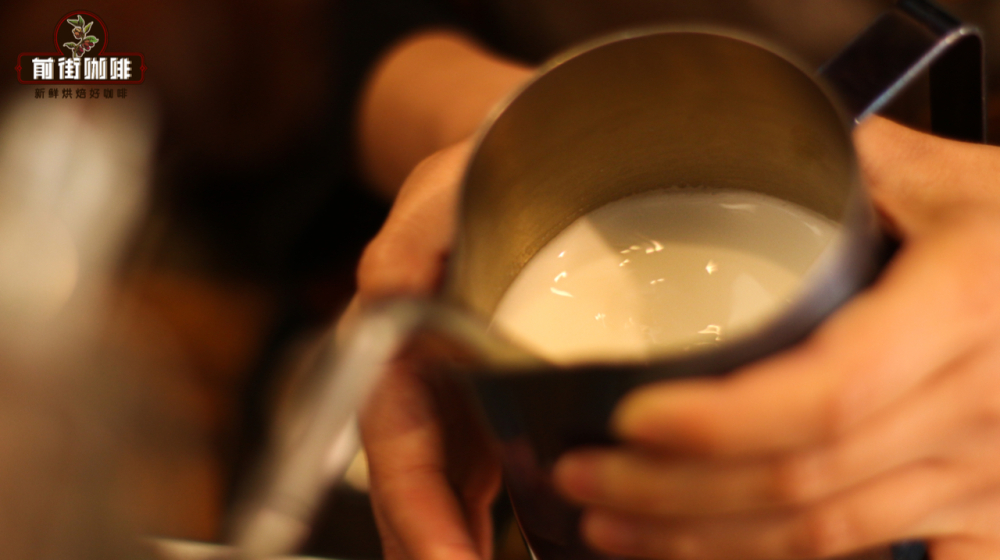
The reason milk can be frothed into fine foam lies in using steam pressure to inject air into liquid milk. Thanks to the surface tension created by milk proteins, this air is encapsulated into tiny bubbles, causing the milk to expand in volume and eventually form a delicate foam. As the temperature rises, lactose dissolves into the milk, and the frothing motion traps this lactose within the foam structure. Milk fat plays a crucial role in stabilizing the bubbles, ensuring the fine foam doesn’t collapse quickly. When you sip, these tiny bubbles burst in your mouth, effectively releasing aroma and flavor, giving the milk a rich and velvety texture. Moreover, the molecular bonding between the foam and coffee is stronger, allowing them to blend tightly—preserving their individual characteristics while achieving a harmonious and unified taste.
Many who try making lattes at home report that even when following the steps, they often encounter the problem of the milk foam not blending evenly with the coffee. What’s the reason behind this?
The primary issue might be subpar espresso quality. The foundation of a successful latte with good latte art is a thick and stable coffee crema. If you’re just starting out at home, it’s recommended to choose a dark roast blend. These beans usually produce a richer and denser crema, making them suitable for both Americano and latte.

If you prefer a less intense flavor, you might consider blends with notes of nuts, chocolate, and fruit. These beans generally have a softer taste, are great for everyday drinking, and complement milk well.
Another common issue is insufficient milk concentration. Many people find their homemade lattes tasting weak, with blurry latte art patterns or easily dissipating foam. In contrast, café-made lattes often have a stronger coffee flavor, more pronounced sweetness from the milk, and clearer, longer-lasting latte art. The key lies in using fresh milk with higher lactose and fat content. Compared to regular room-temperature whole milk, this type of milk can significantly enhance the overall texture and flavor of your latte.
Lastly, the posture and technique used in frothing the milk are also crucial. Many cases of failed latte art are not only related to the quality of the espresso and milk itself, but the thickness and uniformity of the milk foam are often the deciding factors. If the foam is too thick, it’s hard to mix evenly with the coffee; if it’s too thin, it won’t form clear white patterns, leading to failed latte art.
Here are practical steps for frothing milk: First, it’s recommended to use chilled milk and fill the pitcher to about half capacity. Next, start the steam wand to purge any condensation. Then, adjust to an appropriate angle and turn on the steam; if the steam pressure is adjustable, gradually increase it to the desired intensity. When the milk reaches about 60% of the pitcher’s capacity, focus on texturizing the milk—adjusting the steam power slightly as needed to create a stable whirlpool. Use your hand to feel the outside of the pitcher; once it becomes too hot to touch, turn off the steam. Finally, gently shake the pitcher—not only does this ensure proper integration of the milk foam, but it also helps check its fineness and fluidity—then combine it with the espresso and complete the final latte art step.
The above content is compiled by CoffeeHunters, a coffee news website.


