







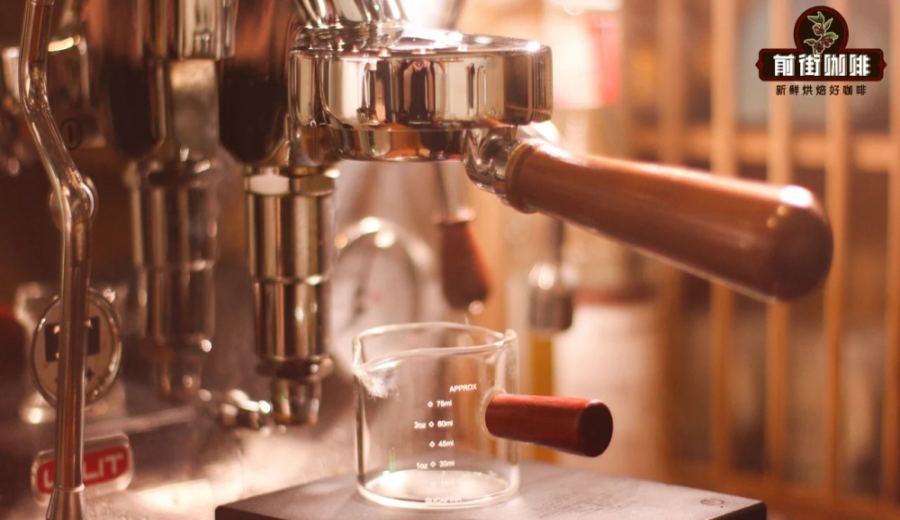
Introduction:Brewing a balanced and layered espresso shot is never as simple as just pressing a button. Every stage—from pre-infusion initiation, main flavor release, to determining when to stop extraction—affects the final flavor profile. This article delves into the three key steps of espresso extraction, analyzing carbon dioxide release, channeling effects, and the sequence in which flavor compounds are extracted. It also provides methods for judging the optimal stopping point, helping coffee enthusiasts and professionals precisely grasp the logic behind parameter adjustments to optimize the flavor structure of every shot.
A memorable espresso shot actually hides a rigorous extraction process behind it. From the moment the portafilter is locked into the group head, the coffee grounds go through three crucial stages: pre-infusion, main flavor release, and determining when to end extraction. Among these, pre-infusion not only influences the efficiency of carbon dioxide release but is also closely related to the occurrence of channeling. During the main extraction phase, acidic, sweet, and bitter compounds are released in sequence, creating a rich taste profile. Finally, how to determine the stopping point—whether based on time, liquid volume, or observing changes in crema color—is the key to the final flavor. This article will use common commercial blends as examples to systematically analyze the operational principles and practical techniques at each stage of espresso extraction, helping you make precise adjustments during operation, avoid common pitfalls, and deeply understand the core elements that still require human control even under “one-touch extraction” settings.
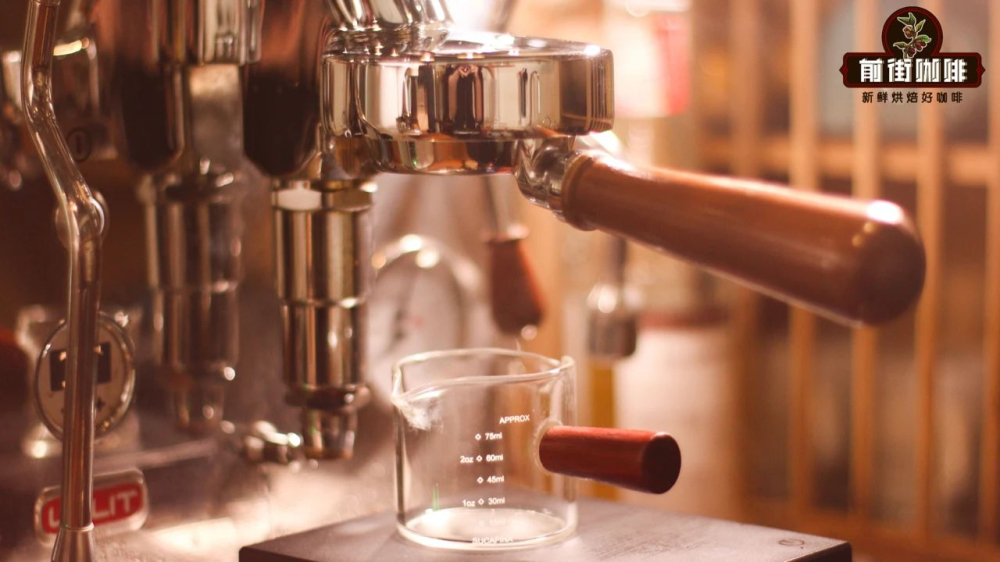
When discussing espresso preparation, many people often focus on the preparatory actions before locking in the portafilter—such as dose distribution evenness and tamp pressure—which indeed have a significant impact on the final flavor. However, once the extraction process begins, many baristas tend to overlook the complex changes the coffee grounds undergo inside the group head. In fact, only by understanding what happens at each stage as water passes through the coffee puck can one more effectively fine-tune parameters and thus stabilize shot quality.
Stage One: Pre-Infusion — The Preparatory Step Before Extraction Begins
The mechanism of pre-infusion is similar to the blooming step in pour over coffee, mainly using a small amount of hot water to initially wet the coffee grounds, prompting the release of internally trapped carbon dioxide. Especially for older machine models that lack a pre-infusion function, stricter requirements are placed on the coffee bean’s rest period; insufficient rest leads to excessive residual CO₂ in the beans, resulting in thin flavors and coarse crema during extraction. Most modern espresso machines are now equipped with pre-infusion features, with the standard procedure being to release water without added pressure for about 2 to 3 seconds after the portafilter is locked in. This allows the coffee grounds to fully absorb water, expand, and expel gases, thereby laying a stable and efficient foundation for subsequent extraction stages.
It’s worth noting that high-pressure water should not be used during the pre-infusion stage. Using the usual 9-bar pressure for pre-infusion can very likely break through the surface of the coffee puck, creating pinholes—commonly known as channeling—which severely affects the overall uniformity of extraction. The duration of pre-infusion is closely related to the freshness of the coffee beans; generally, the fresher the beans, the longer the required pre-infusion time to adequately release CO₂. In practice, it’s recommended to keep pre-infusion time between 5 to 10 seconds, which can be flexibly adjusted according to bean characteristics and machine performance.
For machines equipped with electronic control systems, users only need to set the pre-infusion duration to easily achieve this step with one touch. For manual models with pre-infusion functionality, pressure and brew head water flow rate need to be manually regulated to ensure operational accuracy.
Stage Two: Flavor Compound Extraction — The Orderly Release of Acidity, Sweetness, and Bitterness
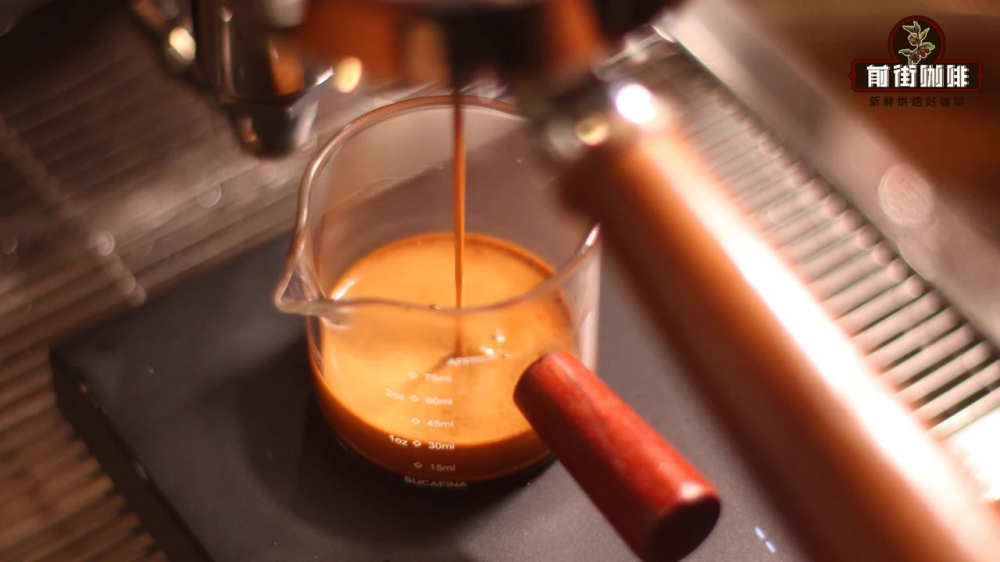
Once pre-infusion is complete, the main extraction phase immediately follows. At this point, the group head pressurizes the puck with 9-bar pressure, and the pre-wetted coffee grounds rapidly dissolve various flavor compounds. Typically, after pre-infusion ends and pressure reaches 9-bar, the espresso liquid will begin to flow out.
In terms of the order of flavor release, the first to be extracted are the bright acidic compounds, followed by the sweet components that bring a round mouthfeel, and finally the bitter compounds. If you were to collect the espresso shot in three separate containers—early, middle, and late—you would observe clear differences: the early-stage crema is darkest, presenting a rich brown color, with the highest concentration and a strong sharp acidity upon tasting; the middle-stage crema is slightly lighter, with a golden hue, better fluidity, lower concentration than the early stage, and an overall more balanced mouthfeel; the late-stage crema appears thin, with a pale yellow tint, and offers a blend of mild bitterness and sweetness, reminiscent of the aftertaste of barley tea.
Actual flavor expression is also closely related to the roast level of the coffee beans used. Taking medium-dark roasted espresso blends as an example—such as certain commercial recipes that emphasize nutty aromas and sweetness—these espressos typically exhibit low acidity and a full-bodied character. Meanwhile, for consumers who prefer floral-fruity profiles and lower bitterness, some premium blends can deliver complex notes such as rose, grape, blueberry, and almond. Whether making Americano or latte, these offer a richly layered taste experience.

Stage Three: Ending Extraction — The Key to Judging the Optimal Stopping Point
So, when should you stop extracting espresso? Should you base it on time, liquid volume, or the moment the crema turns white? Based on practical experience, it’s recommended to combine all three indicators for judgment. Crema turning white usually means most of the high-quality flavor compounds have already been extracted, and at this point, you should consider stopping. However, if you stop too early—before the crema has turned white—you may interrupt extraction before some undesirable flavors are released. While this avoids certain off-flavors, it may also result in insufficient yield, making the overall taste overly intense with a short aftertaste.
Therefore, in addition to observing crema changes, you should also refer to time and liquid volume parameters for auxiliary judgment. It’s generally recommended to keep extraction time between 20 to 30 seconds. Although not an absolute standard, this can serve as a reference for adjustments. By comprehensively evaluating time, output volume, and crema condition, you can more accurately determine the optimal stopping point for each shot, ensuring balanced flavor and distinct layering.

Even when using a semi-automatic espresso machine with one-touch extraction functionality, besides ensuring basic operations like even dose distribution and proper tamping, it’s equally important to deeply understand the extraction logic behind that one touch. After all, every step covered by that single button still relies on precise human settings and continuous optimization.
The above content is compiled by CoffeeHunters, a coffee news website.


