








Introduction:On a hot summer day, a uniquely flavored cold drip coffee is the perfect companion to beat the heat. Many assume that making cold drip at home is impossible, but in reality, with just a filter cone, filter paper, ice cubes, and coffee grounds, you can easily create a "homemade version of a cold drip setup." This article details a tool-free production process, key parameter settings, common mistakes to avoid, recommended coffee beans ideal for cold drip, and finally explains cold fermentation and shelf life—allowing you to enjoy professional-grade cold drip flavors at home.
During the high-temperature season, cold drip coffee stands out with its crisp and rich taste, becoming the top choice for many coffee enthusiasts. Some cafés’ cold drip products have recently been selling out frequently—not only because of their flavor profile, which is distinctly different from regular iced coffee, but also because many believe it’s “hard to replicate at home.” However, by mastering the right method, without needing an expensive cold drip machine, you can successfully brew excellent-tasting cold drip coffee using everyday pour over tools and simple ingredients.
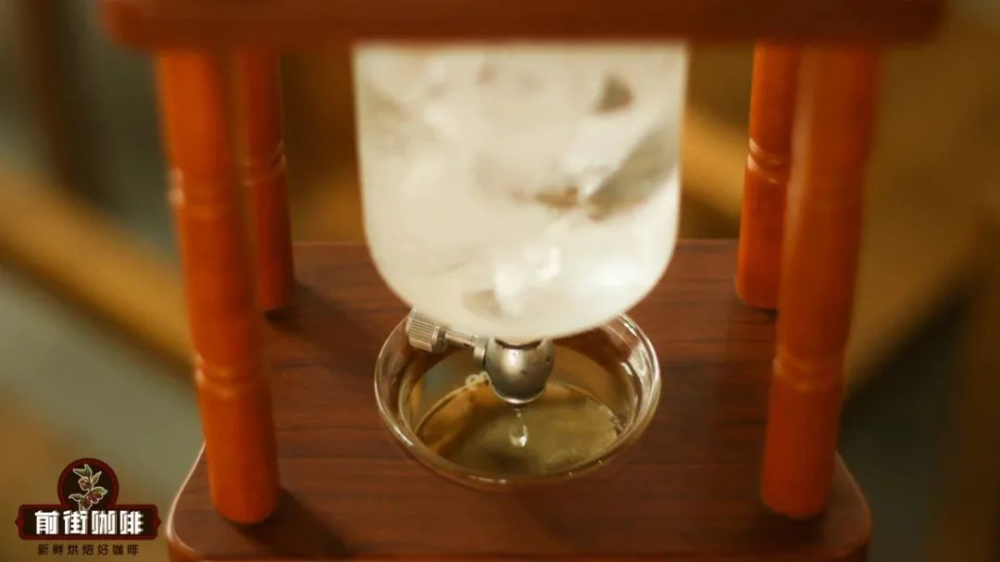
Cold drip coffee is part of the cold brew family, made by slowly dripping ice water over a long period to extract the coffee. The traditional method relies on a specialized cold drip brewer that uses a flow-restricting valve to control the dripping speed, extending the contact time between water and coffee grounds to fully extract flavor compounds. But cold drip brewers are relatively expensive, the operation is somewhat complex, and they’re not used often—deterrents for many coffee lovers.

In fact, by flexibly using available tools, you can build a simplified "home cold drip system." The online method of using a filter cone and ice cubes not only uses easily accessible equipment but also involves relatively simple steps—perfect for beginners. The core idea of this method is to use the natural melting of ice to generate water that slowly drips through the filter cone, gradually extracting the essence of the coffee.
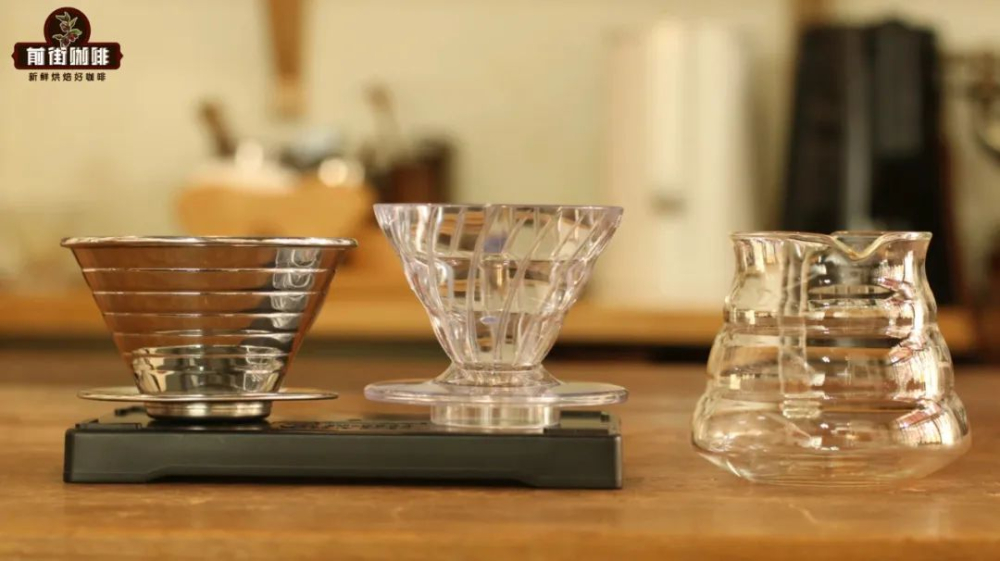
To get started, you’ll need a container to collect the brewed coffee, one or two commonly used pour over cones, two sheets of filter paper that match the size of your cone, along with coffee grounds and ice cubes. For this demonstration, we’re using a Costa Rican strawberry sugar bean variety, but readers can adjust the bean type based on personal taste preferences.
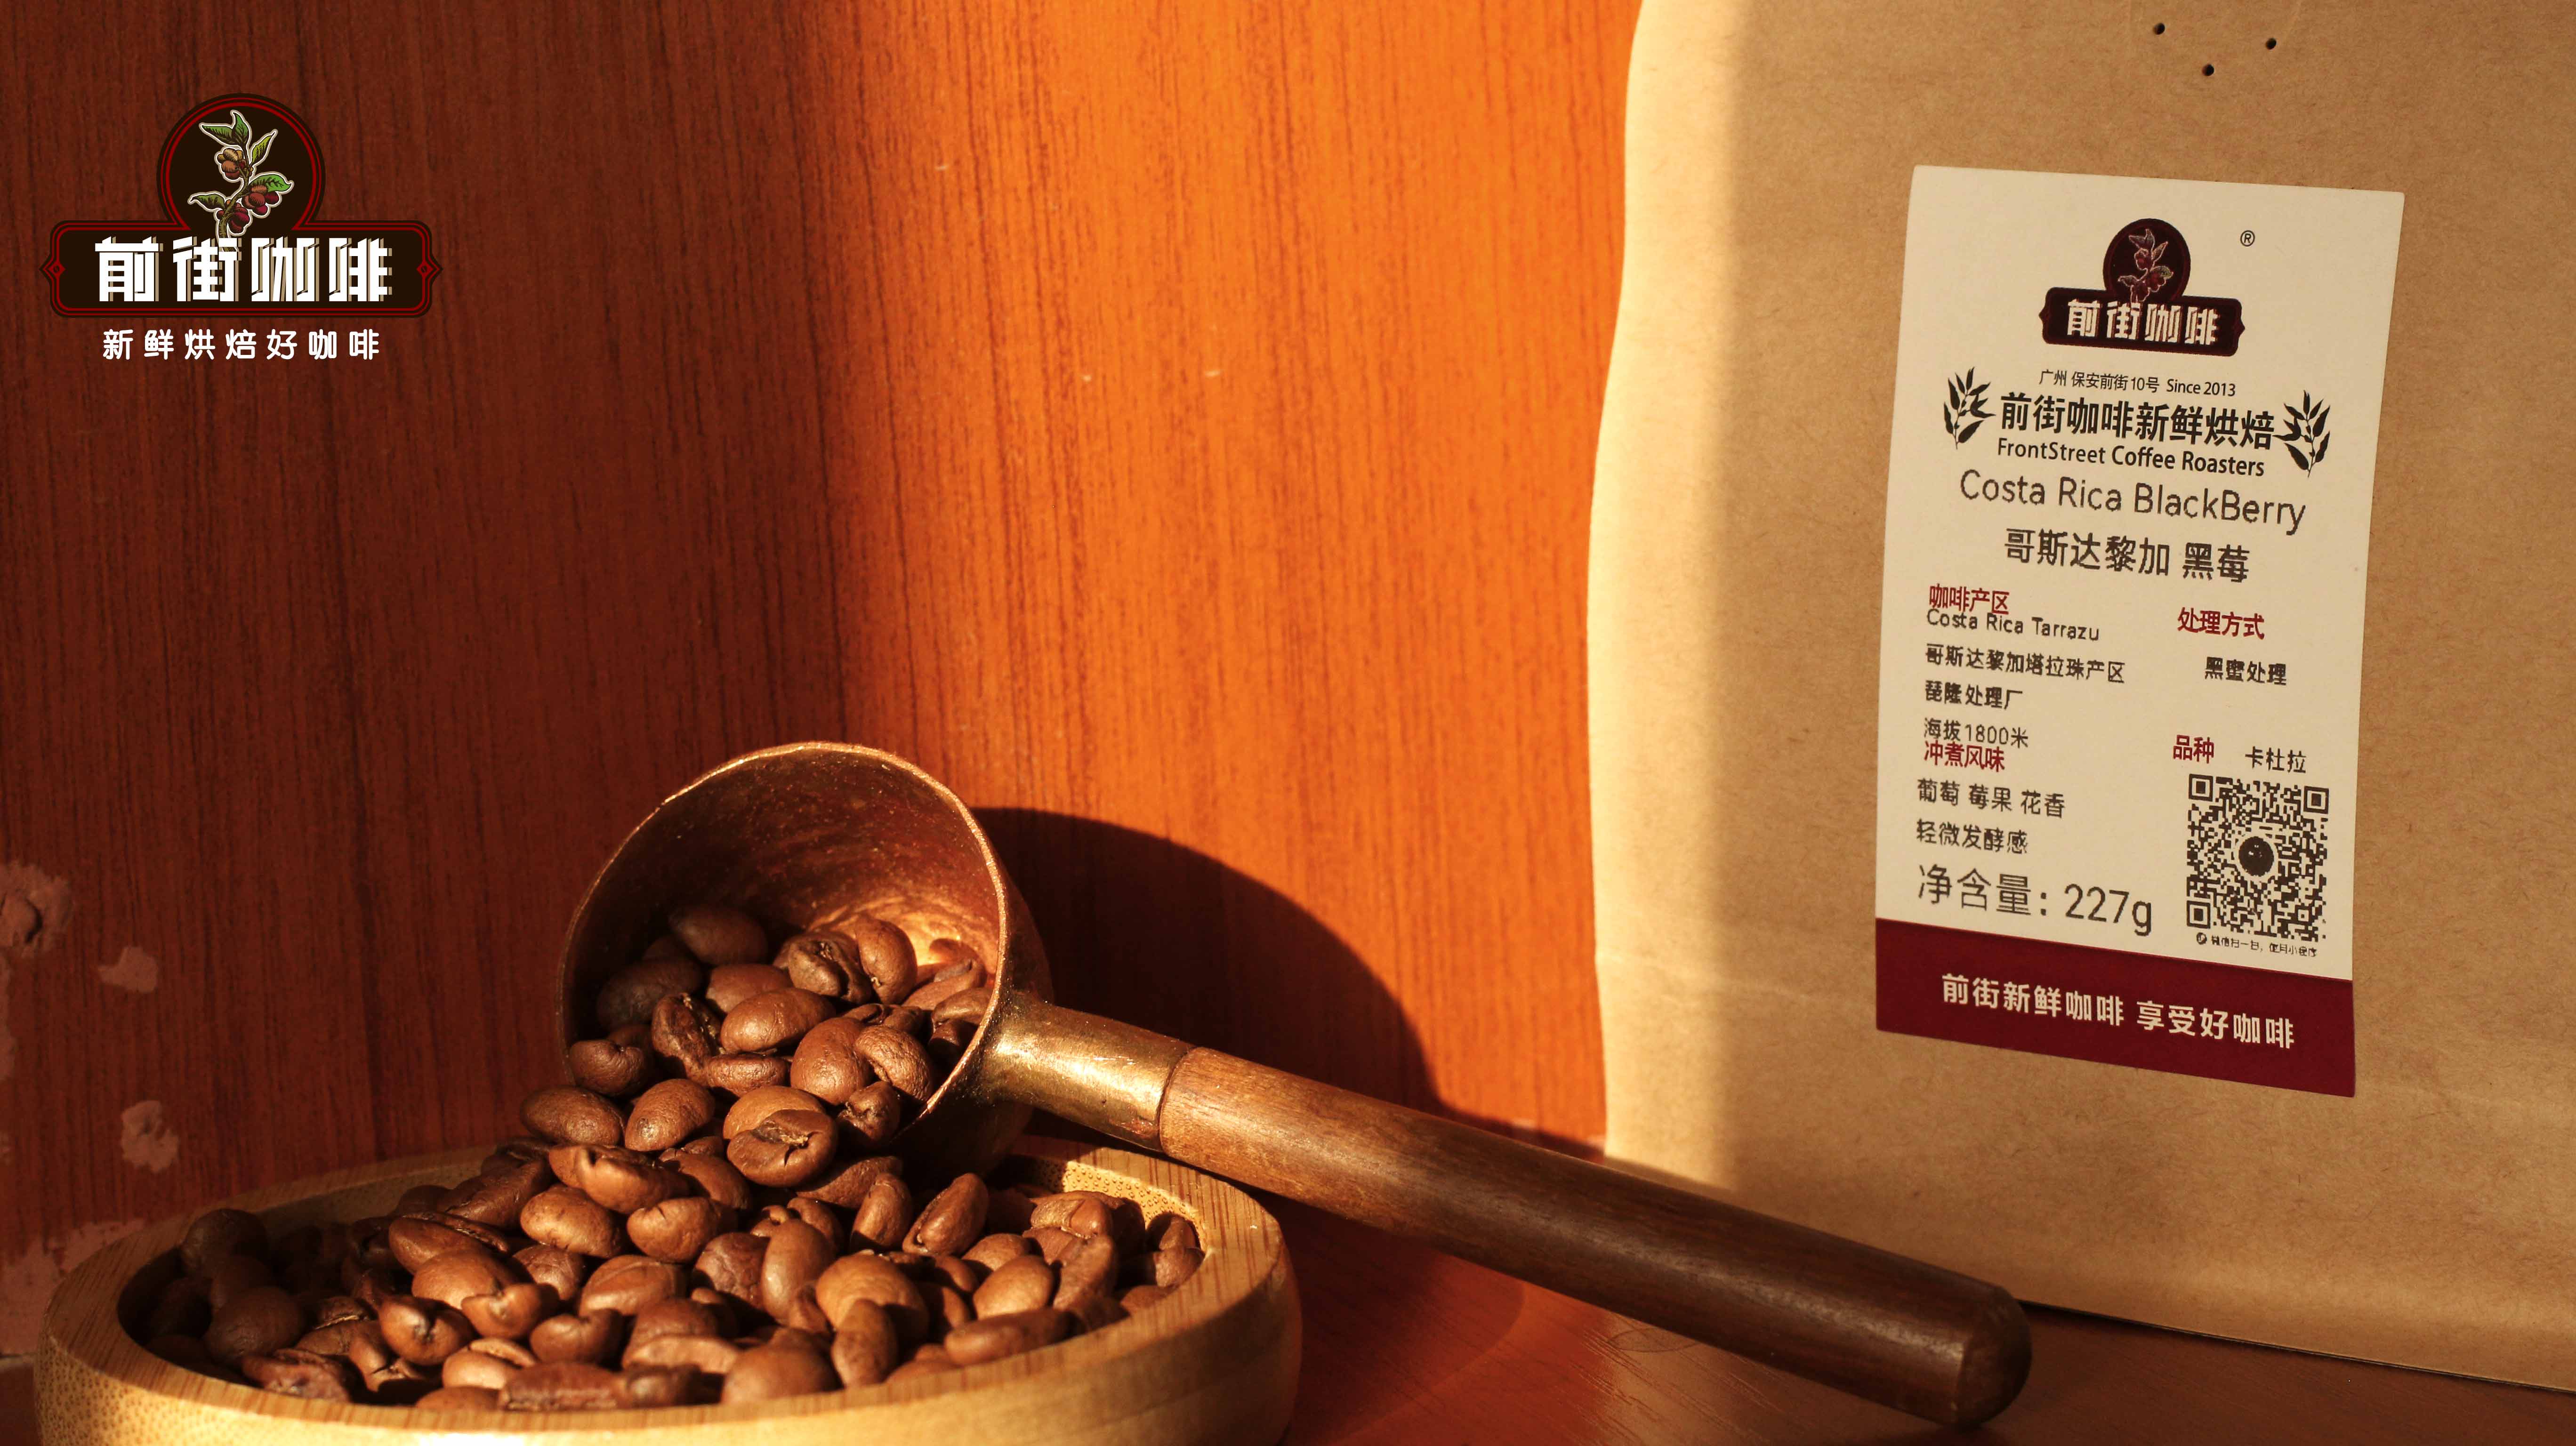
Here are several coffee varieties recommended for cold drip: A certain brand’s "Hana Hana" is processed with Ethiopia’s traditional sun-drying method, offering tropical fruit notes with balanced acidity and sweetness and low bitterness, tasting especially refreshing when served cold; "Blackberry" uses a unique black honey process that preserves the coffee fruit mucilage, delivering a complex aroma of grapes, oranges, and berries; "Kissato" hails from Colombia’s Huila region, featuring double anaerobic sun-drying that imparts aftertastes of passionfruit, grapes, and almonds; "Mozart" is made with raisin honey processing, showcasing layers of blueberry, black grape, and wine-like fermentation—ideal for those who enjoy bold fruit flavors.
During the brewing process, grind size is a key factor affecting extraction efficiency.Because the structure of a filter cone differs from that of a cold drip brewer’s coffee chamber, it is recommended to grind the coffee slightly finer by one level.The specific parameters can be set to 8.5 on the Ek43 grinder (approximately 90% extraction through a #20 sieve, close to the fineness of caster sugar, about two levels finer than a standard hot pour over grind). Using 25 grams of coffee grounds with a 1:10 coffee-to-ice ratio will ensure sufficient extraction.
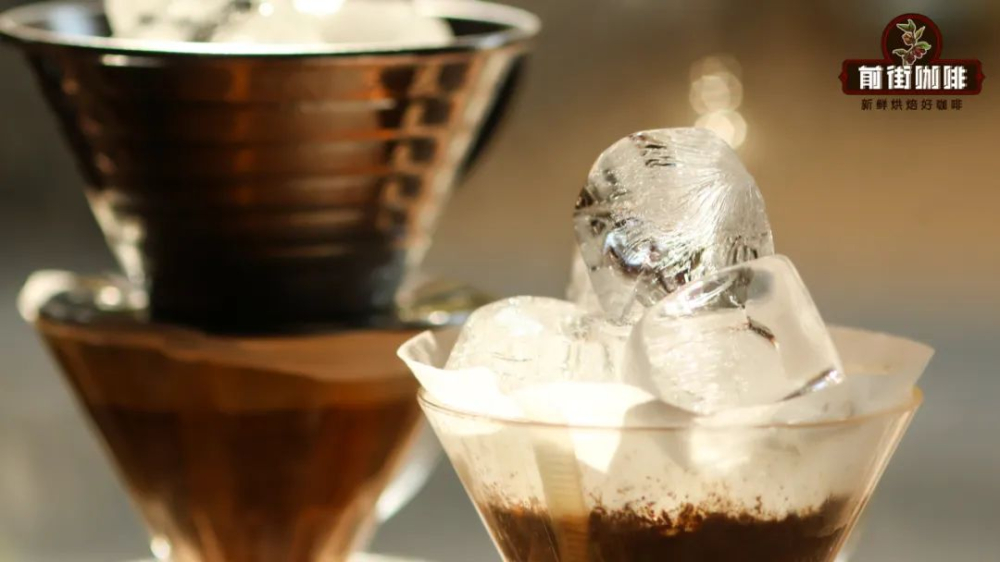
The specific steps are as follows: First, wet the filter paper and place it in the filter cone, then add the coffee grounds and perform a bloom.The purpose of this step is to wet the coffee bed, not to degas. It is advised to pour with a low height and small water volume to avoid disrupting the coffee bed structure. After blooming, discard the low-temperature initial drip that hasn’t extracted well. Then lay two moistened filter papers on top (or circular filter papers if using a smaller amount of coffee), and evenly place the ice cubes on them. If the filter cone doesn’t have enough space, you can add ice in batches or use a dual-cone setup.
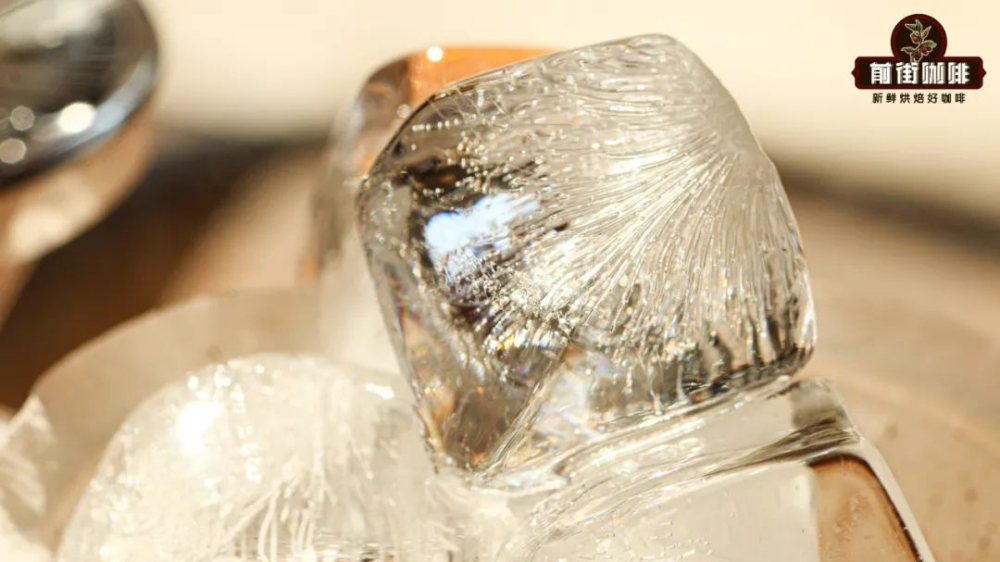
It’s important to note that when the ice cubes directly touch the filter paper, ensure the paper is fully laid out to prevent melted ice water from directly impacting the coffee bed. If using a single filter cone for the ice, choose a larger-sized model and replenish the ice in portions to maintain stable extraction. Once all the ice has completely melted, remove the filter cone to complete the initial extraction.
But at this point, the coffee liquid has not yet reached its optimal flavor state,and it needs to undergo at least 8 hours of refrigerated fermentationto develop a richer wine-like aroma and layered complexity. It’s recommended to store the coffee liquid in a sealed bottle or cover it with plastic wrap and place it in the refrigerator. You can extend the fermentation time according to personal preference to enhance the fruitiness and wine notes.
After refrigeration, you can enjoy it with ice cubes as desired. Under refrigerated conditions, cold drip coffee can be stored for about 3 to 5 days—the flavor may evolve but remains pleasant. If left at room temperature, it’s best consumed within 24 hours to avoid flavor degradation or spoilage risks.
In summary, making homemade cold drip coffee isn’t complicated—the key lies in mastering grind size, the ice-to-water ratio, and the refrigerated fermentation time. With simple tools and the correct steps, not only can you save on the cost of buying professional equipment, but you can also adjust the coffee variety and parameters to your taste, crafting your own unique cold drip experience.
The above content is compiled by CoffeeHunters, a coffee news website.


