







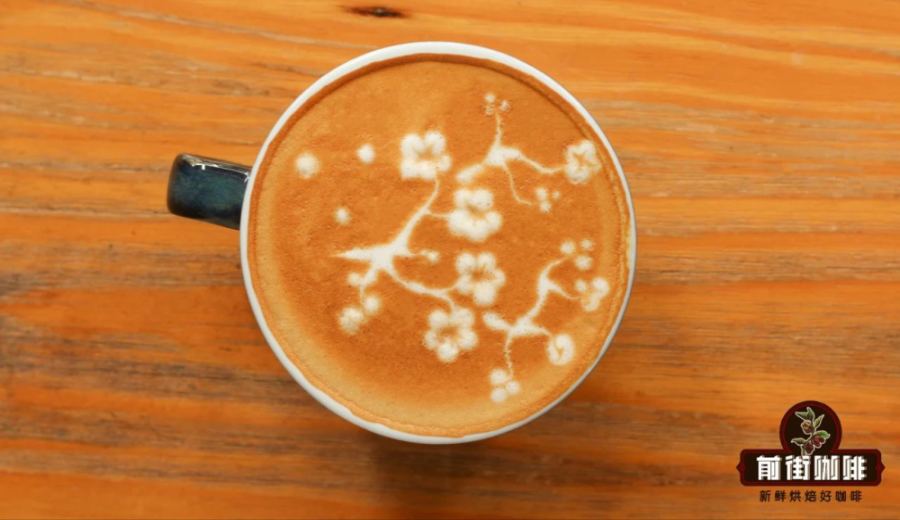
Introduction:Want to learn latte art but don’t know where to start? This article breaks down the fundamental process of milk-based latte art, from tool selection and pouring technique to step-by-step demonstrations of the tulip and leaf patterns. By mastering the injection point positioning, pouring rhythm, and flow control, even beginners can consistently pour symmetrical designs. The article also includes key pointers on espresso extraction to help you craft an ideal espresso base suited for latte art, thereby elevating both the visual and flavor performance of your coffee.
Fancy coffee art is mainly divided into three categories: latte art, etching, and stamping. Among these, latte art and etching are collectively referred to as milk-based latte art. Latte art involves creating patterns directly on the surface of espresso through wrist control while pouring hot milk, whereas etching requires auxiliary materials such as chocolate syrup, using toothpicks or spoons to add detailed embellishments. Latte art emphasizes technical proficiency, while etching showcases creative ingenuity. To master milk-based latte art, one typically goes through stages including selecting a suitable pitcher and cup, practicing water flow stability, getting familiar with basic patterns, hands-on practice, and finally advancing to skill refinement. This article takes the classic tulip and leaf patterns as examples, delving into key elements such as injection point angle, flow rate adjustment, and pouring rhythm, and explains how to create an ideal latte art base using well-blended espresso.
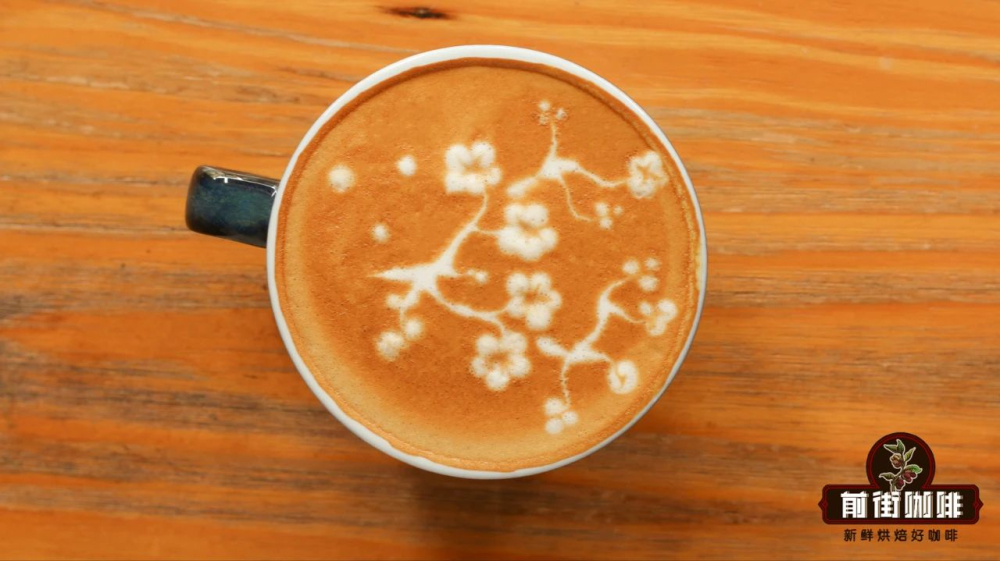
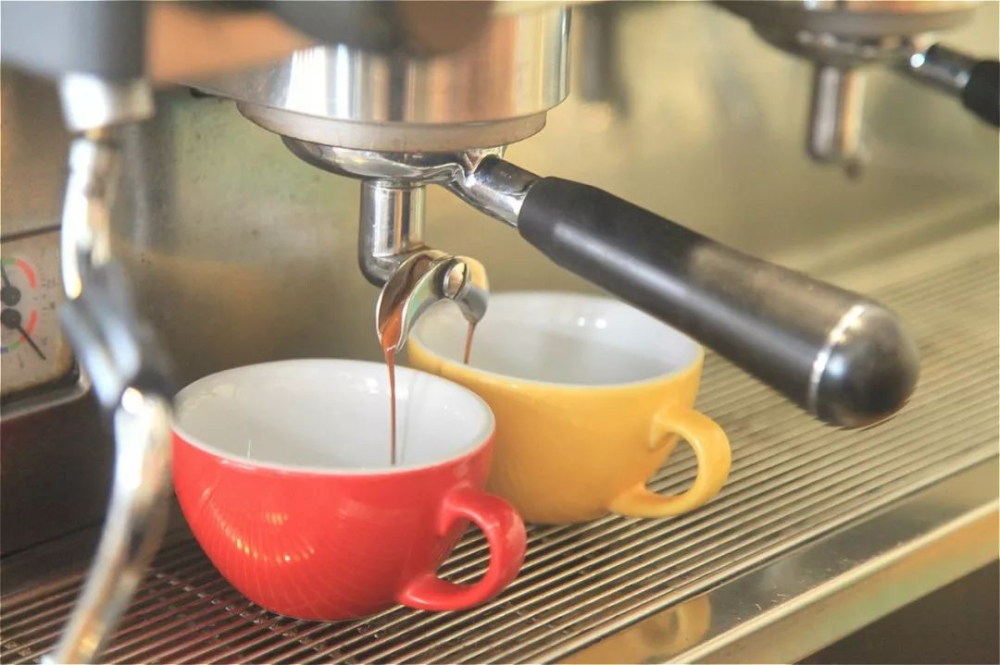
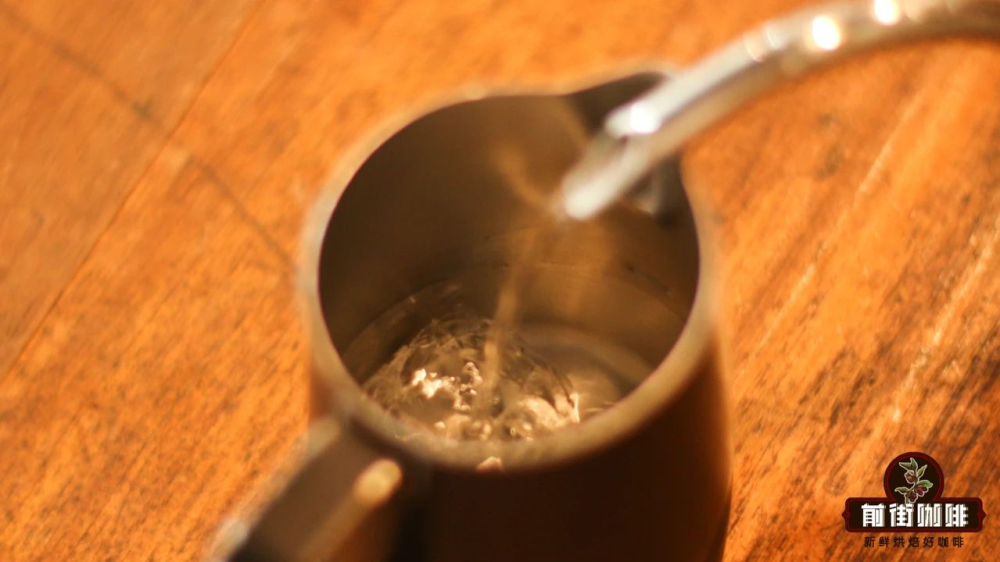
The five core steps to learning milk-based latte art begin with preparing a spouted latte pitcher and a wide-mouthed coffee cup, and ensuring that you can extract a richly crema-ed espresso — the quality and quantity of the crema directly impact the clarity of the design. At the same time, it’s essential to produce a velvety, moderately thick microfoam, which is key to supporting the three-dimensionality of the pattern. Beginners are advised to first practice water flow control using plain water, while more advanced practitioners can use dish soap mixed with soy sauce to simulate the viscosity of coffee, or even mix coffee grounds into a paste to better mimic the actual texture of espresso.
Next, you need to repeatedly practice basic patterns. The tulip and leaf are the two most beginner-friendly classic styles. Once you’ve built a solid foundation, you can move on to actual milk and coffee latte art, and ultimately improve the symmetry and smoothness of the patterns through continuous practice. Taking a certain specialty blend as an example, it uses a golden ratio of 3:7 Colombian and Brazilian beans, producing an espresso with gentle acidity, pronounced nutty aromas, and a mellow caramel finish. When milk is added, the sweetness naturally increases, and upon cooling, it even releases aroma layers reminiscent of cookie dough, adding flavor appeal to your latte art creations.
When actually performing tulip latte art, first fully integrate the milk and coffee. Then, bring the spout of the pitcher close to the center point of the cup, quickly increasing the pouring flow rate to maximum until the first distinct white dot forms on the coffee surface, then immediately stop.Precise coordination of the injection point and flow rateis crucial at this stage, to avoid the white dot being too large or too small, which could affect the overall structure. Subsequently, slightly shift the second injection point backward, maintaining a high flow rate to pour and form a second white dot. Repeat this action to stack 3–4 white dots, forming the basic outline of the tulip. The final key step lies in the finishing motion: once the last dot is formed, immediately switch to a low flow rate and use a steady straight pour to draw out the excess foam, creating a clean edge.
When practicing the tulip, pay special attention to controlling the pouring amplitude and rhythm. In the beginning, there’s no need to pursue complex etched textures; you can start by simply pushing forward twice, and only gradually increase the number of etch marks as your technique stabilizes. Remember,timely pauses and flow rate shiftsare key to creating layers — for instance, pausing briefly between forming each white dot helps define the pattern’s outline more clearly. More practice will help you grasp the dynamic changes in pattern formation, thereby improving overall symmetry and aesthetics.

The steps for pouring a leaf pattern are slightly different. First, slowly pour the prepared milk into a cup filled with espresso. In the initial phase, keep the cup slightly tilted toward the pitcher, position the injection point slightly behind the center, and avoid letting the foam surface immediately. When the coffee surface begins to show even whitening, gradually increase the milk flow rate while using soft, continuous pouring motions to create texture. Maintain steady hand movements and continue moving the pitcher backward to let the texture naturally extend and form the complete outline of the leaf.
Once the desired number of leaf sections is completed, proceed to the finishing stage: lift the pitcher to about 5 centimeters above the coffee surface, whilereducing the milk flow rate, and smoothly push out a thin line in a straight motion forward to form the leaf stem. This movement requires precise wrist control to prevent inconsistent flow that could cause the stem to break or look disjointed. With repeated practice in injection point positioning and pouring rhythm, even beginners can gradually pour symmetrical and well-layered leaf patterns.
In summary, although coffee latte art may seem complex, mastering the fundamental principles of injection point control, flow stability, and pattern structure will allow you to improve your skills through consistent practice. From the layered white dots of the tulip to the smooth textures of the leaf, every motion requires precise coordination between wrist and vision. It’s worth noting that the quality of espresso crema and the fineness of the microfoam directly affect the final presentation, so beginners are encouraged to simultaneously refine their espresso extraction techniques in order to create professional-grade latte art that excels in color, aroma, taste, and form.
The above content is compiled by CoffeeHunters, a coffee news website.


