








Introduction:Beginners learning pour over coffee often face a bewildering array of parameters and techniques, unsure where to start. This guide compiles practical advice for those new to pour over, covering essential equipment, coffee bean selection, water temperature control, brew ratio, and pouring techniques. Step by step, it will help you master the fundamentals and key details, along with actionable tips to quickly brew a well-balanced cup with distinct flavors.
The world of pour over coffee is rich and diverse, with every enthusiast having their own preferred method. Some seasoned enthusiasts pursue minimalism, believing that just three steps—grinding, dosing, and pouring—are sufficient. Others emphasize precision, adjusting each parameter based on the beans’ characteristics to achieve consistent results. For those who love experimentation, variations in technique, selection of gear, or even data analysis all become sources of fun.
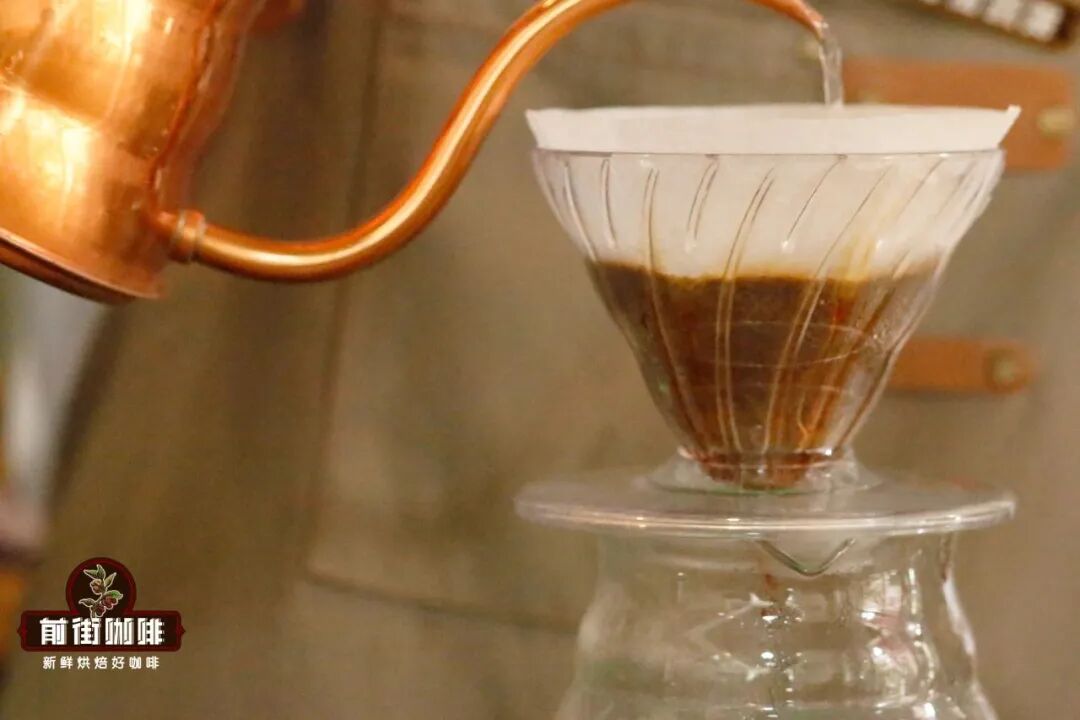
However, many beginners tend to fall into the trap of overemphasizing technical details. They search online for various tools, parameters, and tutorial videos, only to find in practice that their expectations far exceed their abilities—the resulting brews may turn out overly sour or bitter, or even lack any complexity. To these newcomers, we suggest not rushing into complex techniques, but instead starting with basic intuition, mastering a few core principles and details, choosing beans that suit your taste, and first succeeding in brewing a smooth, palatable cup.

First and foremost, preparing the basic brewing tools is essential. You’ll need a pour over kettle to control water flow, a filter cone paired with paper filters to catch coffee grounds, a grinder to achieve the right grind size, plus an electronic scale with a timer function for precise brew ratios, a thermometer to help manage water temperature, and a server (or regular cup) to hold the finished brew. While some smaller tools like the electronic scale and thermometer are often overlooked, they greatly enhance extraction consistency and flavor expression—and are affordable, so it’s advisable to have them on hand.

When it comes to choosing coffee beans, they can generally be divided into three types: those with pronounced acidity, those offering balanced flavors, and those with bold, rich profiles. If you prefer bright acidity, go for beans with floral, citrus, or berry notes. For a well-rounded cup with layered complexity, choose medium-roasted beans that combine fruitiness with baking aromas (like nuts, toast, or chocolate). If you love intense, full-bodied flavors, opt directly for dark-roasted espresso-style beans. For example, a certain brand’s Kafa Forest, a medium-light roast, highlights floral and citrus acidity, along with subtle melon seed and nut aromas—perfect for beginners to try.

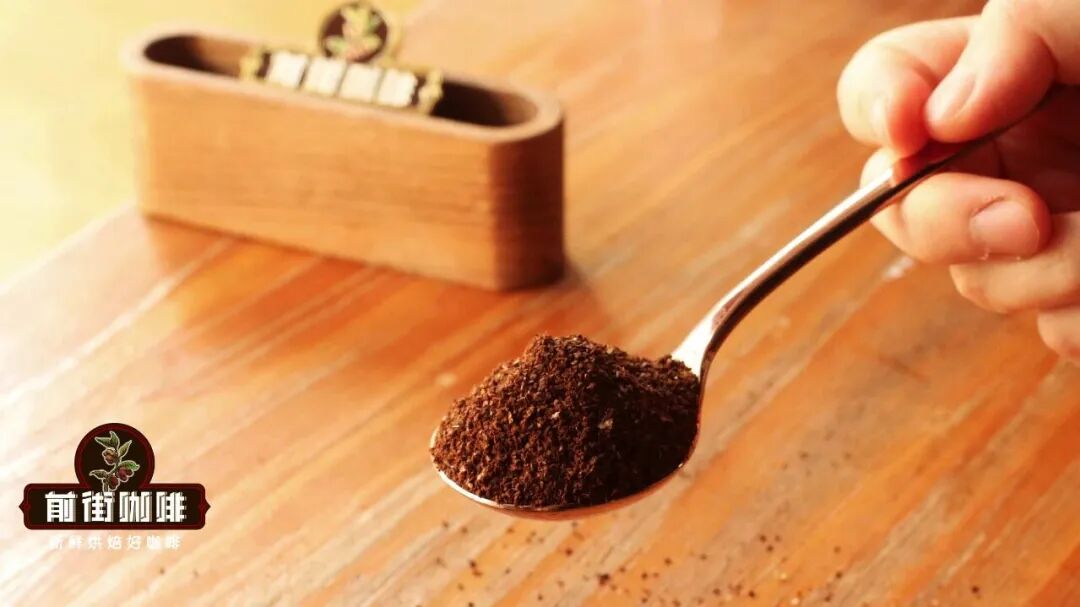
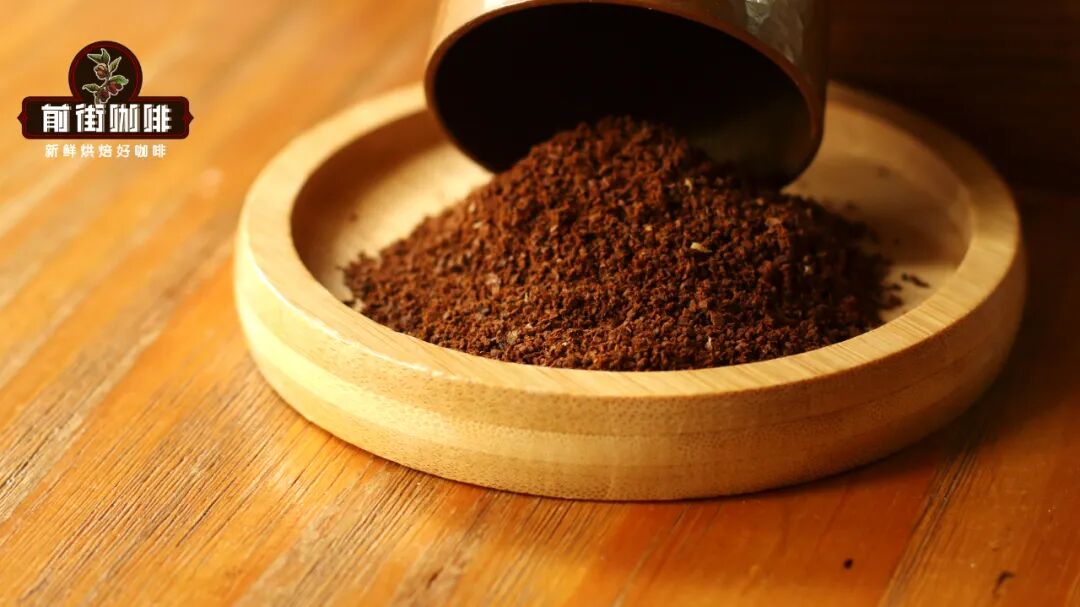
Once your gear and beans are ready, you can start brewing. Begin with weighing the beans and grinding them. A good starting point is around 15 grams of coffee beans, which you can adjust according to personal taste. Without an electronic scale, you can estimate the amount using alternative methods. Before grinding, test the grind size with 2–3 beans—the ideal texture should resemble white sugar. If too coarse, adjust the grinder 3–5 clicks finer; if too fine, adjust 3–5 clicks coarser. This is just a preliminary assessment—final tweaks should still be based on actual extraction results.
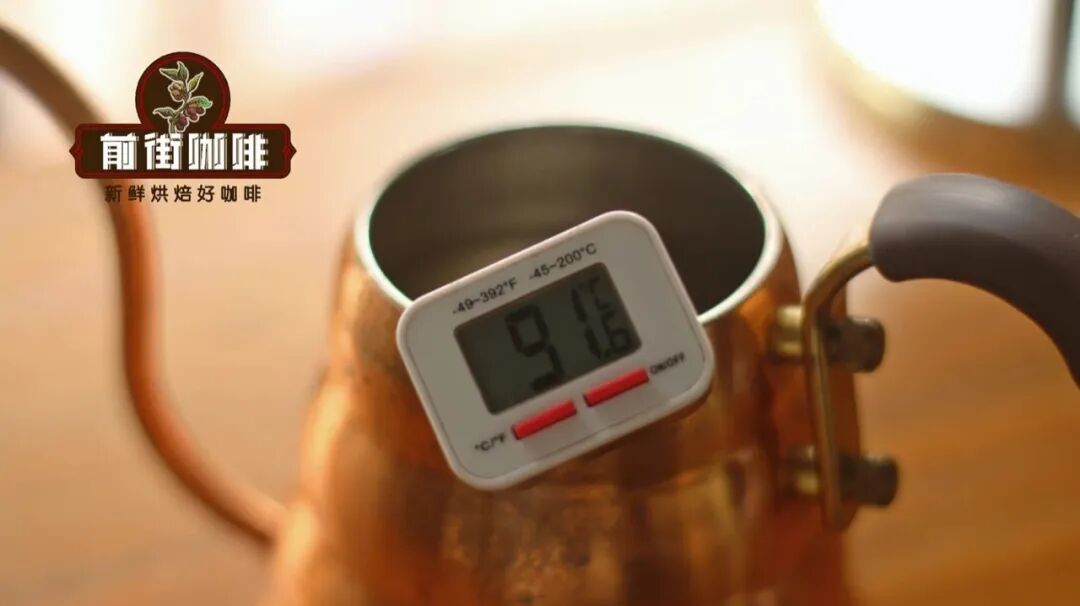
Next, prepare hot water. Beginners are advised to use a stable 90°C water temperature, which suits most coffee beans, helps avoid over-extraction or under-extraction, and brings out clear flavor notes. Without a thermometer, you can boil water, then let it sit uncovered for about 2 minutes 30 seconds to 3 minutes until it cools to around 90°C before using.
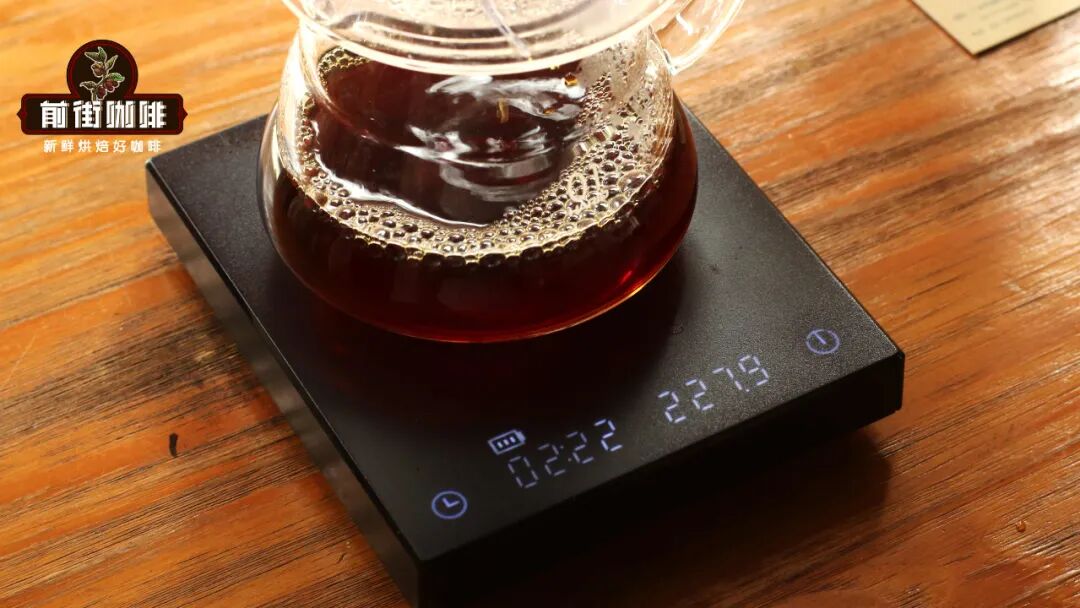
Pouring is the most critical and variable step in the pour over process. Beginners are recommended to use a 1:15 brew ratio—that is, 15 grams of coffee grounds to 225 grams of hot water—this proportion usually results in a well-balanced cup. If the coffee tastes too strong or bitter, next time increase the water amount to a 1:16 or 1:17 ratio. Without an electronic scale, you can also gradually adjust pour volume by feel and experience. Pouring doesn’t require overly elaborate techniques—the key is to ensure all coffee grounds are evenly saturated and fully in contact with the hot water within about two minutes.
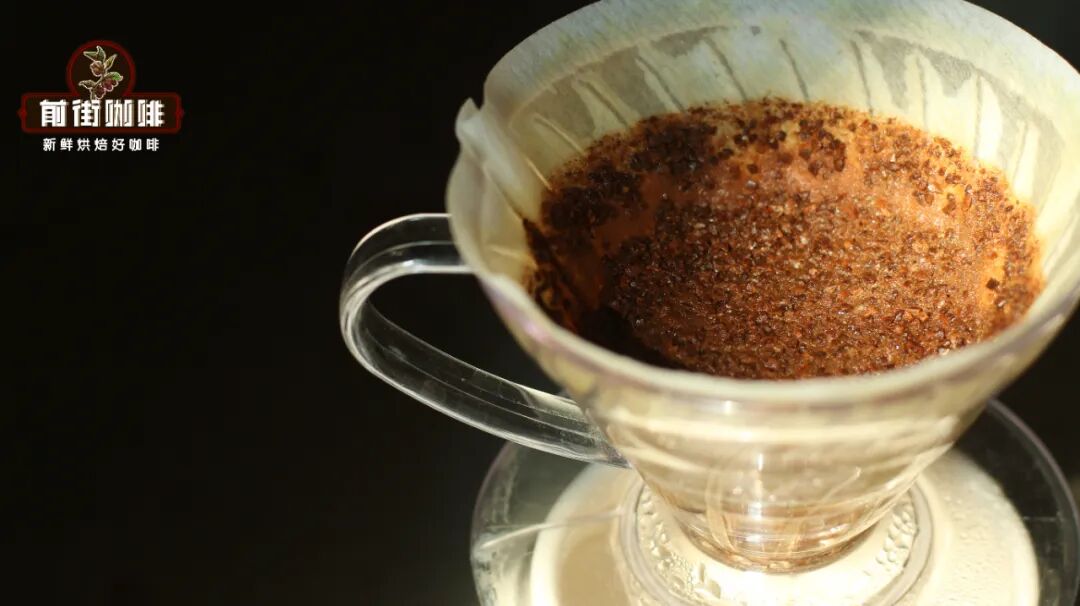
Taking the common three-pour method as an example, for 15 grams of coffee grounds and 225 grams of water, you can pour in 30 grams, then 125 grams, and finally the remaining 225 grams, keeping the overall brew time between 1 minute 50 seconds and 2 minutes 10 seconds. Observe whether the coffee grounds form a nice “dome” or “bowl” shape at the end—that’s usually a sign of even extraction. If the brew time is shorter than 1 minute 40 seconds, the flow may be too fast or the pouring speed too quick, leading to a weak or sour taste—try using a gentler, smaller stream. If the time exceeds 2 minutes 20 seconds, the coffee may have been over-soaked, resulting in heavy, bitter flavors—in this case, try increasing water flow or speeding up the pour.

Once you’ve successfully brewed a cup with balanced flavors and appropriate strength, you’ve grasped the basic pour over process and key parameters. Next, you can further observe how variables—such as grind size, water temperature, pour speed, and technique—affect the final flavor, and make flexible adjustments during actual brewing to gradually develop your own pour over style.
Remember, the charm of pour over coffee lies in its flexibility and accessibility—you don’t need expensive equipment to enjoy the pleasure of handcrafting. As long as you grasp the basics, experiment, and adjust, you too can evolve from a beginner into an enthusiast capable of consistently brewing great coffee.
The above content is compiled by CoffeeHunters, a coffee news website.


