







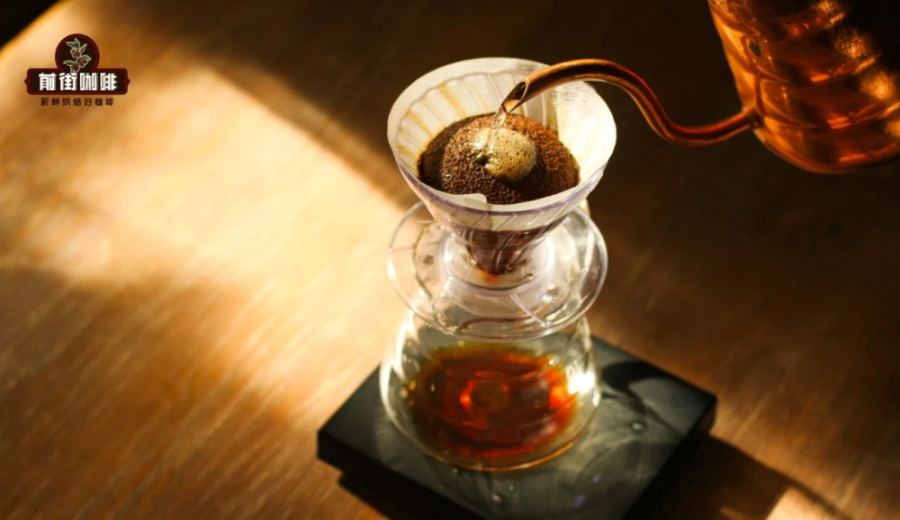
Introduction:Can you enjoy rich and creamy milk coffee flavors even without an espresso machine? The answer is yes!This article will teach you how to create high-concentration coffee suitable for pairing with milk through simple immersion brewing. From bean selection and grinding to extraction steps, we’ll detail the key parameters and techniques at each stage to help you easily brew a full-bodied coffee beverage at home.
Have you ever wondered if pour over coffee could achieve a richness comparable to a latte? Directly diluting regular pour over strength with milk often results in a thin overall flavor, unable to showcase the full body that milk coffee should have. In fact, by mastering the correct immersion brewing method, you can produce high-concentration coffee suitable for milk—even without an espresso machine or moka pot at home.
This “reverse approach” has actually become a popular brewing method in recent years: first, combine coffee grounds with hot water in a container and let them steep thoroughly, then use filter paper and a filter to remove the coffee grounds, yielding coffee liquid concentrated enough to pair perfectly with milk. Below, we’ll delve into the differences between this immersion brewing and conventional pour over, why milk coffee needs higher concentration coffee, suitable bean selections, as well as the complete operation process—from brew ratio, grind size, stirring techniques to milk proportion—all explained in detail.
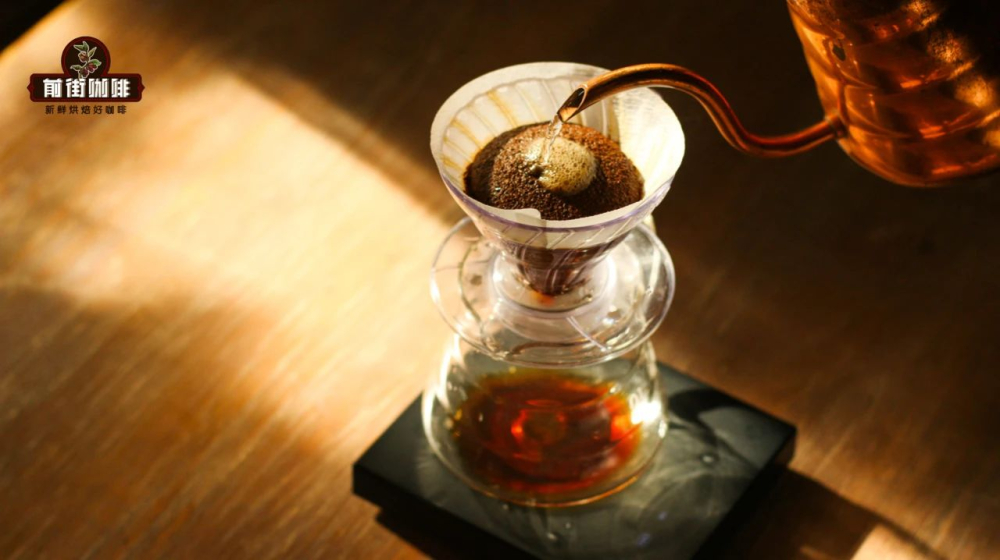
A customer once asked curiously: “Is there a way to ‘brew backwards’?” It turns out that what’s called “brewing backwards” refers to placing coffee grounds and hot water together in a container to steep, and after extraction is complete, using filter paper to separate out the grounds, resulting in a cup of higher-concentration coffee liquid. This method has recently become a trend among coffee enthusiasts.
Strictly speaking, this approach differs from the traditional pour over “brew,” and is closer to the concept of “immersion.” The filter paper and filter here only serve to filter—the real extraction occurs during the steeping phase. Therefore, it’s actually an immersion brewing method similar in principle to the clever dripper or French press. In fact, this technique has been introduced before.
Admittedly, this immersion method can indeed extract a more concentrated coffee liquid. If you don’t have pressure-based equipment like an espresso machine or moka pot at home but still want to occasionally enjoy a rich milk coffee, this is a simple and practical alternative. Next, let’s take a deeper look at how to make this high-concentration coffee suitable for milk coffee.
Why is high-concentration coffee especially emphasized when making milk coffee? Some might think that regular black pour over coffee can just be mixed with milk—why pursue high concentration? Indeed, something like French café au lait is made by combining pour over coffee with milk. However, such conventional methods usually have a higher water ratio in the coffee liquid, and the overall flavor often ends up being thin, lacking in richness and layered complexity.
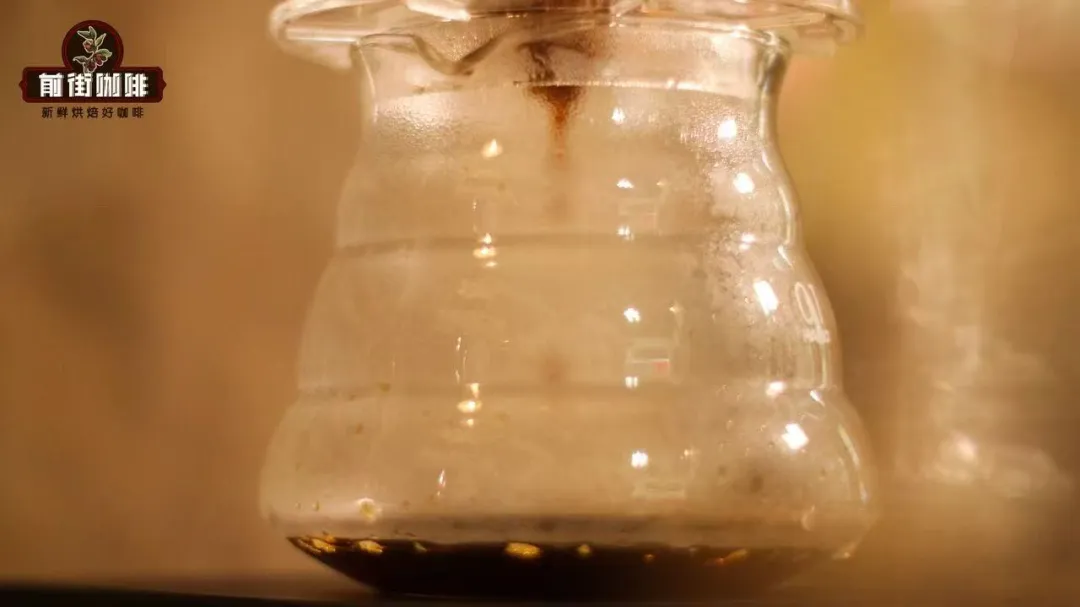
Of course, some drinkers may prefer this relatively lighter milk coffee taste. But for most people, a satisfying milk coffee typically should have a richer flavor, a fuller mouthfeel, and a more balanced concentration. Therefore, we need to increase the overall concentration of the coffee liquid and relatively reduce the water ratio to avoid dilution of flavor, allowing the final milk coffee to offer a richer taste experience.
Achieving this effect is actually quite simple: just place coffee grounds and hot water in any container, stir moderately, let it steep, and finally filter out the coffee grounds with filter paper or a filter to get a relatively concentrated coffee liquid. However, it’s important to note that the “high concentration” referred to here is relative to regular pour over coffee, and still falls short compared to the high-concentration espresso extracted under pressure by espresso machines or moka pots.
Moreover, without the assistance of pressure, it’s difficult to fully extract all the flavor compounds from the coffee using just hot water and time. Therefore, the overall flavor performance of milk coffee made this way may not fully match that of professional machine outputs. However, as a daily alternative, its performance is still commendable. Next, we’ll go step-by-step to explain how to make this high-concentration coffee suitable for pairing with milk.
Although this immersion brewing method doesn’t have strict requirements on coffee bean selection, if you hope the final milk coffee has a richer and more intense flavor, it’s recommended to prioritize beans with a darker roast or higher fermentation level. These types of beans generally have more intense flavors and are more likely to release abundant flavor compounds during immersion, helping to enhance the overall richness and layering of the coffee liquid.
If you prefer medium-dark or dark roasts, you might consider options like: Black Cocoa-Based Blend, Classic Blend, Commercial Blend, or Premium Blend; for single-origin beans, you might consider choices like PWN Golden Mandheling or Queen Estate. If you’re more inclined toward beans with rich flavor layers and distinct fermentation characteristics, options like Strawberry Candy · Gesha Blend, Boundary Line Estate · Sidamo/Large Belly Button, or Elida Estate · Anaerobic Natural Catuai are all great picks, and many can be found through channels like Taobao, Tmall, or physical stores.

The example used in this demonstration is the Strawberry Candy · Gesha Blend, with the following brewing parameters: 20 grams of coffee, grind size adjusted to the finest setting on the grinder, yielding a flour-like fine particle size (see the diagram below for reference); water temperature recommended at 95°C or higher; brew ratio set at 1:4; as for brew time, it will be adjusted according to the actual grind fineness and stirring rhythm.
First, place 20 grams of ground coffee and 80 milliliters of hot water into any clean container. Start the timer, and use a spoon or other tool to begin stirring evenly for about 30 seconds, then let it steep for 3 minutes. After the first steeping phase is complete, perform a second stirring for about 30 seconds, followed by another 3-minute steep.

If the coffee grounds you’ve ground do not reach an extremely fine, flour-like state, it’s recommended to moderately extend both stirring and steeping times to ensure sufficient extraction of flavor compounds. It’s worth noting that in this high-concentration extraction scenario, there’s no need to overly worry about over-extraction. Because once the coffee liquid reaches a certain concentration, the rate of flavor dissolution naturally slows down, so moderate stirring helps improve overall extraction efficiency.
Once the total brew time is complete, prepare the filter paper and filter, and thoroughly filter out the coffee grounds to obtain a cup of relatively high-concentration coffee liquid. As mentioned earlier, although the coffee extracted by this method is highly concentrated, there’s still a gap compared to the espresso extracted under pressure by espresso machines or moka pots. Therefore, when mixing with milk, the ratio can be more flexible. The ratio used in this demonstration is 1:3.5, meaning about 36 milliliters of coffee liquid mixed with approximately 126 milliliters of milk.
The final resulting milk coffee may be slightly less rich and layered than that from a professional espresso machine, but the overall performance is still satisfying. The ratio of milk to coffee is just right, with a smooth mouthfeel and balanced flavor—you can clearly detect distinctive notes such as strawberry soft candy, white floral tones, and a hint of berry character. That concludes the full content of this share—we welcome you to try it at home and experience this simple yet fun immersion coffee-making method.
The above content is compiled by CoffeeHunters, a coffee news website.


