







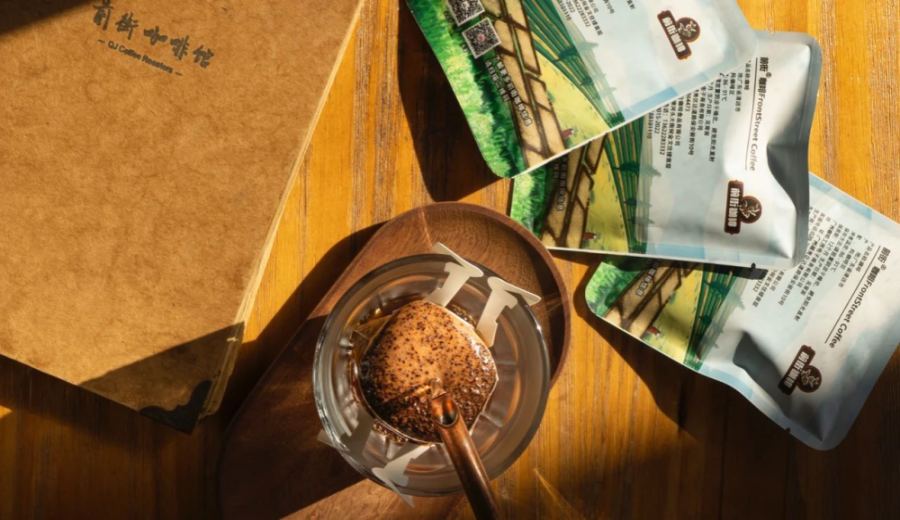
Introduction:Drip bags are favored by many busy individuals as their easy operation makes them the go-to choice for enjoying pour over flavors. But do you know what water temperature is ideal for brewing drip bags? How much water should you use each time? Can they really be reused? This article explains the full drip bag brewing process—from preheating your cup and pre-wetting to pouring techniques—step-by-step guiding you to master the best extraction parameters. It also analyzes common flavor profiles and tips for selection, ensuring every brew delivers a fragrant and layered coffee experience.
Drip bags combine the flavor of pour over coffee with the convenience of instant brewing. All you need is hot water and a cup to easily enjoy a refined black coffee similar to that made via pour over. Compared to complex equipment, the drip bag design simplifies the extraction process, making it especially suitable for beginners. However, there are still many questions about brewing drip bags: What’s the optimal water temperature? How much water should you use per brew? Can you brew them multiple times? Below, we’ll delve into these questions and offer practical brewing advice.
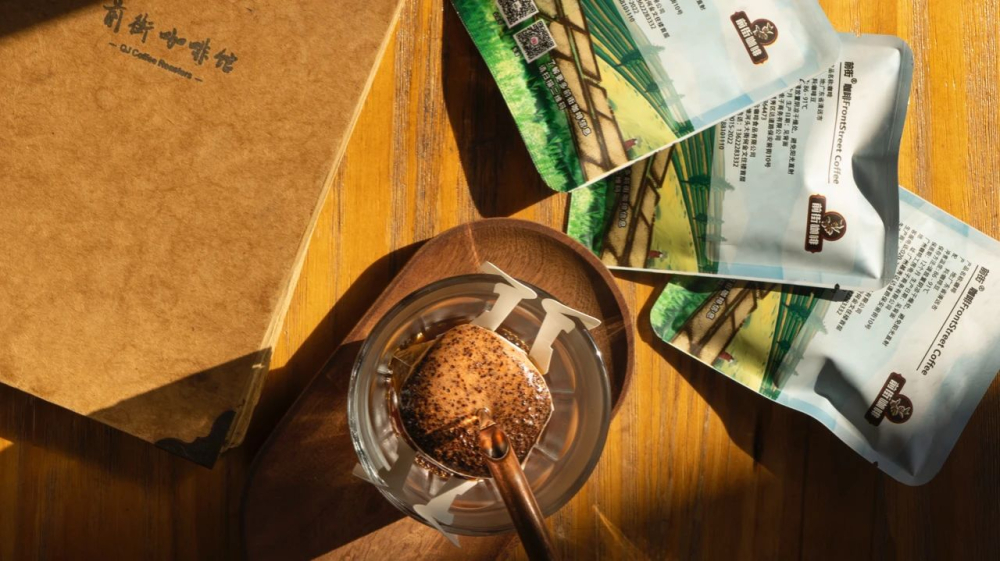
A drip bag contains freshly ground coffee packed in a filter paper pouch with built-in handles, preserving the refinement and flavor of pour over coffee. Each pack usually features single-origin beans selected from renowned regions such as Indonesia’s Golden Mandheling, Ethiopia’s Yirgacheffe, Honduras, Brazil, and even Kenyan and Huaguai beans with special processing methods. These regional beans each have unique characteristics, ranging from bright citrus and floral notes to rich chocolate and nutty tones—all deliverable through the simple drip bag format. Beginners are recommended to start with classic single origins like Golden Mandheling, Yirgacheffe, Honduras, Brazil, Kenyan cherry tomatoes, and sun-dried Huaguai to experience the differences in regional flavors.
It’s worth noting that the amount of coffee grounds in commercially available drip bags varies, but a common standard is 10 grams per pack. This amount is both portable and suitable for general cup sizes. So how can you brew to fully unlock the potential of a drip bag? Below, we’ll explain everything from preheating your cup, water temperature control, pouring techniques, to the blooming step.
The Importance of Preheating Your Cup
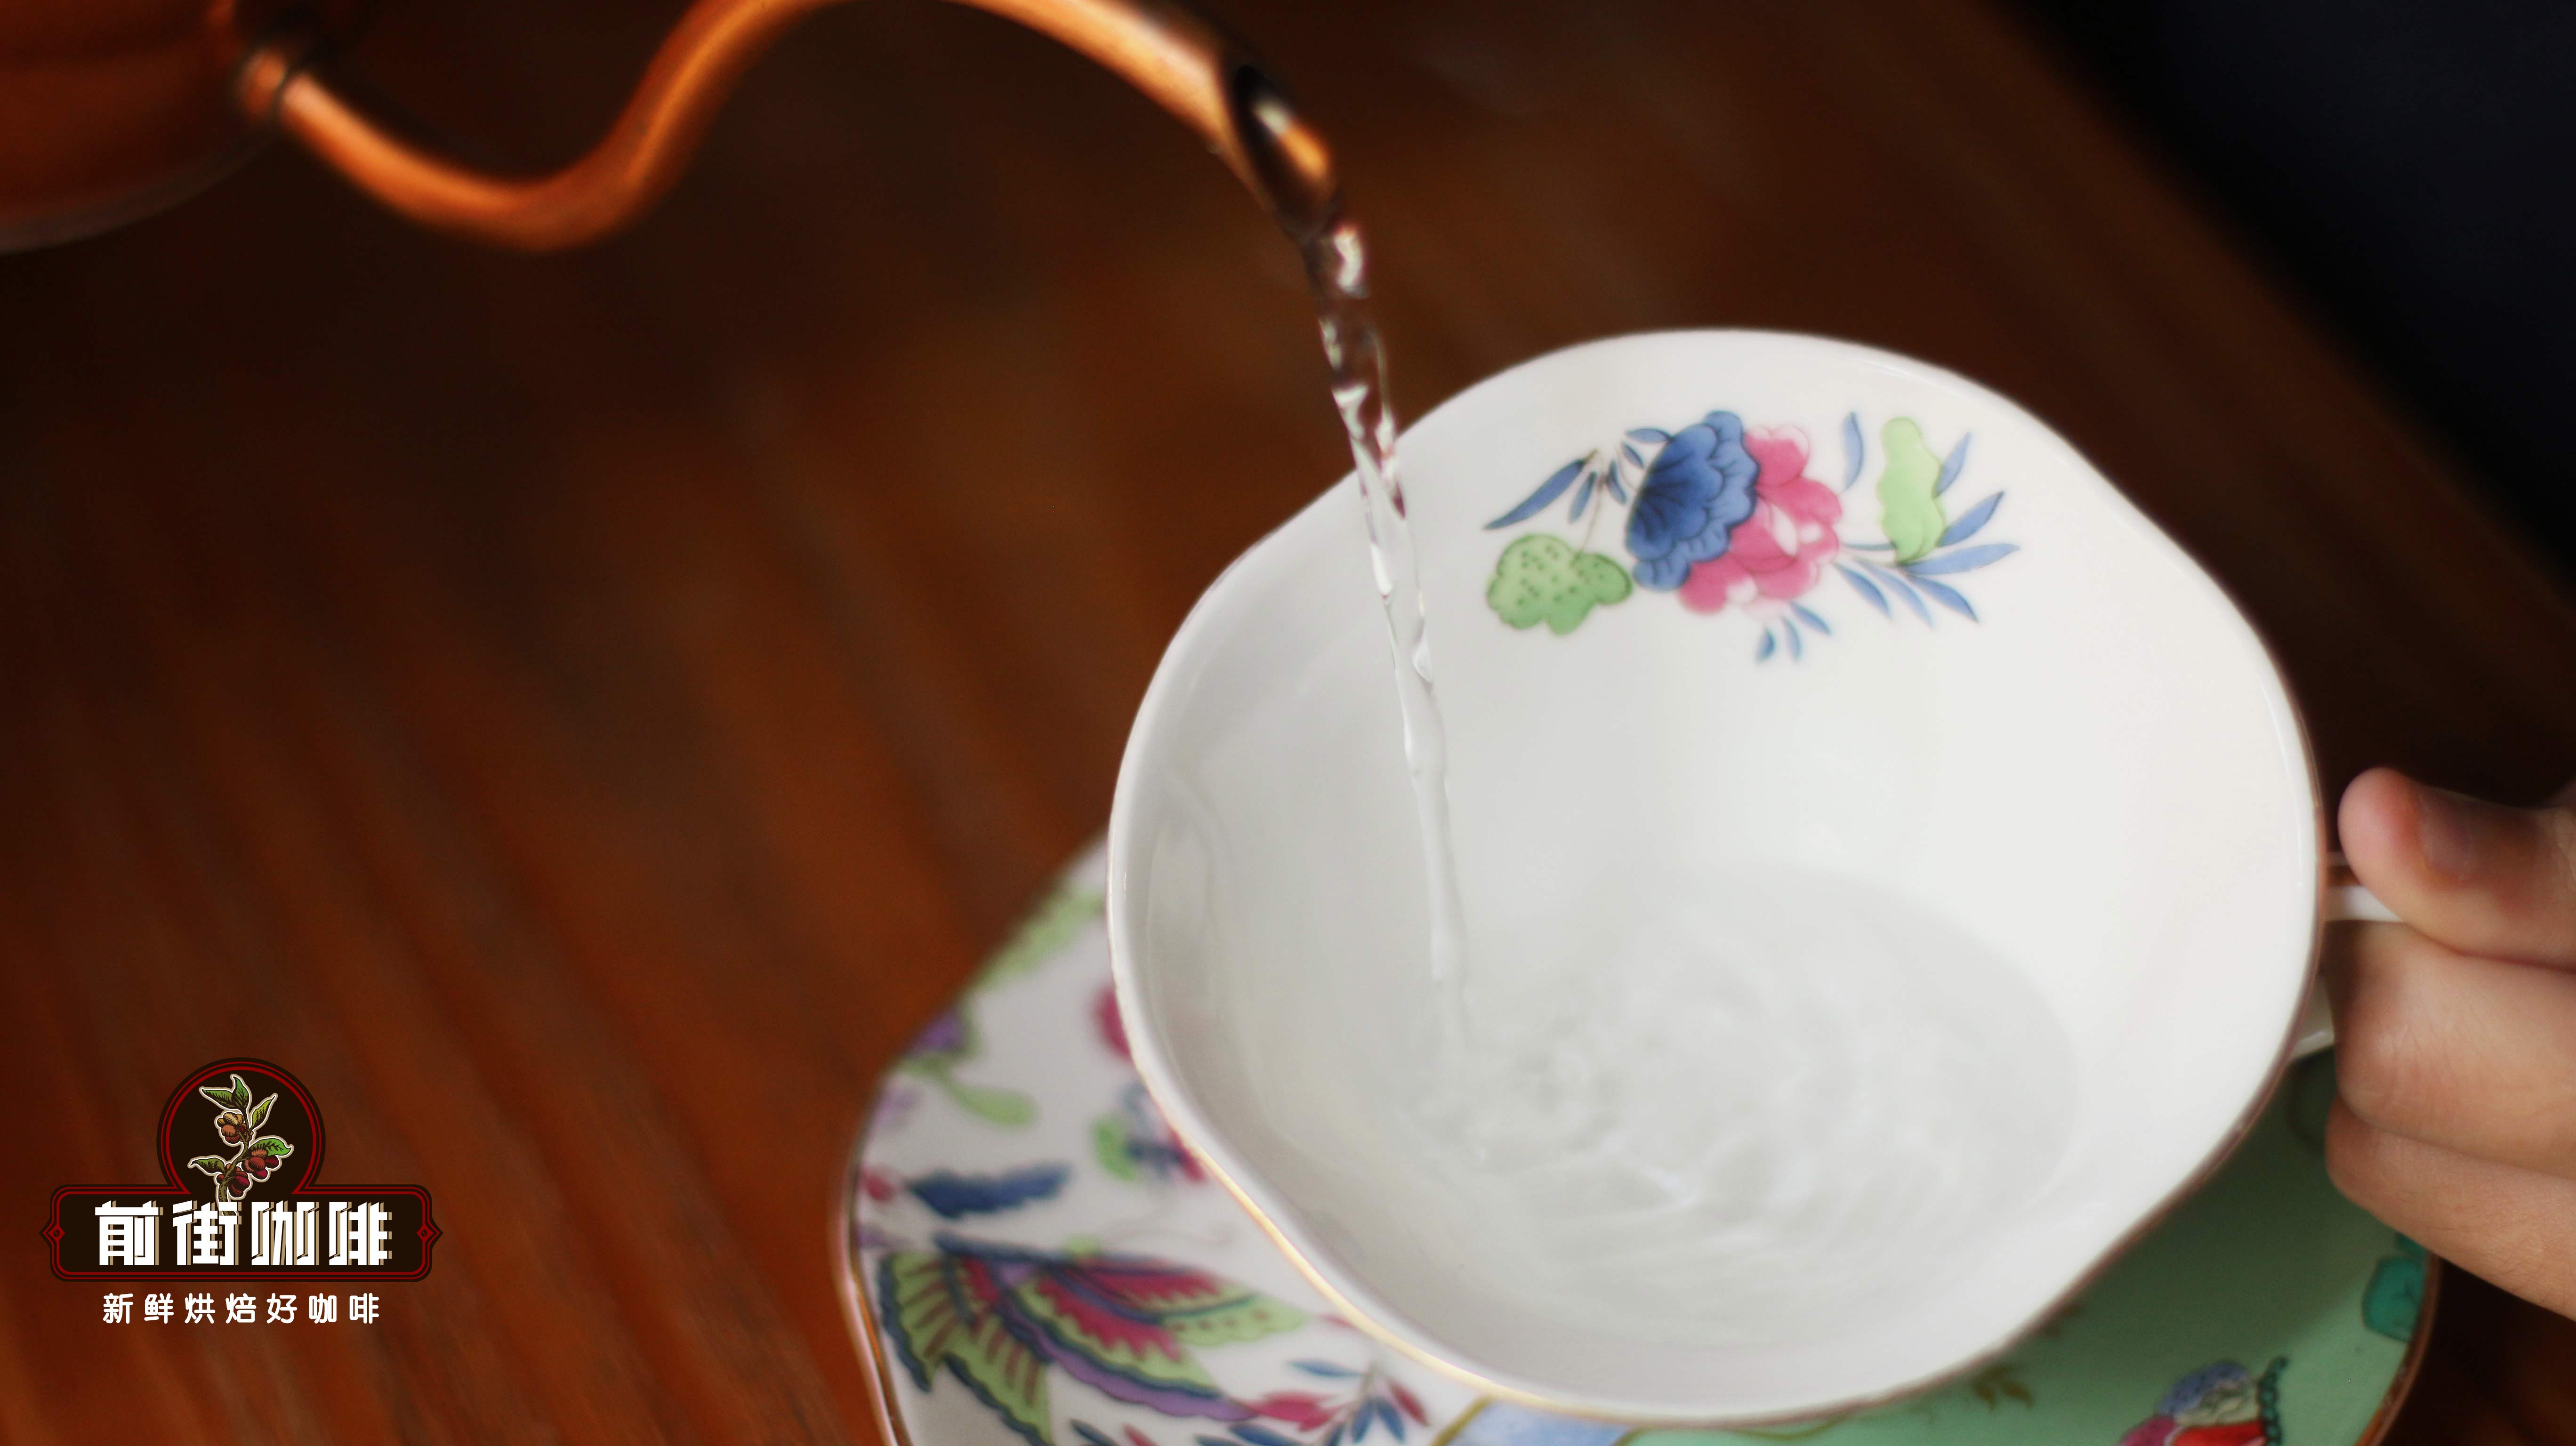
Before brewing, it’s recommended to rinse your cup with hot water. This step effectively slows down the loss of coffee temperature, preventing the flavor from being affected by a rapid drop in heat. The aroma and taste of coffee vary with temperature, and a too-cold cup can cause the coffee to cool too quickly, resulting in muted flavor layers.
Mastering Water Temperature—the Key to Flavor
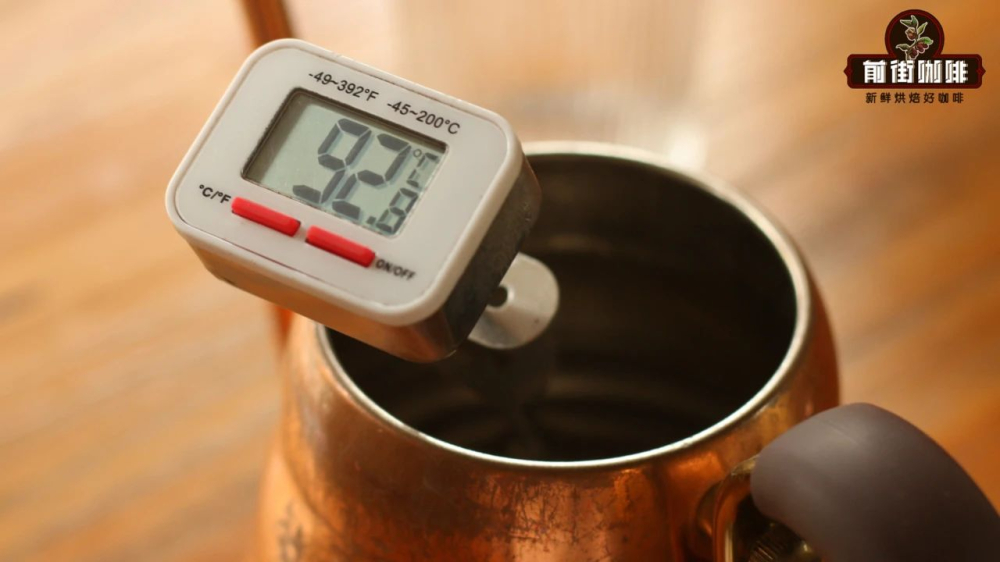
The ideal water temperature for brewing drip bags is 90 to 95°C. If your brew turns out overly bitter or astringent, try lowering the temperature; if the taste is too light or astringency is noticeable, you can moderately increase the temperature. Be sure to avoid using water that’s too cool—for example, the heating mode of typical water dispensers often only reaches around 85°C, which can make the coffee taste thin and lack complexity.
Properly Hanging the Drip Bag
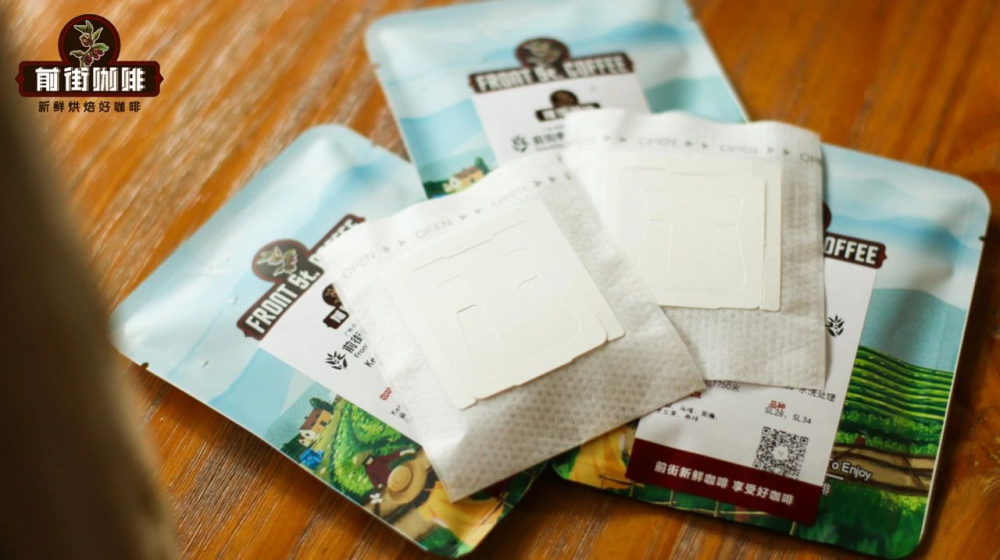
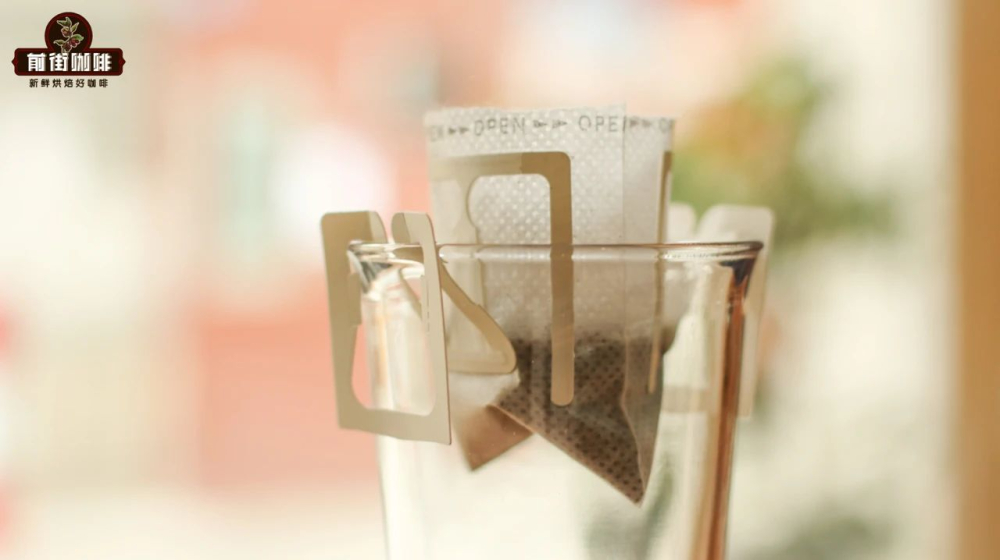
Before use, you can gently shake the drip bag to let the coffee grounds settle evenly. Then tear open the inner pouch, being careful not to spill the coffee powder. After opening the seal, unfold the two “ears,” give it a light shake to flatten the coffee layer, then securely hang it on the rim of your cup to ensure a stable and smooth pouring process.
First Pour: The Key Blooming Step
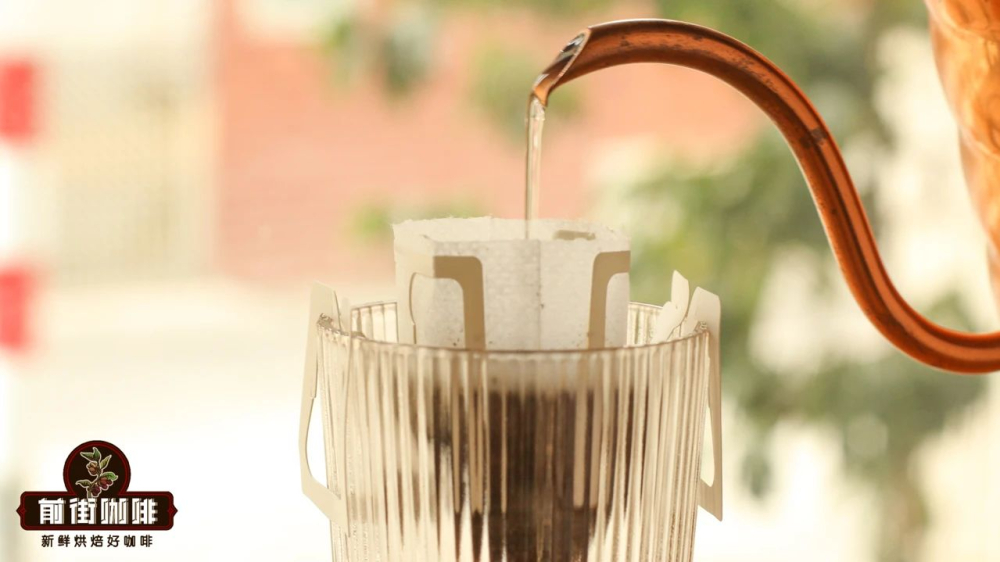
The purpose of the first pour is to bloom the coffee. It’s recommended to use just enough water to wet all the coffee grounds—too much or too little will affect subsequent extraction. After pouring, let it sit for about 20 secondsto allow the coffee grounds to fully absorb water and expand. If you prefer a richer coffee flavor, you can extend the blooming time to 40 seconds, which helps improve extraction efficiency and flavor intensity.
Second Pour: The Main Extraction
Next comes the second pour. It’s recommended to pour until the water level reaches about 80% of the filter paper height, using a steady thin stream until the total water volume reaches 150 to 180 milliliters . During this process, you can observe when the water level drops back to the blooming position, then continue pouring. Once extraction is complete, there’s no need to wait for all the water in the filter to drip out—you can remove and discard the drip bag directly. Those who prefer a stronger flavor can reduce the water volume, while those who like a lighter taste can increase it slightly, adjusting to their preferred ratio.
Advanced Tips: Techniques for Water Volume and Temperature Control
For a 10-gram drip bag,it’s recommended to use 150 to 180 milliliters of waterfor brewing. Too much water can dilute the coffee, causing it to lose its intended depth of flavor.
As for water temperature, it’s advised to maintain it around 90°C. Using water straight off the boil may result in excessively high temperatures, leading to burnt or bitter notes. It’s recommended to let boiling water sit for about 2 minutesto cool slightly before use.
Additionally, an appropriate “blooming” step is also key to enhancing flavor. You can start by evenly wetting the coffee grounds with 20 to 30 milliliters of water, letting it sit for 10 to 20 seconds, then proceeding to pour steadily with a thin stream until you reach the target water volume. This helps release flavors more fully. For a simplified process, you can also pour in a small circular motion directly to 150 milliliters with good results.
Now that you understand the basic brewing method, here’s further clarification on several common questions readers may have.
What flavor types do drip bags offer?
Drip bags come in a wide variety, and depending on the origin and processing method, you can experience distinctly different flavor profiles. Those who enjoy fresh floral notes might choose washed Yirgacheffe; for those who prefer intense fruitiness, sun-dried Huaguai is a great option; if you’re after balanced taste and sweetness, Brazilian pulped natural coffee is a solid choice; and if strong acidity isn’t your thing, Indonesian Mandheling offers a rich and full-bodied mouthfeel.
How many times can you brew a drip bag?
Many people mistakenly think drip bags, like tea bags, can be brewed multiple times until flavorless. In reality, drip bags are like pour over coffee—they are only suitable for a single brew. After the first extraction, most of the flavor compounds in the coffee grounds have already been released, leaving mostly hard-to-extract fibers. Brewing again not only fails to enhance flavor but may release undesirable impurities.
Can you rebrew a drip bag?
Whether using pour over or drip bag methods,it’s recommended to brew only once. Only about 30% of the flavor compounds in coffee can be effectively extracted by water, with the remaining 70% consisting of fibers and insoluble substances. Even if you extend brewing time or add multiple pours, it’s difficult to achieve ideal extraction and the coffee may end up weak and tasteless.
Tips for Selecting Drip Bags
Since the coffee grounds in drip bags are pre-ground during production, compared to freshly ground coffee, their flavor shelf life is significantly shorter. Although packaging may indicate a 6 to 18 month shelf life, this only refers to the unopened state. Once ground, the aroma and flavor of coffee gradually diminish over time, so it’s especially important to pay attention to the production date when selecting. Ideally,the best flavor window for drip bags is within two weeksof production, and freshly roasted, freshly ground products better preserve complete aroma and layered taste. It’s recommended to choose products packaged within 5 days of roasting to ensure the best flavor experience with every brew.
The above content is compiled by CoffeeHunters, a coffee news website.


