








Introduction:Drip bags are beloved for their convenience, yet it’s common to see many people either brew them directly or use incorrect methods. This article explains the brewing principles of drip bags, recommends an optimal water temperature of 88–91°C, suggests a total water volume of 120–150ml, and guides you through the correct steps with clear visuals. It also debunks unnecessary complexities like swirling the water or blooming, helping you easily brew a clean and pure cup of black coffee.
Can you brew a drip bag directly? The answer is no. Although it may look simple, it’s actually a filter pouch containing finely ground coffee — not instant coffee. Brewing it by simply soaking it in hot water not only fails to extract its full flavor but also leaves you with a mouthful of coffee grounds, wasting the carefully designed drip bag structure. The correct way is to open the part labeled “Open” on the packaging, unfold the two side flaps of the drip bag, hang it securely on the rim of your cup, and then slowly pour hot water through it to brew.
Brewing drip bag coffee is actually not as difficult as it seems, and the simpler, the better. Many people, when first trying drip bags, wonder if they need to focus on pouring techniques, control water temperature curves, or even use specialized tools like gooseneck kettles, just like with pour over. In reality, drip bags are essentially a simplified version of drip brewing. As long as you master two key elements — water temperature and total water volume — you can easily get started.
The recommended water temperature range is88-91℃, which is the ideal temperature for fully extracting the aroma and flavor compounds of the coffee. Many office workers are accustomed to using hot water from water dispensers, but it’s usually only around 75°C. This low temperature can result in under-extracted coffee with a flat taste and lack of complexity. Additionally, the total water volume is advised to be within120-150ml, as this range achieves a well-balanced coffee strength, neither too diluted nor over-extracted.

If you’re new to drip bags, it’s recommended to start with a multi-region blend, such as one that includes washed Yirgacheffe, Kenyan small tomatoes, Mandheling, Panamanian Geisha, and Honduran beans — each offering unique aromatic profiles. From bright citrus notes and fruity acidity to rich chocolate and nutty finishes, these help you quickly discover your preferred coffee flavor profile.
Some coffee enthusiasts are accustomed to applying pour over techniques, such as swirling the water, blooming, or segmented extraction. However, these are not necessary for drip bags. The reason is that the structure of a drip bag filter is different from that of a pour over dripper — its width is similar from top to bottom, and the opening space is limited. Swirling the water doesn’t significantly improve extraction evenness. Moreover, there’s no need to insist on using a gooseneck kettle; any container that can pour water steadily, such as a regular kettle or thermos, will do the job.
The biggest advantage of drip bags is their convenience and ease of use. They integrate the functions of both the filter pouch and filter paper, and the coffee is pre-ground, eliminating the need for a separate grinder. All you need is a cup and hot water at the right temperature to enjoy a clean, drip-style coffee similar to pour over. It’s especially suitable for those who are often on the go, commuting, or who prefer a minimalist lifestyle.
Regarding the specific brewing steps, here’s a clear and practical guide. First, open the drip bag along the “Open” mark, unfold the two side flaps, and secure it firmly over the rim of your cup. Next, it’s recommended to use a segmented pouring method to help control the extraction pace and avoid over-soaking.
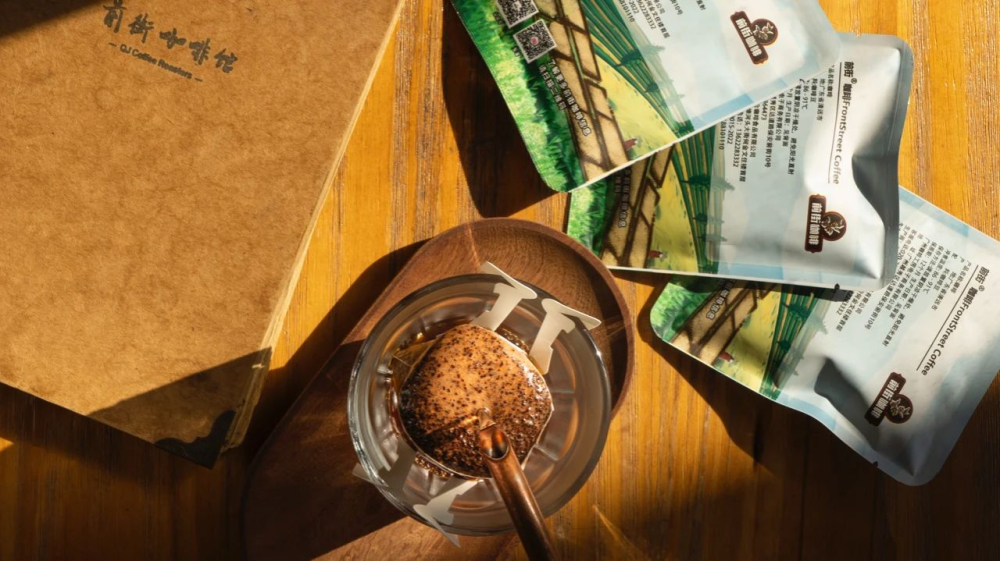
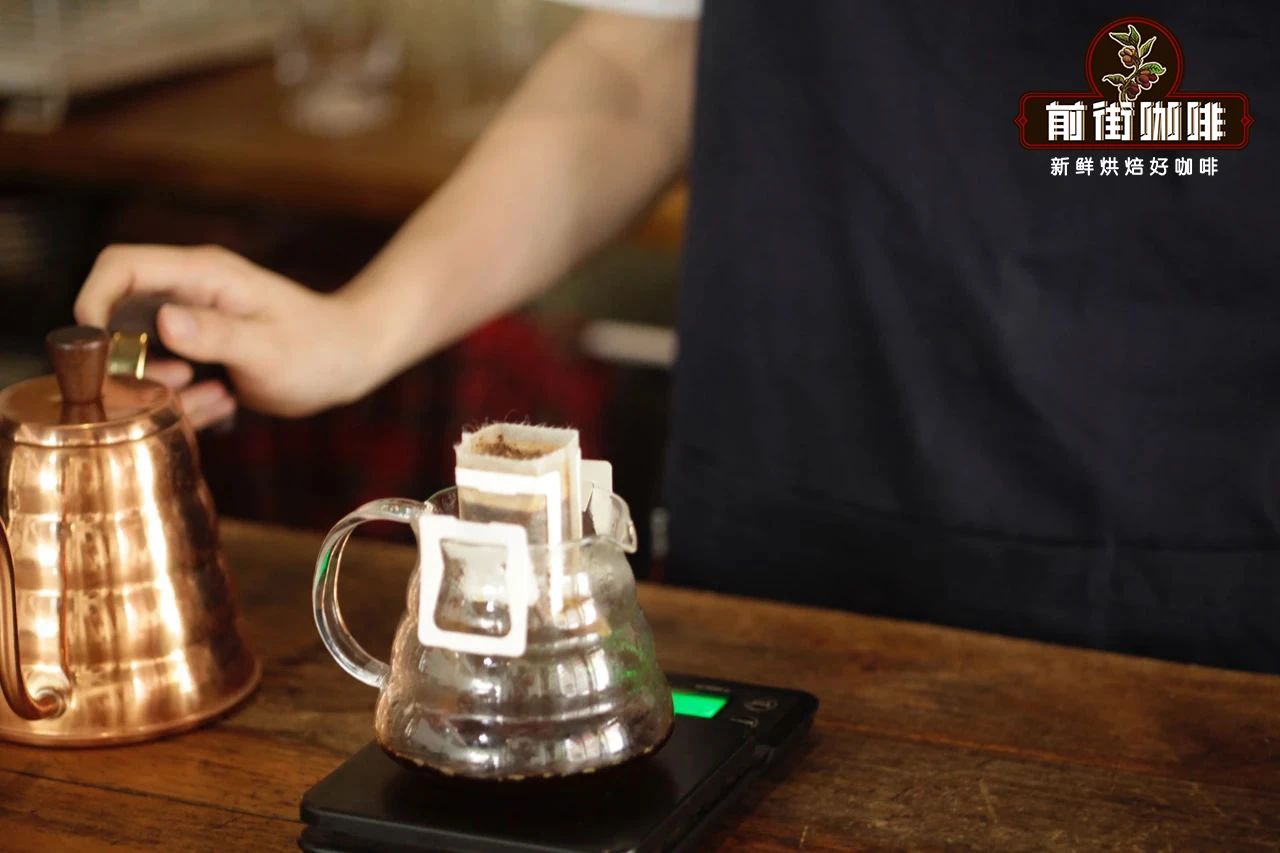
Step one: pour the first segment of hot water up to about half the height of the filter bag, then let it sit for approximately 15 seconds to allow the coffee grounds to fully bloom. This step helps initiate the extraction process. Then, pour the second segment of hot water until the bag is about 90% full — that is, near the small card at the top edge — letting the water slowly seep through the coffee layer. Once the coffee liquid has completely dripped through, proceed to the third segment: pour again up to 90% full, then wait for the dripping to finish. Finally, add the fourth segment of water to once more fill it to 90% full, and continue until no more coffee drips out. Then, you can remove the drip bag.
The total water volume depends on your cup’s capacity. If you’re using a standard mug, you can observe the approximate 150ml water level as a reference and stop pouring once the coffee reaches that level. Using this four-segment pouring method, the total water volume typically falls around150ml, effectively balancing richness and clarity of taste.
In summary, to brew a great cup of drip bag coffee, you don’t need overly complicated tools or techniques. Just pay attention to maintaining a water temperature between 88–91°C, control the total water volume within 120–150ml, and use a simple segmented pouring approach. This will fully bring out the potential of the coffee beans, allowing you to enjoy a cup of black coffee with clear flavors and a smooth mouthfeel. Remember, drip bags are designed for convenience — master the core principles, and you’ll easily brew your perfect cup.
The above content is compiled by CoffeeHunters, a coffee news website.


