








Introduction:Steaming milk is the foundation of latte art, yet many people often encounter issues such as poor milk foam integration, layer separation, or rapid foam collapse during the process. This article delves into the science behind milk frothing, explores key factors affecting foam quality—including temperature, pressure, and integration—and thoroughly breaks down the five most common mistakes in steaming milk. It also provides a complete step-by-step guide to creating tulip latte art, helping you improve both foam stability and pouring skills from beginner to advanced levels.
Steaming milk is an essential skill for every barista, but in practice, issues like uneven foam, poor integration, or quick dissipation are common. These problems not only affect the appearance of the coffee but also directly impact its flavor. To solve these issues, it's first necessary to understand the science of milk frothing and how to control the fineness and stability of the foam through proper technique.
Milk can be transformed into foam because the high-speed agitation of steam injects air into the liquid milk, and the surface tension of milk proteins helps form tiny bubbles. These bubbles are enveloped by milk fat, creating a stable foam structure. When steam and milk are thoroughly mixed, it not only increases the volume but also enhances the sweetness of lactose, resulting in a smooth and layered final foam.

However, many people face several typical problems in practice. The first is the failure of the milk foam to integrate with the espresso, causing immediate separation upon pouring, or even having the foam float on the surface during latte art. This is usually due to overly coarse foam or insufficient integration, leading to uneven density. Another common issue is the rapid collapse of foam, especially when temperature control is inadequate, causing the foam structure to disintegrate quickly.
The key factors affecting foam integration are mainly two: the steam pressure from the steam wand and the fineness of the foam.The higher the pressure, the more vigorous the milk rotation, resulting in better integration.;The finer the foam, the lower the air content per bubble, the higher the density, the lower the buoyancy, and thus the better the integration.. If the foam is coarse, with large bubbles and high air content, it tends to rise quickly, leading to failed integration.
Why is integration so important? Because well-integrated foam allows latte art patterns to have clearer and smoother lines, whereas poor integration results in blurry and rough designs. To assess foam integration, pour the steamed milk into a clear glass and observe it as it settles:Separation within 30 seconds indicates poor integration; 30 to 60 seconds is moderate; over 60 seconds is good.. But be aware that steamed milk should not sit for too long, as even resting will cause it to separate.
Temperature is another critical factor influencing foam quality. It is generally recommended to heat milk to 55–65°C, a range that brings out the sweetness of lactose without damaging the milk protein structure.Above 70°C, proteins begin to irreversibly denature, and foam stability drops sharply.Experimental data shows that at 90°C, foam rapidly expands and may even overflow; 60°C is a commonly used stable temperature, while below 30°C, foam longevity is noticeably shorter.
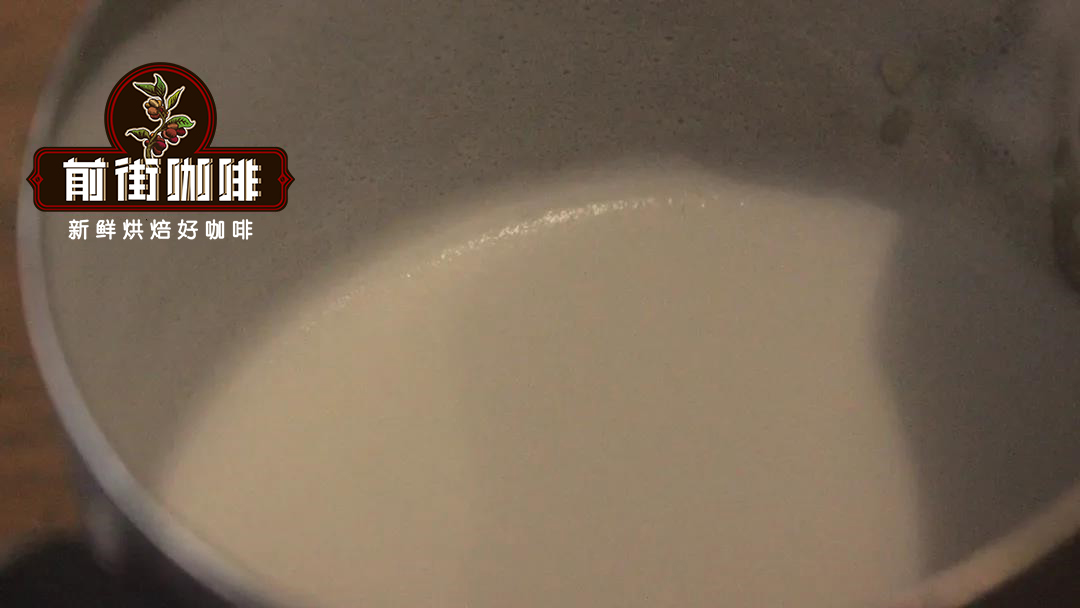
Regarding the five common mistakes in steaming milk, first, avoid trying to fix foam quality by simply shaking or scooping off large bubbles on the surface—this doesn’t truly improve frothing technique. Second, letting the foam sit will worsen layering, and pouring from a height during latte art only introduces more large bubbles. Additionally, blaming steam pressure for failed foam while ignoring basic technique won’t lead to improvement. In fact,a steam pressure of 0.8 BAR is sufficient to steadily produce fine foam.The key lies in steadily controlling airflow and angle.
When practicing steaming milk, it’s recommended to first get familiar with vortex formation using water, then gradually transition to milk. You can use the “beginner’s foam method”: pour half a cup of milk into the pitcher, position the steam wand vertically at the center or edge of the cup, turn the steam to half power, and reduce the power when the milk temperature approaches 50°C.Finally, turn off the steam at around 60°C, with an overall temperature of about 66°C to achieve ideal foam..
There is a significant difference between steam-frothed and manually frothed milk. Steam produces finer and more uniform foam, whereas manual methods (such as using a milk frother) rely on squeezing air through a filter, resulting in coarser foam. If choosing the manual approach, it’s recommended to use a thermometer to keep the temperature below 70°C and to skim off surface bubbles for a smoother texture.
Creating tulip latte art requires stable and fine foam. The basic steps include: integrating the milk foam with the espresso to fill the cup to a quarter, positioning the pouring pitcher close to the rim, and gradually swinging to form heart-shaped petals, shaping layers by controlling flow rate and height.Pay attention to the flow direction and swing amplitude after each pour, and finish by narrowing the spout to create delicate leaf and heart patterns.. With more practice observing foam flow and pattern formation, you can significantly improve your latte art success rate and aesthetics.

The above content is compiled by CoffeeHunters, a coffee news website.


