







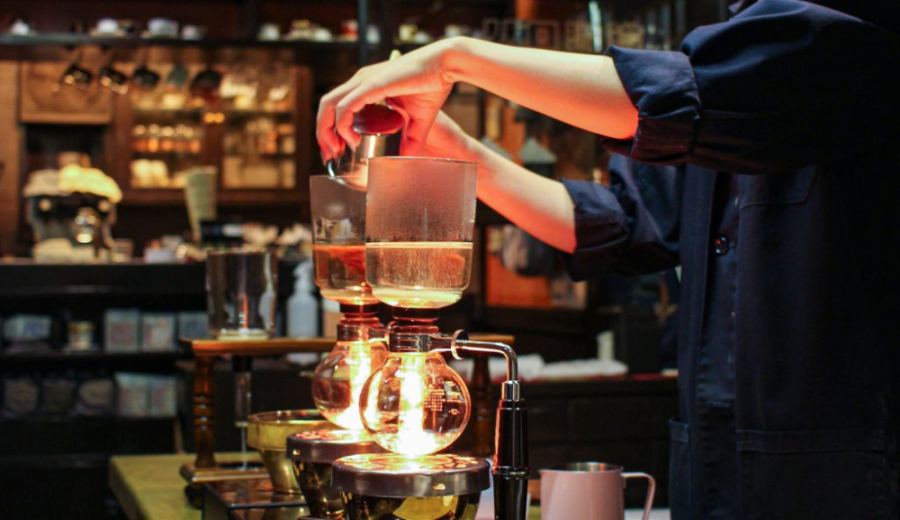
Introduction:The siphon coffee maker, through its unique heating and siphoning mechanism, is capable of extracting coffee with intense flavors and rich layers. This article delves into the working principles, equipment structure, suitable coffee bean types for the siphon, and provides practical guidelines on coffee-to-water ratio, coffee grounds addition timing, stirring techniques, and key points for determining when to turn off the heat. It also includes a detailed eight-step operation process to help you consistently brew siphon coffee with nutty tones and a full body at home. Both beginners and advanced users can benefit from it.
With its chemistry-lab-like appearance and distinctive distillation extraction method, the siphon coffee maker has long been a popular tool for coffee enthusiasts exploring deeper flavor profiles. Compared to the bright and layered characteristics of pour over coffee, coffee brewed with a siphon often exhibits a richer, fuller body along with intense and complex aromatic expressions. This article will guide you from the basic principles of the siphon coffee maker, gradually introducing its structural components, suitable coffee bean varieties, and diving deep into key parameters such as coffee-to-water ratio, coffee grounds addition timing, stirring methods, and heat-off timing. Finally, a clear eight-step operation process is provided to help you easily master this classic brewing technique.
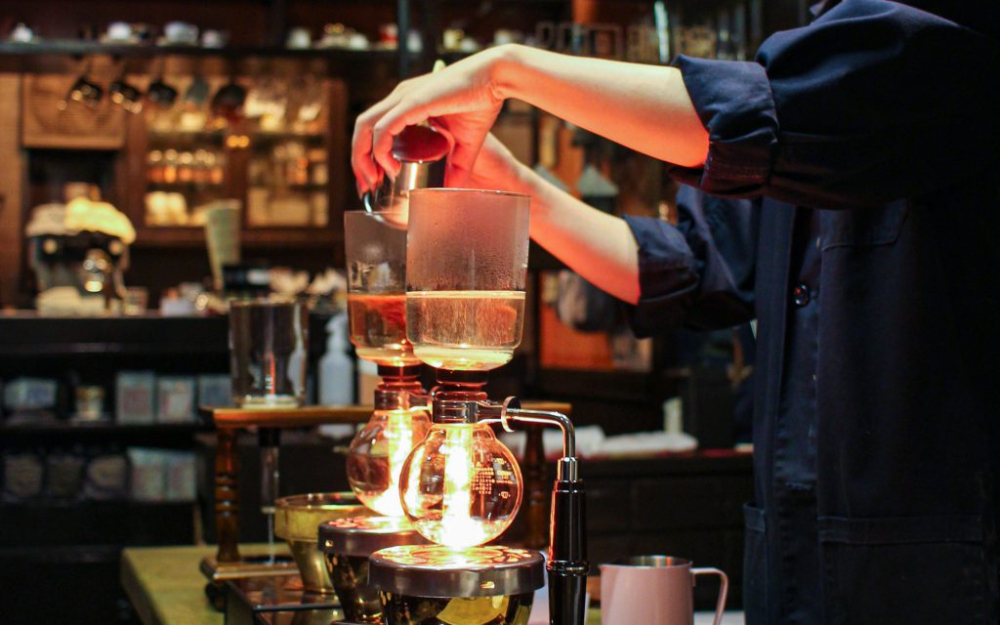
The English name for the siphon coffee maker is "SIPHON," hence it is also called a siphon pot. Its operating principle mainly involves heating the lower chamber to generate steam, which creates pressure that pushes hot water up into the upper chamber where it mixes with the coffee grounds. Subsequently, as the temperature drops, the brewed coffee in the upper chamber flows back down into the lower chamber due to the vacuum effect, completing the extraction. This design, utilizing pressure differences and the siphoning effect, not only has a scientific background but also imparts unique flavor characteristics to the coffee.
Those who have actually tasted siphon coffee can clearly perceive that it differs significantly from pour over coffee in terms of mouthfeel and flavor presentation. Pour over coffee usually has a bright, clean mouthfeel with distinct flavor layers and a well-defined flavor profile. In contrast, due to the uniqueness of its heating and mixing process, siphon coffee often presents more intense aromas, a heavier body, and flavor notes leaning towards darker profiles such as nuts and chocolate. To fully bring out these characteristics, it is recommended to choose medium-roasted coffee beans, such as those with nutty aromas and a rich mouthfeel, which can better highlight the advantages of siphon extraction.
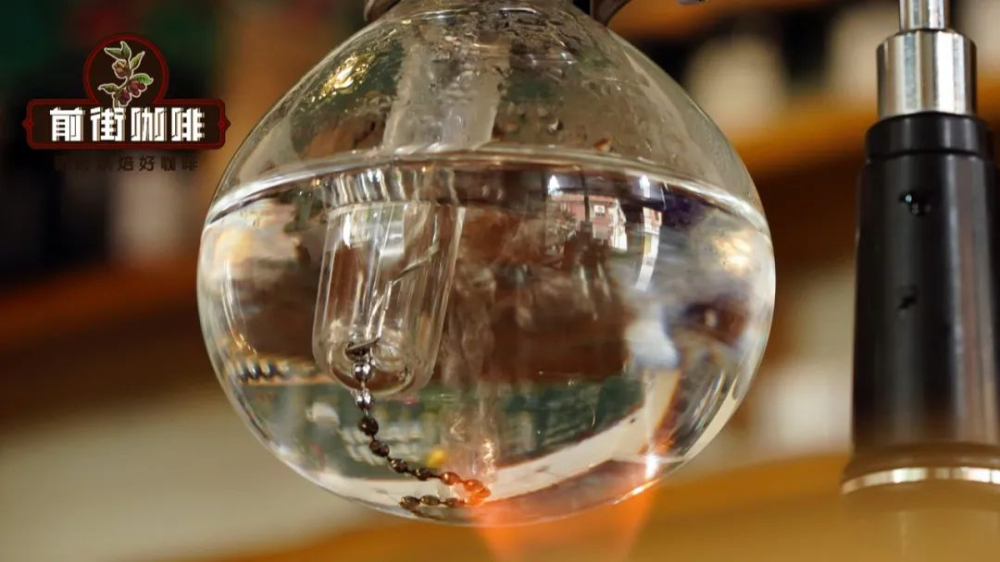
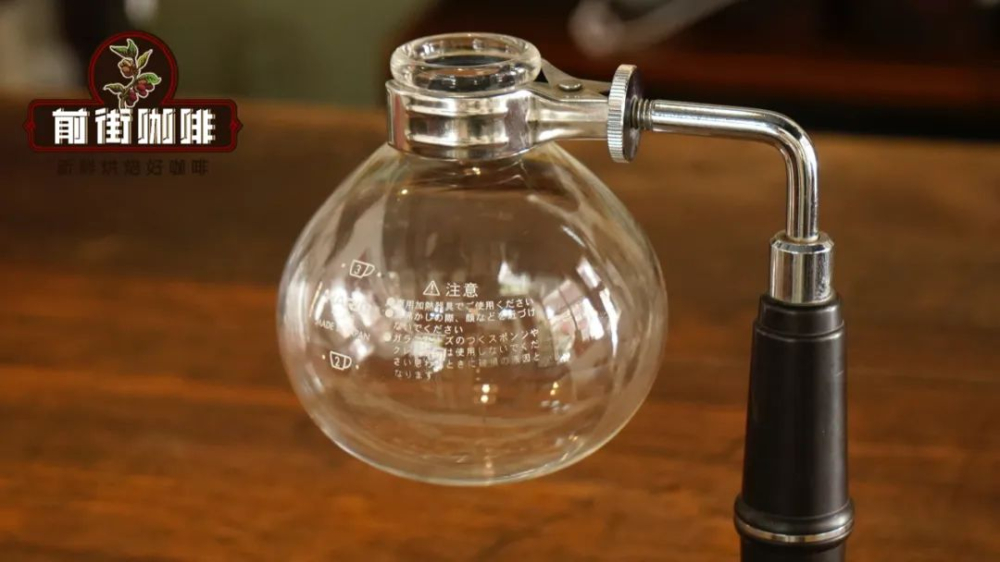
The siphon coffee maker has a uniquely designed appearance consisting of an upper and lower chamber connected by glass and metal parts. It not only serves a practical function but also possesses visual aesthetic appeal. Its heating method is quite flexible—you can use a gas burner, induction cooker, halogen cooker, or even an alcohol lamp. Users can choose the most suitable heating source based on their environment and preferences. Additionally, the grind size for siphon coffee is recommended to be finer than that for pour over, typically with about 90% of the coffee passing through a No. 20 sieve. Compared to the common 80–85% sieve rate for pour over, a finer grind helps improve extraction efficiency and flavor intensity.
Regarding the coffee-to-water ratio, the generally recommended range is 1:10 to 1:12, with 1:12 being the preferred ratio for most users. In practice, 1:11 is also a common and easy-to-control parameter—for example, using 20 grams of coffee grounds with 220 milliliters of water. This ratio achieves a good balance between flavor intensity and mouthfeel balance.
As for the timing of adding coffee grounds, a common discussion point is whether to add the coffee grounds before the water has fully risen or after it has completely risen into the upper chamber. The traditional method tends to favor adding the grounds early, believing that this allows the coffee grounds to contact the hot water sooner, aiding in flavor release. However, many users have pointed out that adding the grounds too early may result in uneven extraction because some coffee grounds start extracting as the water rises. Therefore, for beginners, it is recommended to wait until the water has fully risen before adding the coffee grounds, as this allows for more consistent control over extraction.
In terms of stirring techniques, it is generally recommended to stir about three times during the entire extraction process—when the coffee grounds first contact the water, halfway through the brewing time, and just before turning off the heat. There are various stirring methods, including cross stirring, Z-shaped, infinity (∞) shaped, rotational, or tapping. For beginners who are not yet familiar with the techniques, the tapping method is recommended. It is easy to learn and effectively ensures uniform mixing of coffee grounds and water. Simply use the center of the stirring stick as the axis and tap the coffee grounds layer lightly with offset ends. Specific movements can be referred to in relevant illustrated guides.
As for determining the right moment to turn off the heat, although some experienced users may decide based on changes in aroma, it is recommended that beginners use a timer for more reliable results. If you choose to add the coffee grounds early, start timing when you begin stirring. If you add them later, start timing from the moment you add the grounds. It is generally recommended to turn off the heat between 50 and 70 seconds, which helps effectively manage the brewing duration and avoid over-extraction or under-extraction.
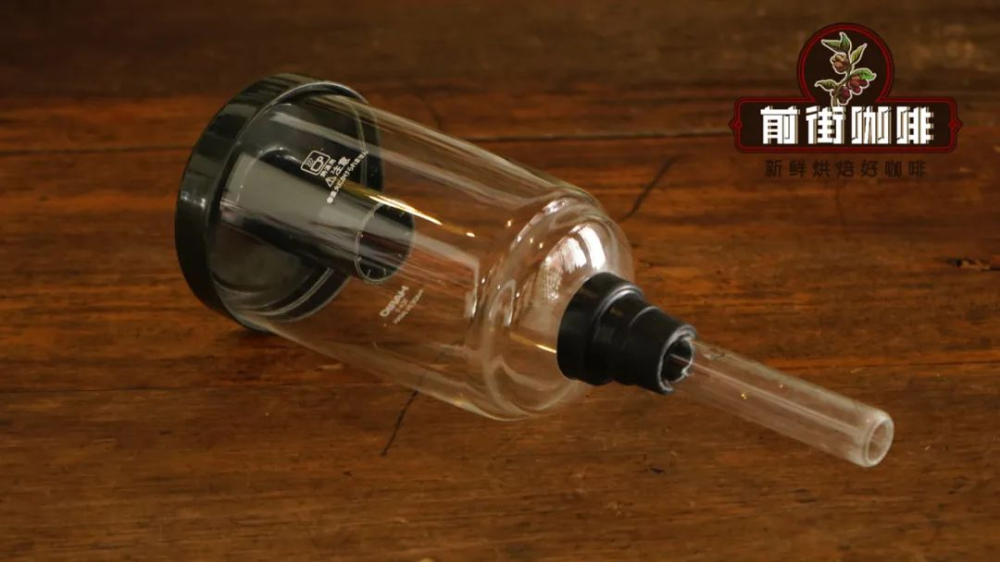
Below is the eight-step operation process for the siphon coffee maker to help you fully grasp every stage from setup to completion of brewing:
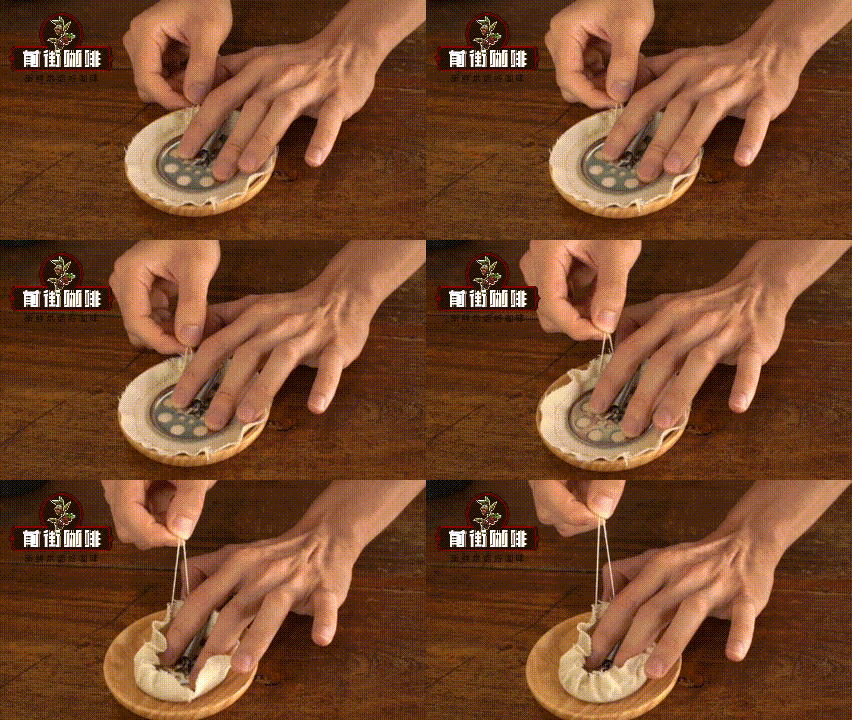
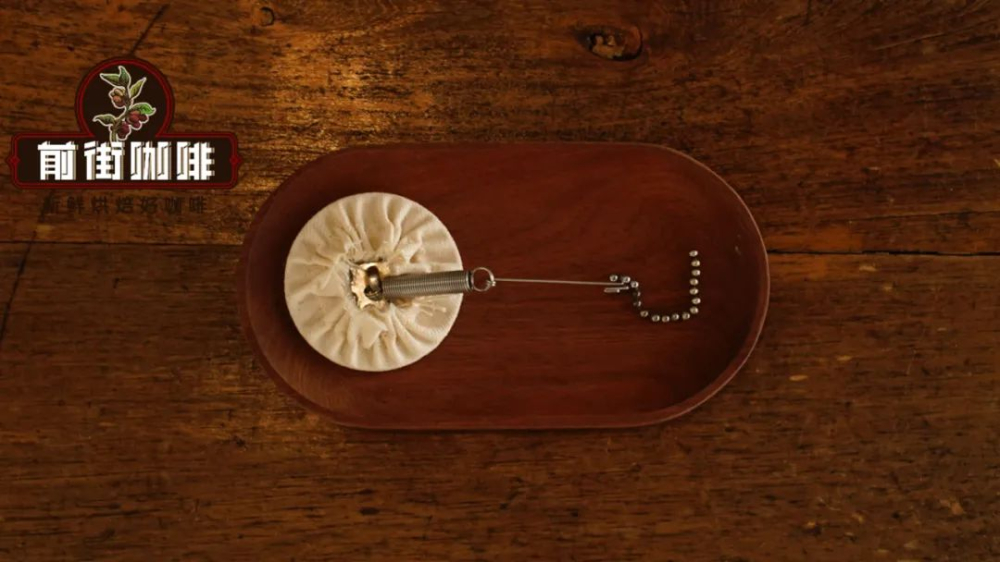
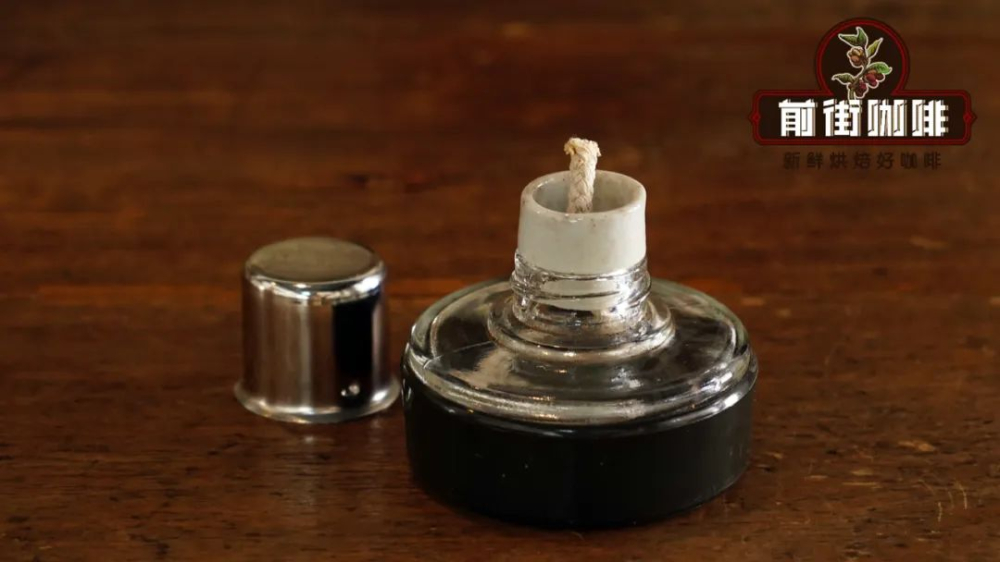
Step 1: Install the alcohol lamp and lower chamber, and pre-assemble the filter cloth and hook on the upper chamber. Place the filter cloth into the upper chamber and pull the hook out from below the tube to fix it at the end of the tube.
Step 2: Pour approximately 220 milliliters of hot water into the lower chamber in preparation for subsequent heating and siphoning.
Step 3: Use a dry cloth to wipe the exterior of the lower chamber, especially when using an open flame. Keeping the outer wall of the lower chamber dry helps prevent the glass from cracking due to extreme temperature differences, then start the heating source.
Step 4: Insert the upper chamber diagonally into the lower chamber, ensuring the explosion-proof bead makes good contact with the bottom of the lower chamber. This helps stabilize the structure and ensures safe usage.
Step 5: When the water in the lower chamber begins to boil and water droplets appear, quickly position the upper chamber upright and press it down firmly. At this point, the hot water will be drawn up into the upper chamber due to steam pressure.
Step 6: Once the water has fully risen into the upper chamber, stop heating and immediately pour in the coffee grounds while starting the timer. For the first stage, it is recommended to use the tapping method to evenly press the coffee grounds into the water, initiating the extraction process.
Step 7: After soaking for about 25 seconds, perform the second stirring. It is recommended to use an appropriate stirring technique to allow the coffee liquid to naturally separate into three layers: foam, coffee liquid, and coffee grounds. This helps in observing the extraction status.
Step 8: Finally, perform the third clockwise stirring around the 50-second mark of extraction, then turn off the heat at the 60-second mark. Afterwards, wait for the coffee liquid to flow back into the lower chamber due to the vacuum effect. After turning off the heat, you can use a dry cloth to wipe the outer wall of the lower chamber, which helps accelerate the return speed and improve overall brewing efficiency.
The above content is compiled by CoffeeHunters, a coffee news website.


