







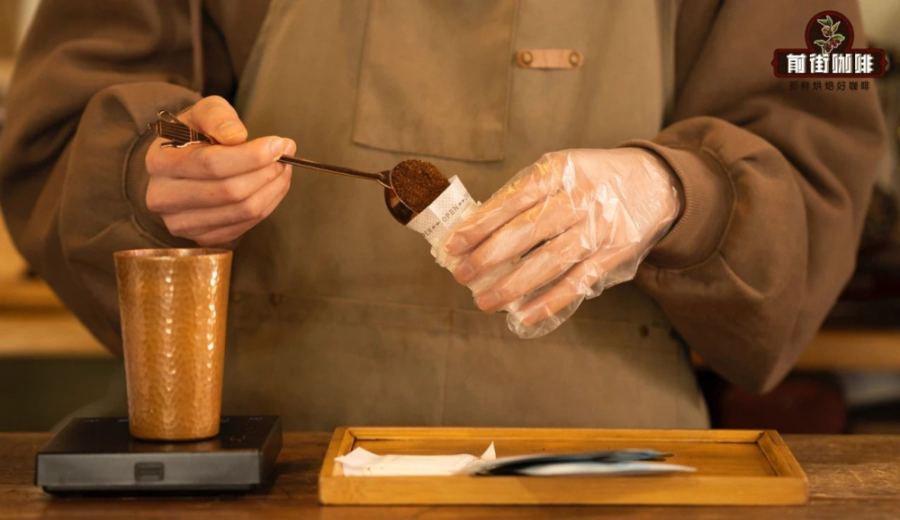
Introduction:Drip bags combine convenience with the flavor of single-origin coffee, making them a top choice for many busy coffee enthusiasts. However, many people often fall into common brewing pitfalls, such as reusing the bag, steeping for too long, or using improper water temperature. This article will take you deep into the essence of drip bags, break down common mistakes, and provide a complete step-by-step guide—from warming your cup and pre-wetting to pouring water—along with precise coffee-to-water ratio recommendations, so you can brew a well-balanced cup every time.
Thanks to their portability and ability to preserve pour over-style flavors, drip bags have gradually become a favorite among many office workers or coffee beginners. However, what seems like a simple brewing method actually hides many common mistakes—such as treating the drip bag like a tea bag by steeping it for too long, arbitrarily adjusting water temperature and pour volume, or even mistakenly thinking it can be reused. These practices not only affect extraction efficiency but can also significantly diminish the overall flavor.
First, let’s clarify what a drip bag actually is. Although similar to commercial instant coffee in being an instant coffee product, drip bags differ greatly from instant coffee in terms of ingredients and production process. Drip bags use the same Arabica coffee beans as pour over methods, such as Honduran Sherry or Brazilian Queen Estate, while instant coffee is mostly based on Robusta beans, resulting in vastly different flavor profiles. Simply put, a drip bag is pre-ground coffee packed in a filter pouch, designed for easy brewing anytime. It eliminates the hassle of grinding beans or preparing pour over equipment, while still delivering a flavor complexity close to that of pour over.
It is understood that the concept of drip bags originated in Japan. With high coffee consumption and a fast-paced lifestyle, local businesses developed a portable coffee format. Initially, Yamashita Sangyo Co., Ltd. applied the tea bag concept to coffee, launching an early filter-drip design. However, due to instability, it did not gain widespread market acceptance. It wasn’t until 1998 when Daiki Shoji improved the drip bag structure by extending the ear portions outward, that the drip bag form we’re familiar with today was formed.
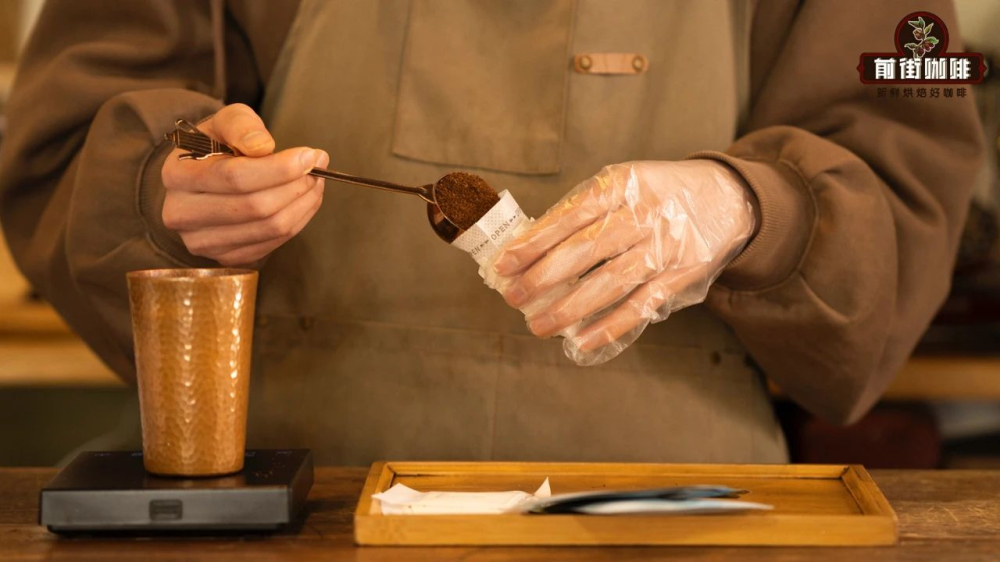
However, to brew a flavorful cup of drip coffee, several key details still need attention—especially the following common mistakes, which every coffee lover should be mindful of.
1. Water Volume and Strength Control
Many people, when using a drip bag for the first time, will simply place it in a cup and pour hot water over it to steep. While this can still brew coffee, it often leads to overly diluted flavor. It is generally recommended to use about 150 to 180 milliliters of hot water per 10-gram drip bag, as this ratio achieves better flavor balance. If you prefer a lighter taste, you can start by brewing 150 milliliters and then add more hot water to adjust, avoiding pouring in too much water at once.
2. Do Not Steep the Drip Bag for Too Long
Although a drip bag may look similar to a tea bag, the usage logic is very different. The longer a tea bag steeps, the stronger the flavor—but for drip coffee, prolonged steeping can lead to over-extraction, releasing excessive caffeine and undesirable off-flavors, resulting in a bitter and astringent taste. The optimal brewing time is around 4 minutes. Once the time is up, remove the bag to avoid affecting the overall flavor profile.
3. The Importance of Water Temperature
Drip coffee is essentially the same as pour over coffee, so the requirements for water temperature are similar.It is recommended to use hot water at85 to 90 degrees Celsius.
4. Do Not Re-Brew
Since a drip bag can only be extracted once, reusing it not only fails to bring out the flavor but may also produce unpleasant tastes due to over-steeping, and it is not beneficial to health. It is recommended to discard the bag after a single use.
After mastering the above basic principles, let’s further explain the correct steps for brewing a drip bag to ensure you can consistently produce a well-balanced cup of coffee.
1. Warm Your Cup
Before brewing, it is recommended to pour a small amount of hot water into your cup to warm it. This reduces heat loss when the coffee is poured in, helping to better present the flavors. Coffee served at a stable temperature can showcase its layers and nuances more effectively.
2. Adjust Water Temperature
After boiling the water, let it sit for 1 to 2 minutes to lower the temperature to85 to 90°C,which is the most suitable range for extracting most Arabica coffee beans. If you find the coffee is too bitter, you can slightly lower the water temperature; if the taste is too light or astringent, you can moderately increase it—but it is still best to stay within this range.
3. Hang the Drip Bag
Gently shake the drip bag to let the coffee grounds settle to the bottom, preventing powder from scattering when you open it. Discard the pre-poured warming water, tear open the drip bag’s seal, unfold the two side ears, and hang them on the rim of the cup. Lightly tap or shake to flatten the coffee bed.
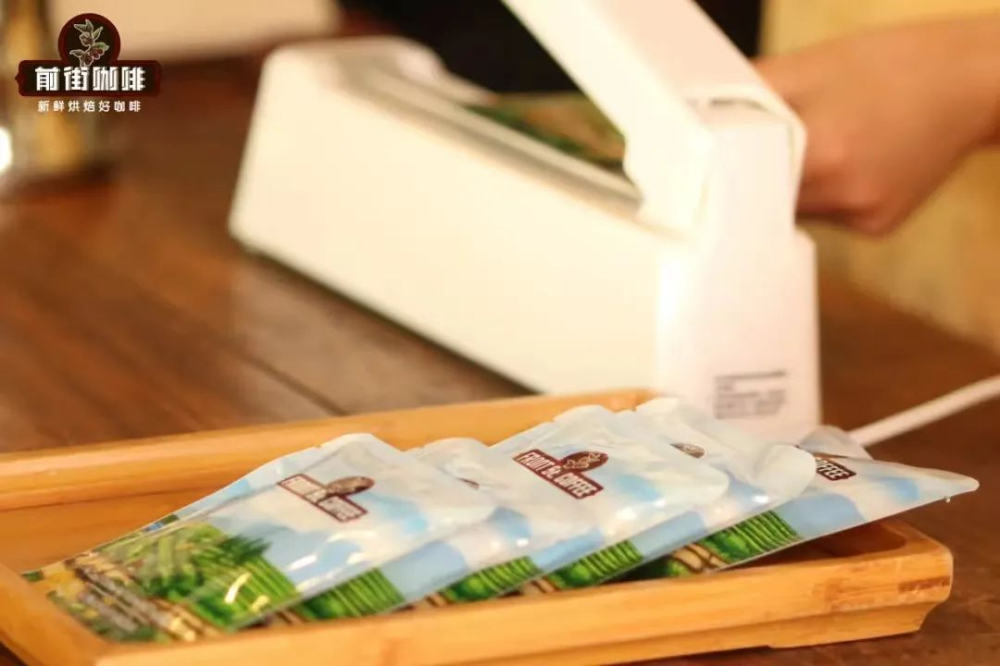
4. Pre-Wetting Step
The first pour of water should just be enough to wet all the coffee grounds—the amount doesn’t need to be large, around 20 to 30 milliliters is sufficient. Let it sit for about 20 seconds to allow the coffee grounds to fully absorb water and expand. This stage is called “bloom.” If you want a richer flavor, you can extend it to 40 seconds, which helps improve extraction efficiency and aroma release.
5. Main Pouring Stage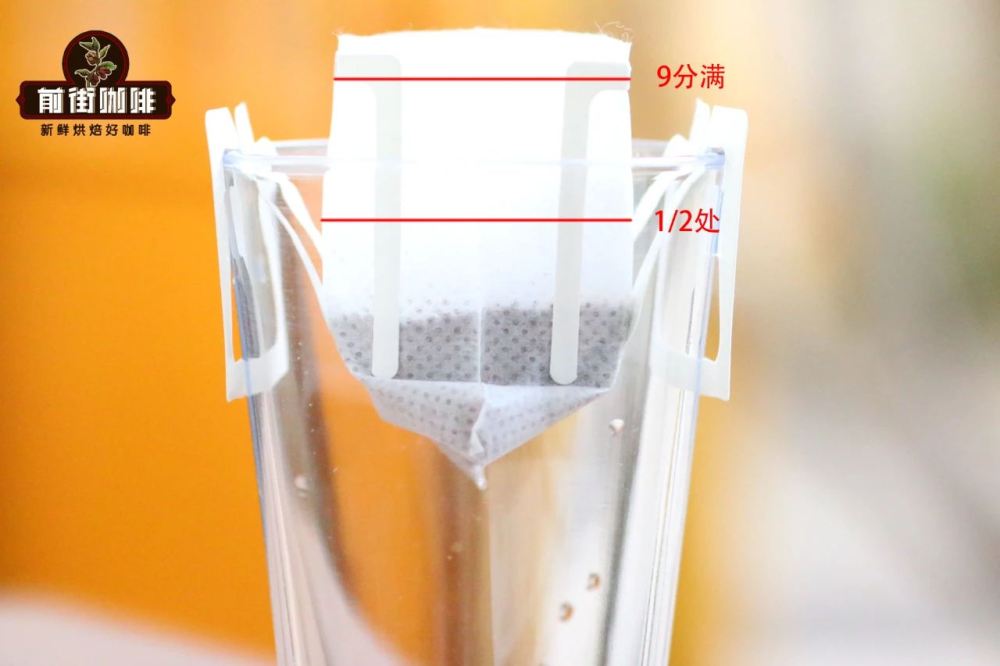
Then begin the main pouring. It is recommended to use a fine and steady stream of water, keeping the water level around eight-tenths full in the filter bag, with a total extraction volume of about 150 to 180 milliliters. You can pour in stages, waiting for the water level to drop before pouring again, until you reach the target volume. During extraction, maintaining a stable and evenly distributed water flow helps achieve balanced flavors. Once the desired extraction volume is reached, you can remove and discard the drip bag without waiting for all the water inside the bag to completely drip through.
Finally, regarding how to choose a drip bag that suits you, it is recommended to select based on the flavor profiles of single-origin beans you usually enjoy—for example, if you like bright acidity, you might choose Ethiopian Yirgacheffe; if you prefer a fuller body with lower acidity, you might consider Indonesian Mandheling or Brazilian beans. Drip bags from different regions and processing methods can offer distinctly varied taste experiences.
As for shelf life, according to food safety regulations, coffee products are typically labeled with a one-year expiry, but in reality, to experience the best flavor, it is recommended to consume them as soon as possible after purchase. Once coffee is ground, its aroma volatilizes more quickly, so it is best enjoyed within a few weeks after opening to fully appreciate its unique flavors.
Mastering the correct techniques for brewing drip coffee allows you to easily enjoy a pour over-quality coffee experience, whether at home or in the office.
The above content is compiled by CoffeeHunters, a coffee news website.


