








Introduction:Want smoother latte art and longer-lasting milk foam? This article dives deep into milk types, steaming temperatures, and techniques to help you choose the right low-temperature whole milk and use proper steam frothing methods to create fine, dense foam. From the difference between room temperature and cold milk, the impact of whole and skim milk, to ways to improve foam stability, we’ll guide you step-by-step through the professional barista’s frothing secrets.
Many coffee enthusiasts encounter issues like unshapely or quickly dissipating foam when practicing latte art. In fact, the fineness and durability of milk foam are closely related to the quality of the milk and how it’s frothed. This article will start with the types of milk, analyzing the characteristics of room temperature vs. cold milk, and whole vs. skim milk, and then detail how to use proper steam frothing techniques to make the foam finer and longer-lasting. Whether you’re making lattes or cappuccinos, you’ll achieve better latte art results.
Beginners often find milk foam hard to control when practicing latte art and frothing. In reality, the inherent properties of the milk are one of the key factors. Choosing the right type of milk can greatly reduce the difficulty of frothing. From a professional perspective, milk can be categorized by storage method into room temperature and cold milk, and by fat content into whole and skim milk—among these, cold whole milk is the best choice for latte art.
Room temperature milk undergoes high-temperature sterilization, almost completely killing bacteria, so it can be stored at room temperature for up to six months. However, its taste and nutrition may be slightly compromised. In contrast, cold milk uses pasteurization, which only kills most harmful bacteria. It needs refrigeration and has a shelf life of about seven to twelve days, but it retains more complete flavor and nutrients. For coffee latte art, it can deliver a finer texture.
Whole milk, with its higher fat content, forms fine and dense foam more easily during frothing, making it the barista’s top choice. On the other hand, although skim milk suits certain health needs, it lacks most of its fat, resulting in thinner foam that often feels watery and has significantly reduced flavor, making it less suitable for latte art.
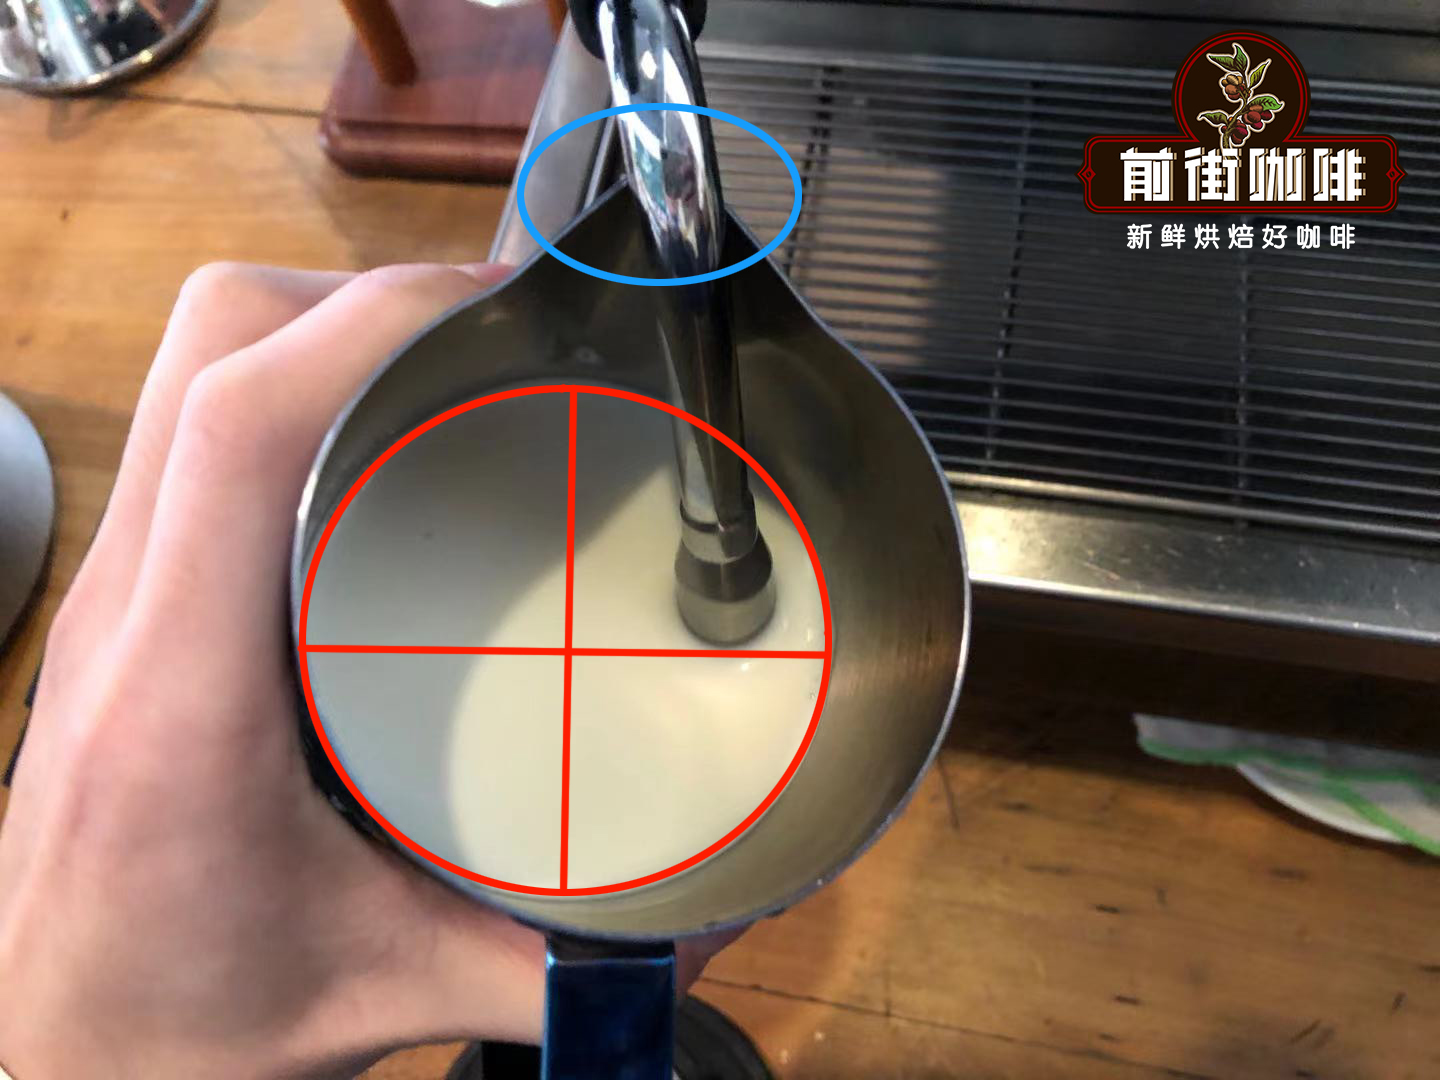
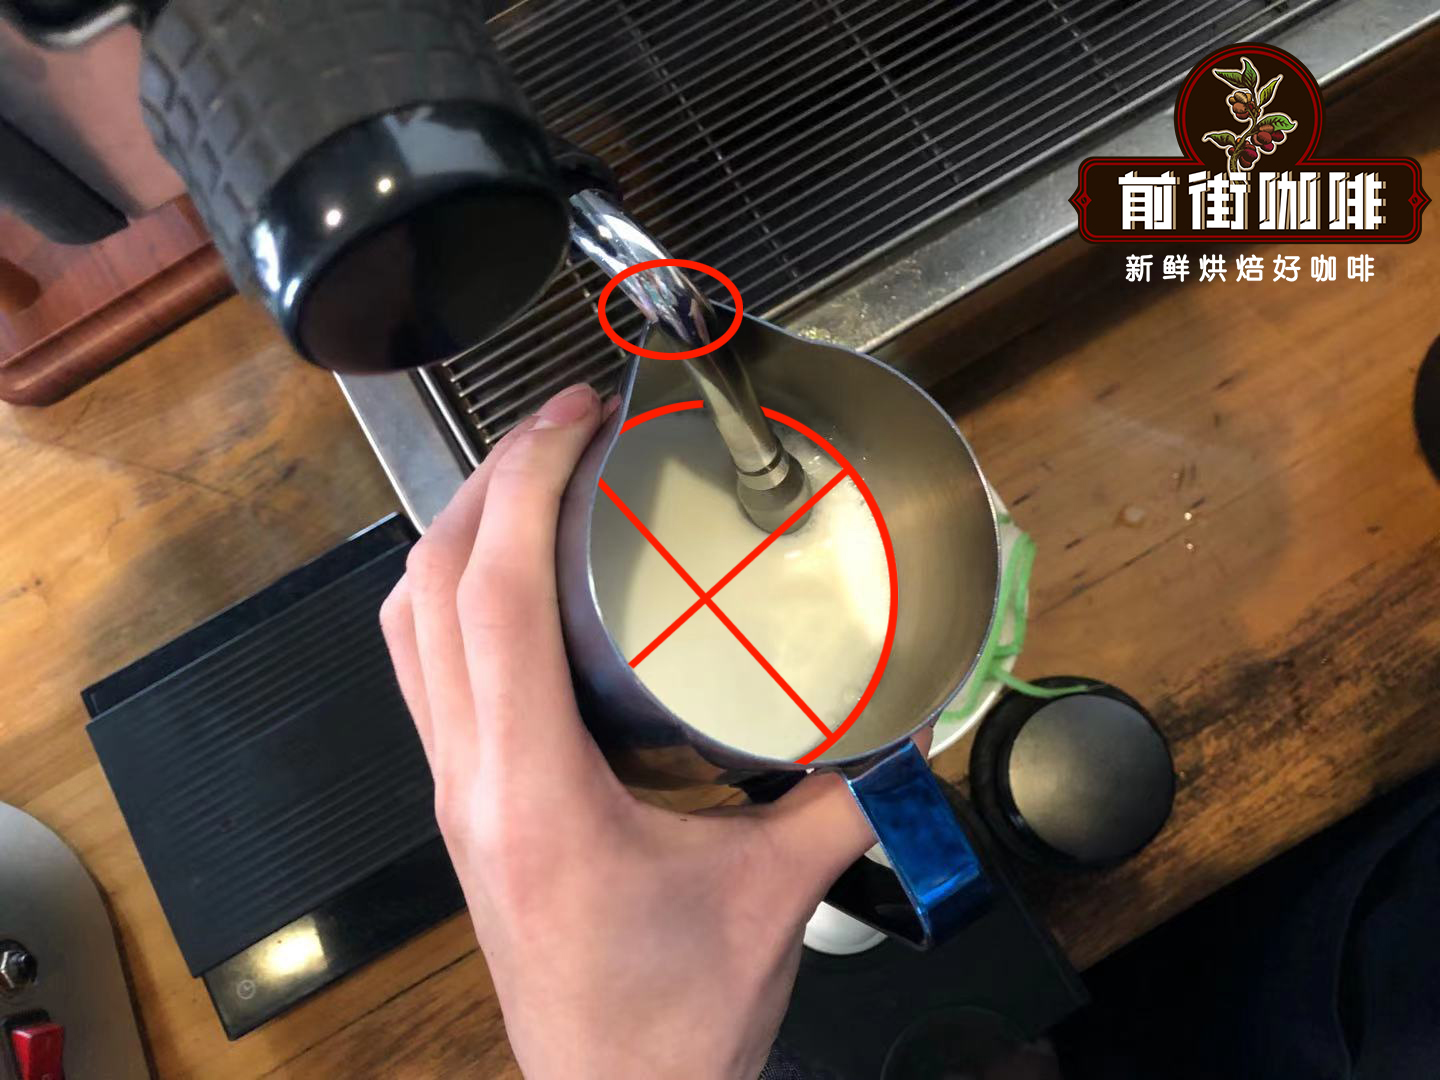
For frothing milk foam, it’s best to use fresh, chilled cold whole milk. Before starting, make sure the steam wand is fully preheated and that only pure steam comes out—this ensures sufficient pressure. If you’re using a home espresso machine, pay special attention to whether the steam pressure is adequate, as some cheaper models may only produce water mist with a little steam. Also, if the steam tip has plastic parts, avoid submerging them below the milk surface to prevent sucking in excess air.
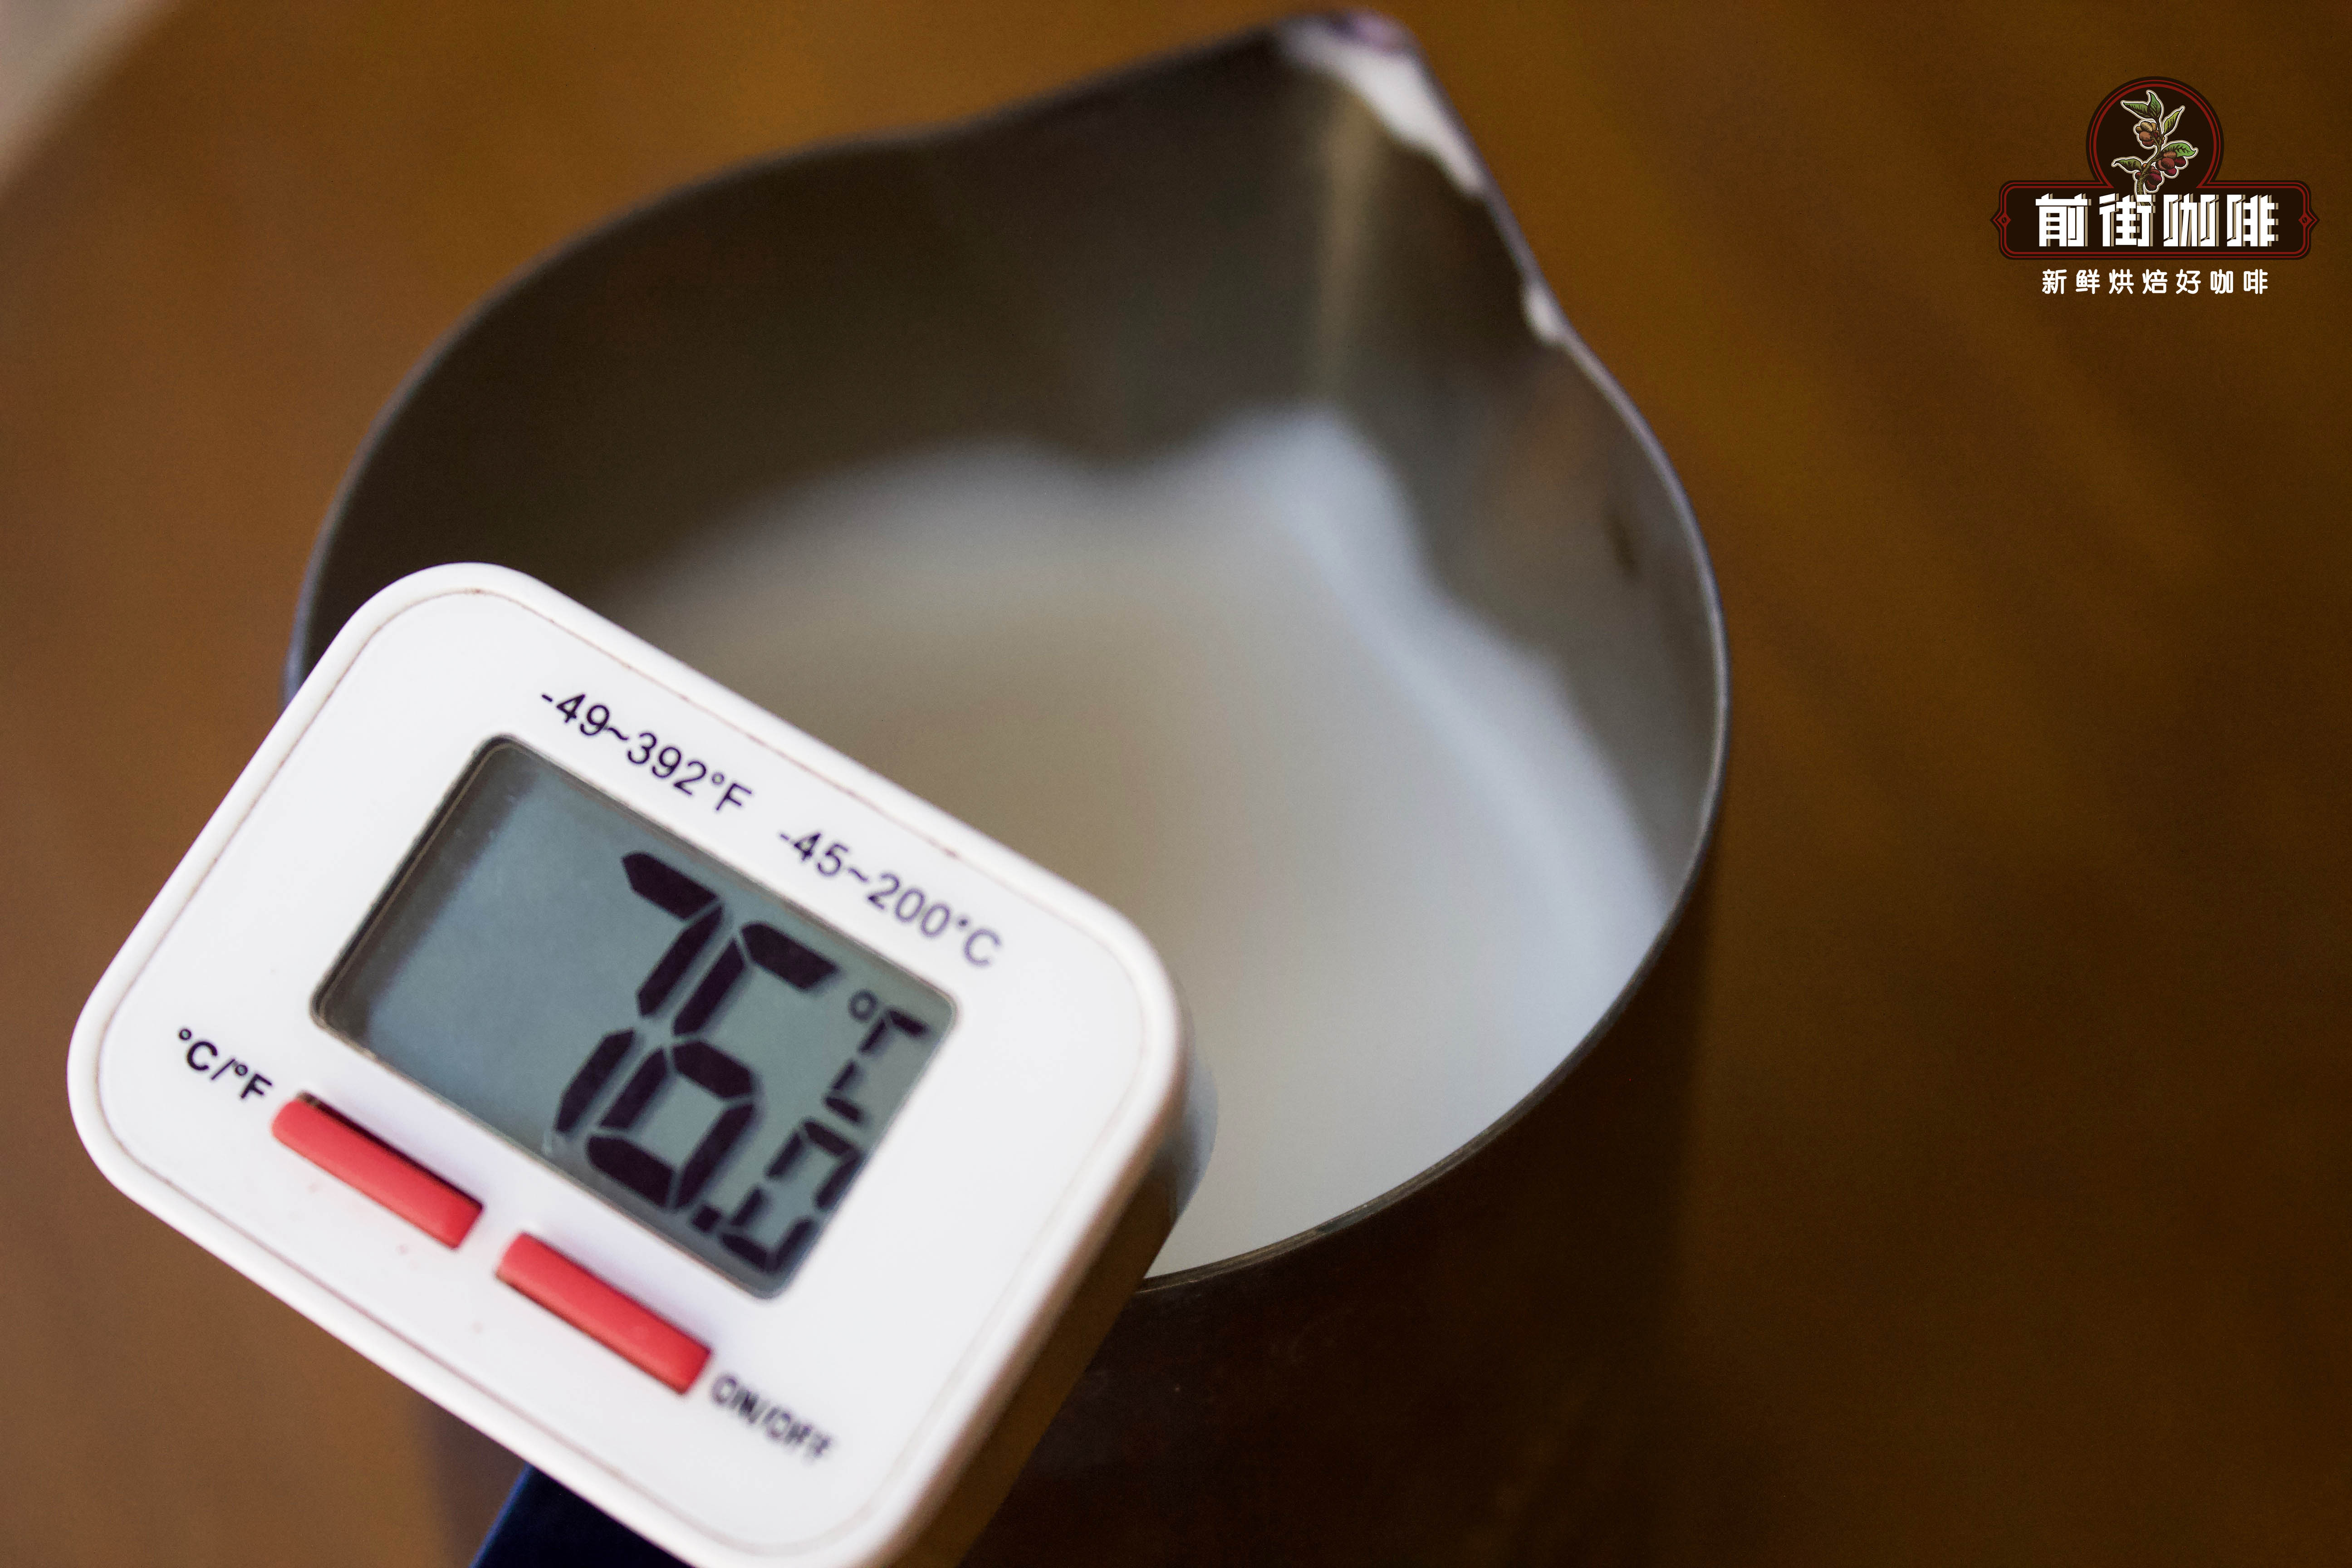
The frothing time is generally controlled until the milk reaches about sixty degrees Celsius—you’ll feel a noticeable heat at the bottom of the pitcher by touch, and you’ll also start to smell a rich milky aroma. After frothing, gently tap the milk pitcher on a thick cloth to help release any large bubbles, stabilizing the foam structure and extending its longevity. This step is crucial for maintaining the quality of the foam during latte art.
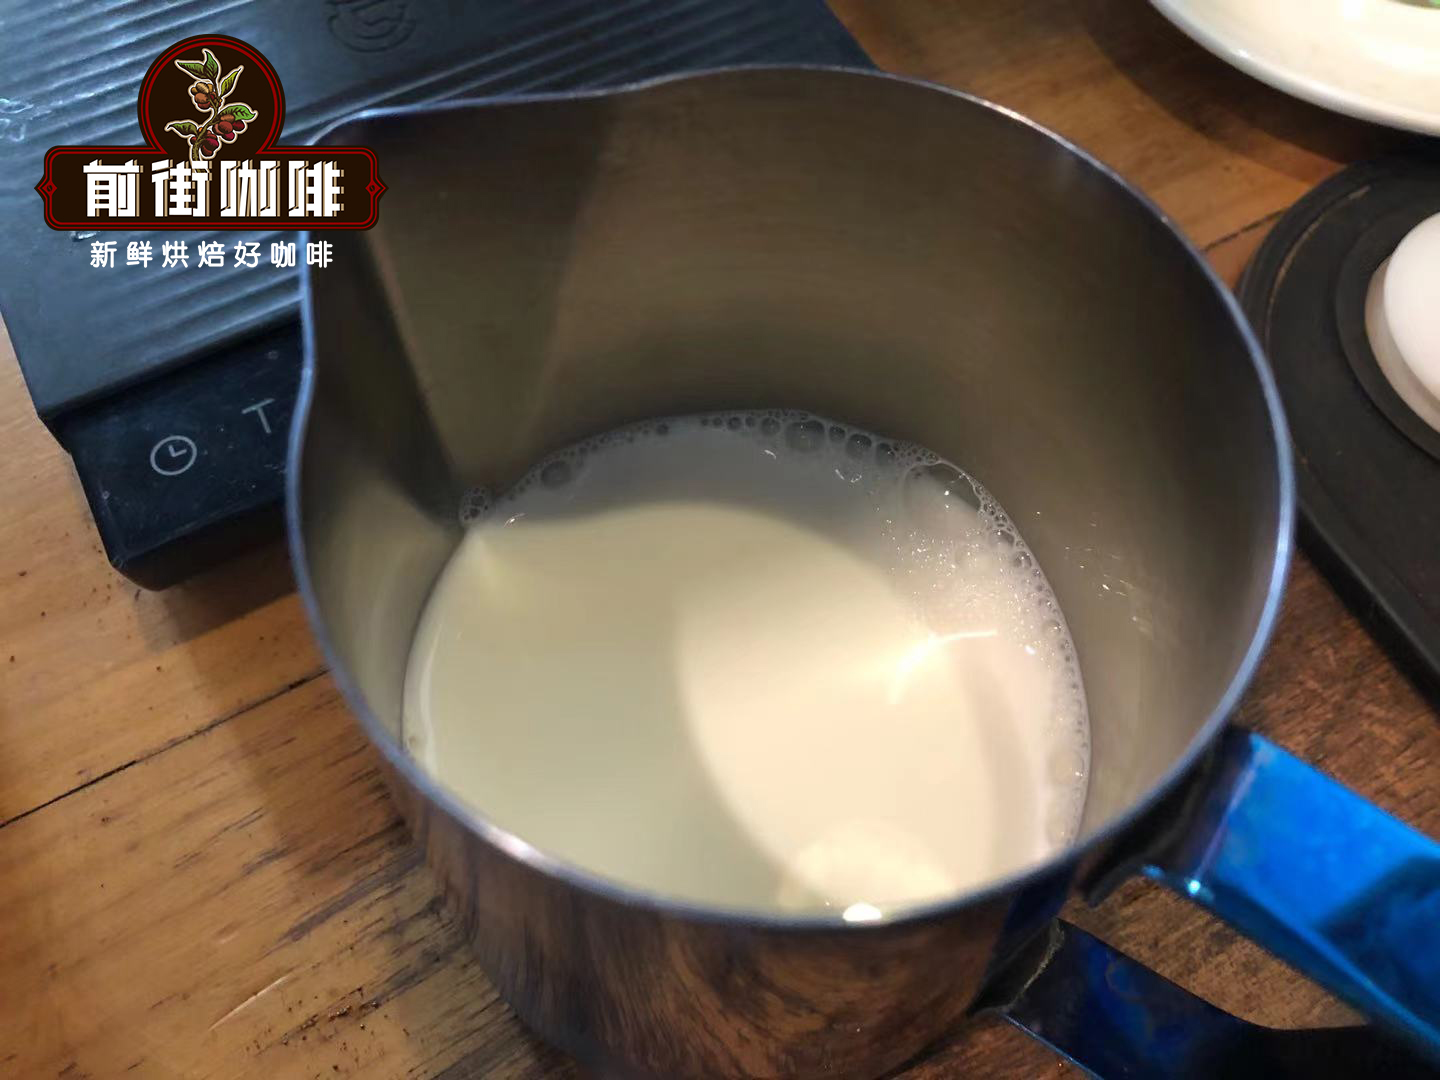
Ideal milk foam should be semi-creamy, with moderate thickness, but not overly cooked. During frothing, the steam tip should be positioned about one centimeter below the milk surface—being too high or too low will affect the fineness and uniformity of the foam. If you hear excessively loud noise, it may indicate that the angle of the steam wand needs slight adjustment to ensure effective mixing of milk and air.
Temperature control during frothing is key. It’s generally recommended to maintain the temperature around seventy degrees Celsius, ensuring the foam is dense without breaking due to overheating. Experienced baristas often judge the temperature by placing their palm near the most sensitive part of the pitcher’s side—when it feels too hot to touch, it’s time to stop. Additionally, the final ratio of milk to foam varies depending on the type of coffee being made—for example, lattes and cappuccinos have different foam density requirements, which directly affects the latte art outcome.

Many factors influence foam longevity, including frothing temperature, milk type, steam technique, and post-frothing handling. Too low a temperature leads to loose foam structure that’s hard to maintain; too high a temperature can cause the milk to boil excessively, forming rough, easily broken large bubbles. Proper tapping and timing management are also important steps in maintaining foam quality. After frothing, it’s recommended to lightly tap the pitcher to remove large internal bubbles, but be mindful of the force to avoid introducing more air.
In summary, to create long-lasting and fine coffee latte art foam, besides choosing cold whole milk, you also need to master the correct frothing temperature, steam wand operation techniques, and post-frothing methods. With continuous practice and adjustments, every coffee enthusiast can improve their foam quality and elevate their latte art skills.
The above content is compiled by CoffeeHunters, a coffee news website.


