







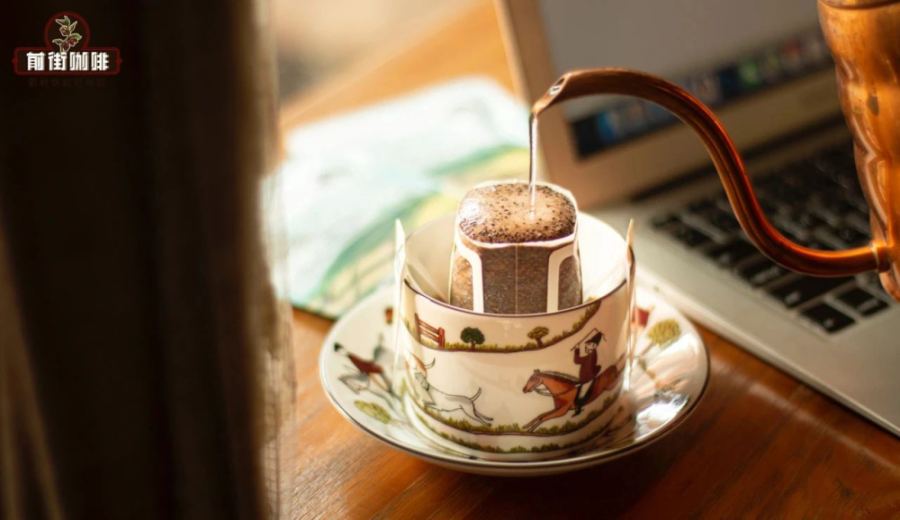
Introduction:Drip bags are widely loved for their convenience and pour over-level flavor, but many people still have questions about brewing times, water temperature, and coffee-to-water ratios. This article delves into the structure of drip bags and the reasons behind single-brew recommendations, and walks you through the key steps of warming the cup, hanging the bag, pre-wetting, and pouring water. It also recommends three classic drip bag options with distinct flavor profiles to help you brew a balanced and rich coffee experience based on your taste preferences.
With their portability and aroma reminiscent of pour over, drip bags have become a daily choice for many coffee enthusiasts. However, many people often wonder whether they can brew multiple times, or how to balance water temperature and the coffee-to-water ratio. This article starts with the basic design principles of drip bags, explains why a single extraction is recommended, and breaks down the four core steps: warming the cup, hanging the filter bag, pre-wetting, and segmented pouring. This helps you master every detail precisely to elevate the quality of each cup. Additionally, based on different flavor characteristics, three representative drip bag options are introduced to help you find the perfect match according to your personal taste.
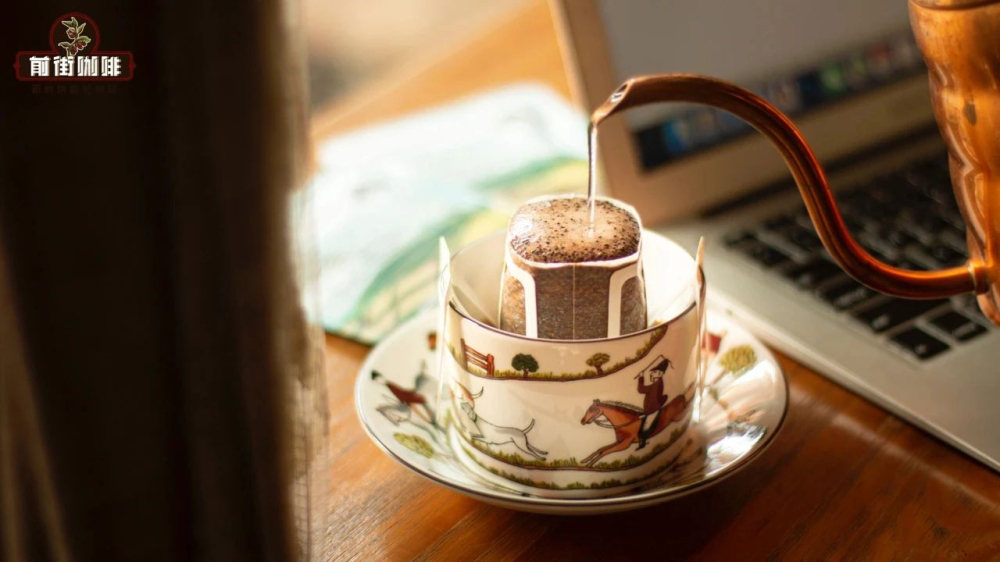
Drip bags resemble filter pouches. They are made by packing a precisely ground amount of coffee into a dedicated non-woven fabric bag, which is then secured by two "ear-like" paper supports extending from the sides, allowing it to hang conveniently on the rim of a cup. This design is not only easy to carry but also simulates the support effect of a pour over dripper, enabling hot water to evenly pass through the coffee grounds and extract a rich array of flavor compounds. Due to structural limitations—and to maintain balanced and layered flavors—it is generally recommended to perform only one full extraction per drip bag.
In terms of flavor options, there is a wide variety of drip bags on the market to suit personal preferences. For example, washed-process Yirgacheffe-flavored drip bags often showcase bright citrus, honey, and subtle floral notes, making them ideal for coffee beginners; if you prefer a richer body and lower acidity, Indonesian Mandheling drip bags processed with the wet-hulling method are a great choice, offering a smooth mouthfeel and lingering aftertaste; and for those who enjoy fruity and sweet profiles, sun-dried Huakui region coffee drip bags deliver intense strawberry-cream-like sweetness with an overall fresh and lively character.
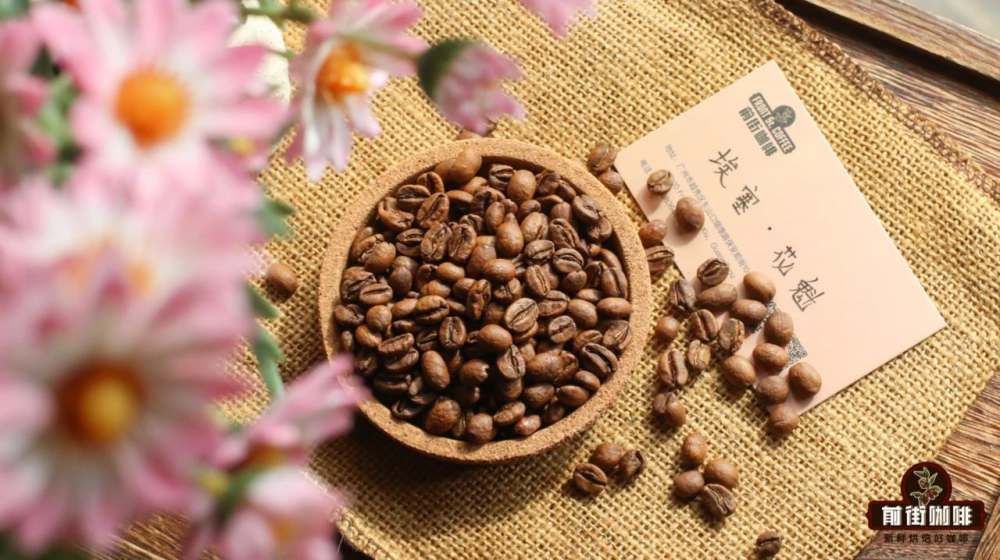
Although the usage of drip bags is similar to simplified pour over, the core extraction principle remains the same—hot water extracts soluble substances from the coffee grounds. For this reason, to maintain flavor consistency and extraction efficiency, it is usually recommended to brew each drip bag only once. In addition, mastering the coffee-to-water ratio is crucial: too much water will result in a diluted brew with indistinct flavor layers, while too little water can make the coffee overly strong, even bitter. Generally, a 1:15 ratio is recommended—that is, 10 grams of coffee grounds to 150 milliliters of brewed liquid.
For preparation, it is suggested to use hot water at around 90–92°C (you can let boiled water cool for about 2 minutes), and prepare a tall cup with sufficient capacity to ensure smooth pouring and avoid spills. Start with the cup-warming step: pour a small amount of hot water to preheat the cup, which helps maintain the final serving temperature of the coffee and prevents aroma and flavor loss due to rapid cooling. A sharp drop in temperature can quickly diminish the delicate layers of the coffee, affecting the overall drinking experience.
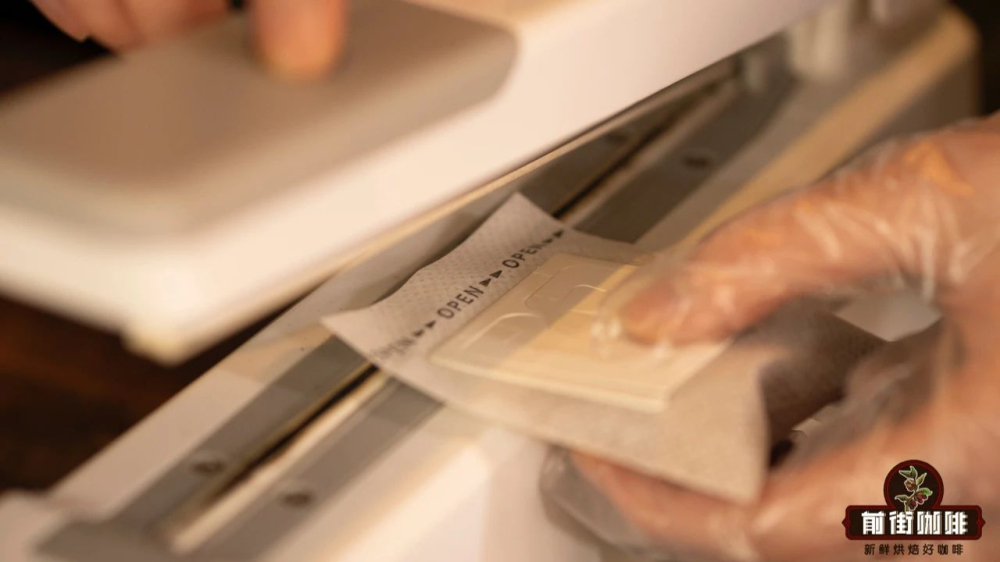
Next, gently shake the drip bag to allow the coffee grounds to settle evenly at the bottom, preventing powder from scattering when opening the seal. After discarding the preheating water, carefully tear open the filter bag’s seal, unfold the two paper "ears," and place them flat over the cup’s rim, ensuring the bag sits securely without wobbling. You may lightly tap or adjust the coffee layer to distribute it evenly, aiding consistent extraction during subsequent pouring.
Pre-wetting is an important step to improve extraction efficiency. For the first pour, use a small amount of hot water (about 20–30 ml) to fully wet the surface of the coffee grounds, then let it sit for about 20 seconds to allow the grounds to absorb water and expand. This duration can be slightly adjusted based on personal preference—if you desire a stronger flavor, extend it to 40 seconds to extract more deep-seated flavor compounds. However, be cautious as overly long pre-wetting may lead to over-extraction and unwanted off-flavors.
When you move on to the main pouring phase, it is recommended to use a fine and steady stream of water, pouring evenly into the center of the filter bag and gradually expanding outward, avoiding direct impact on the edge of the filter paper to prevent channeling. After the first pour fills the bag about four-fifths full, wait for the liquid level to drop slightly, then continue replenishing water in the same manner until the total brewed volume reaches 150–180 ml. Maintain a stable flow rate throughout the pouring process to avoid unevenness that could affect flavor balance. After completing the pour, you can remove and discard the filter bag without waiting for all the water inside to completely drip out, to prevent over-extraction from impacting the final taste.
The above content is compiled by CoffeeHunters, a coffee news website.


