







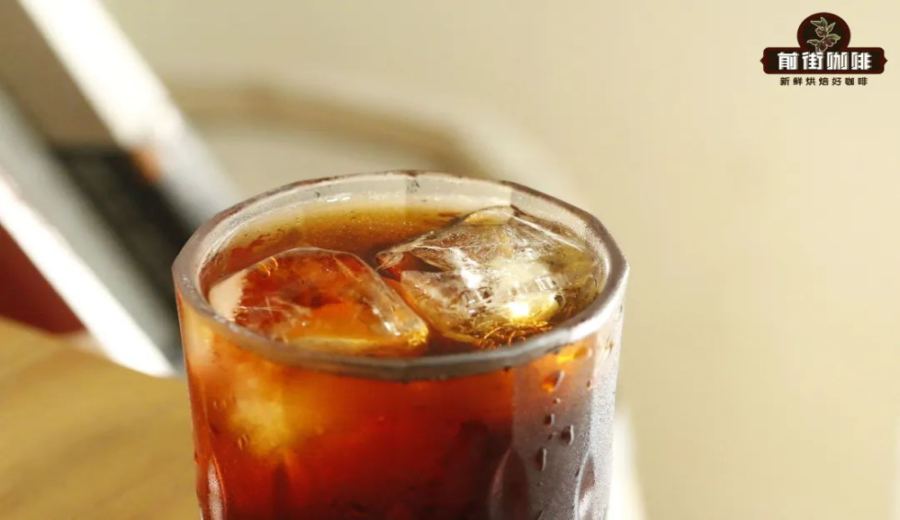
Introduction:Cold drip coffee is renowned for its low acidity, rich body, and well-defined layers. Although its brewing process is more complex than cold brew, mastering the right ratio and technique allows you to recreate café-quality flavor at home. This guide will take you from zero to hero, detailing the equipment setup, coffee-to-water-to-ice ratio, filter paper placement, and drip rate adjustment, while also recommending coffee beans ideal for cold drip—helping you easily craft a refreshing and layered cold drip coffee.
If you’re already familiar with making cold brew, why not challenge yourself with the more meticulous cold drip? This method, which extracts coffee slowly through dripping ice water, results in a cleaner, less bitter flavor due to the low temperature and extended brewing time. The taste is typically smoother and more nuanced. Below, we’ll break down the cold drip process step by step—from equipment selection and ratio adjustments to refrigeration aging—to help you achieve your ideal cold drip flavor.
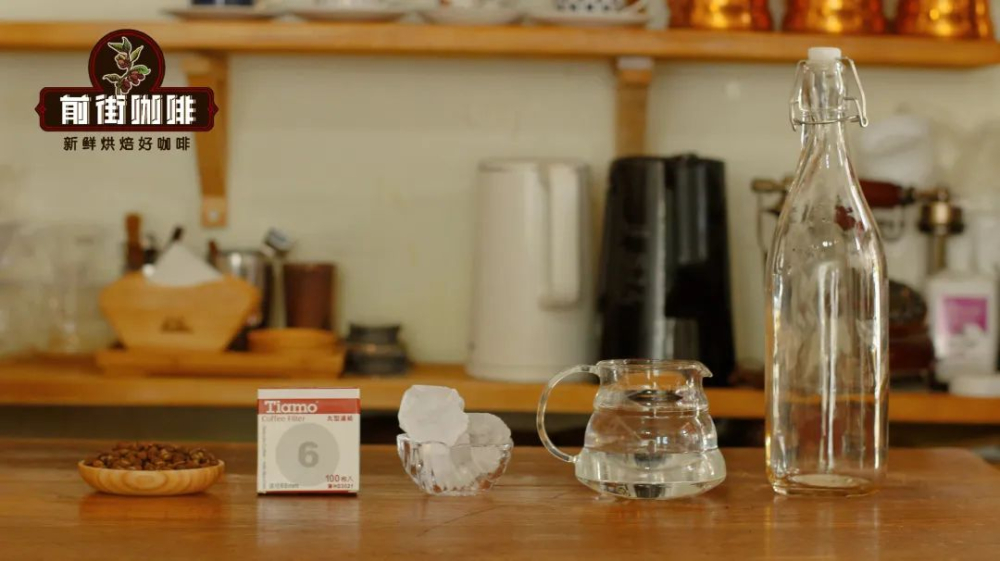
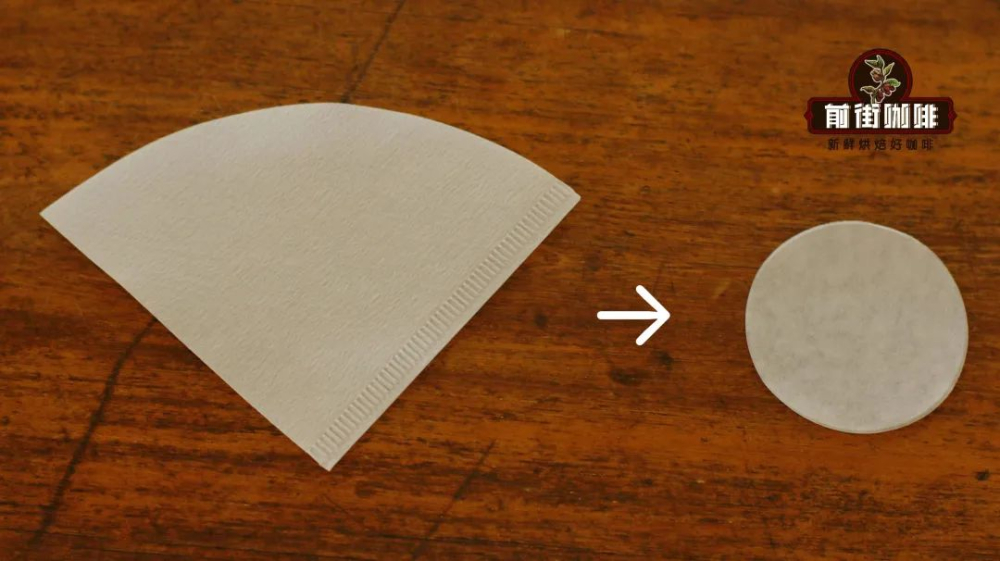
Before getting started, gather the essential tools and materials: a cold drip brewer, room-temperature filtered drinking water, ice cubes, specialized round filter paper (or you can manually cut standard filter paper if none is available), freshly roasted coffee beans, and a clean airtight bottle. For this practical session, it’s recommended to use a 1:6:6 coffee-to-water-to-ice ratio—that is, 50 grams of coffee beans, 300 grams of room-temperature water, and 300 grams of ice cubes. This ratio balances richness and extraction efficiency, suiting most palates.
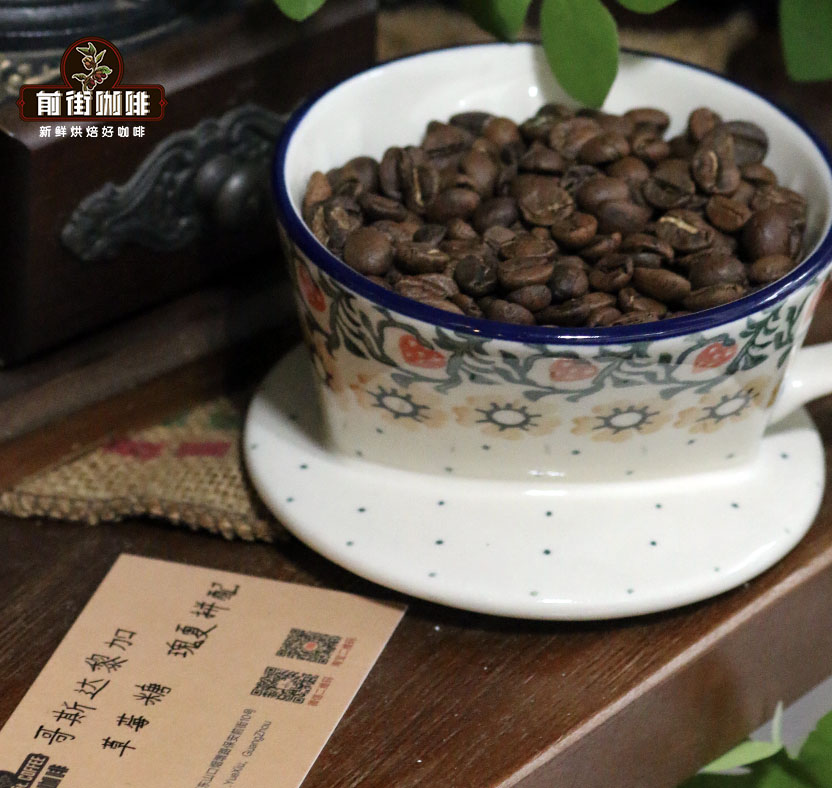
Regarding coffee bean selection, opt for beans with bright floral or fruity notes—such as the common Yirgacheffe or Kenyan beans—or blends featuring berry and caramel profiles. These beans can showcase more delicate aromas during the cold drip process and remain smooth even without extra ice. For specific recommendations, consider trying a blend from Central America, often combining Costa Rica and Panama beans, which typically offer rose-like floral notes, raisin flavors, and a mild creamy finish.
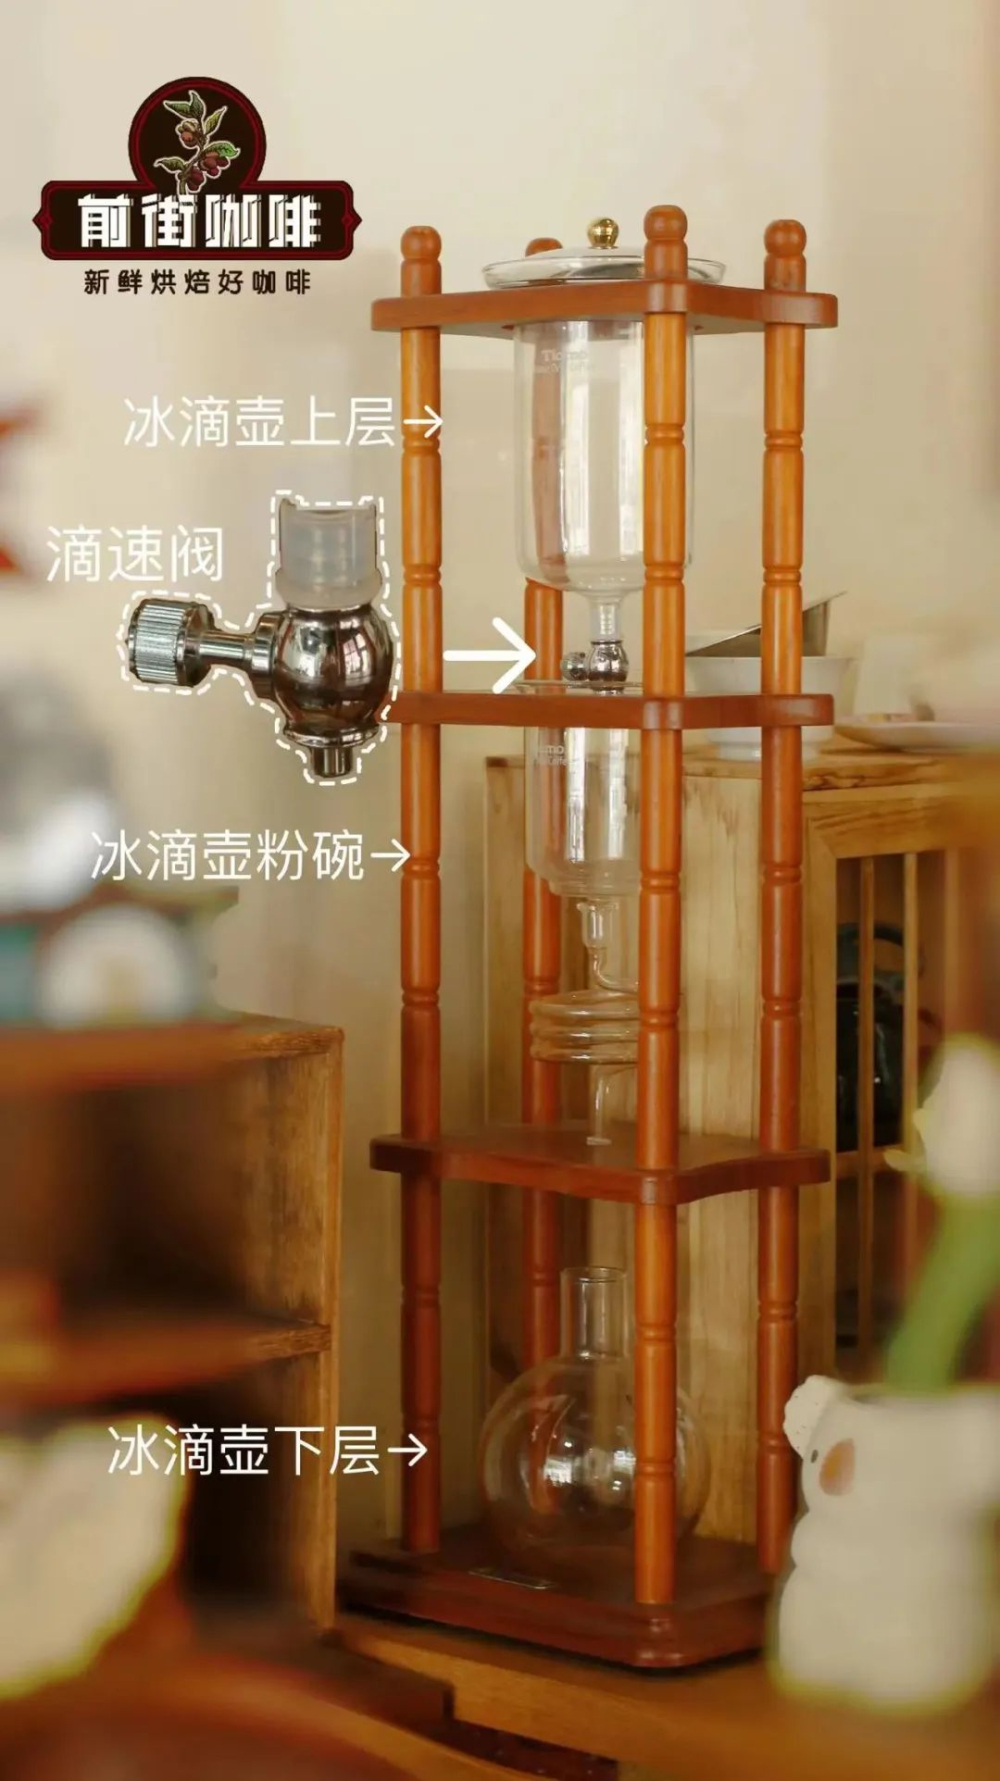
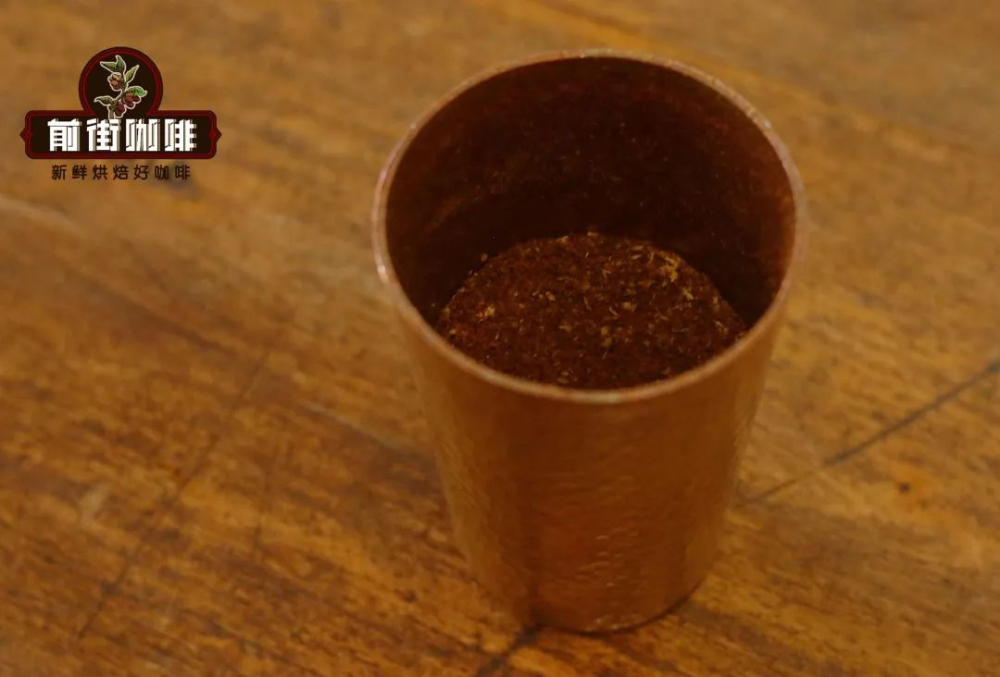
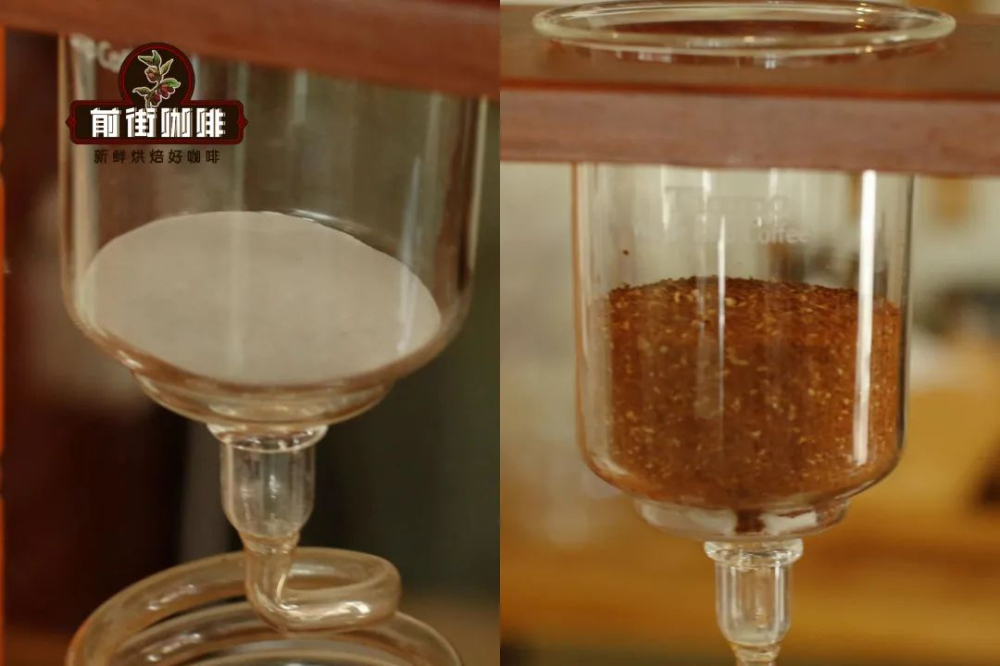
First, grind the selected coffee beans into medium-coarse grounds, similar to the grind size used for pour over coffee, roughly comparable to setting 9 on an EK43s grinder. This particle size ensures the ice water slowly penetrates, preventing over-extraction or clogging the filter layer. Next, place a round filter paper in the coffee grounds chamber of the cold drip brewer, lightly moistening it with a small amount of room-temperature water. This helps the filter adhere to the chamber and pre-wets the surface of the coffee grounds.
Pour the ground coffee into the filter paper and gently level it to ensure an even layer thickness. Then, cover it with a second filter paper, which helps stabilize the coffee bed and prevents it from being disturbed when the drip starts. After that, evenly wet the coffee grounds with room-temperature water—a step known as “pre-wetting.” This allows all coffee particles to absorb water, ensuring a more consistent extraction and effectively shortening the overall dripping time.
Once the coffee bed is prepared, you can begin pouring the ice water mixture. Add the prepared ice cubes and room-temperature water to the top container of the cold drip brewer (the one with the drip rate control valve), following the recommended ratio. It’s advisable to close the drip valve initially to prevent a sudden rush of liquid that could affect extraction uniformity. After adding the liquids, adjust the valve to allow about 7 drops per 10 seconds. This speed ensures the ice water slowly and steadily penetrates the coffee bed, fully extracting the flavors without over-extracting.
The entire dripping process may take several hours. During this time, occasionally check whether the drip rate remains stable, and make minor adjustments to the valve if noticeable changes occur. Once all the ice water has dripped through, transfer the collected coffee liquid into a prepared airtight bottle and refrigerate for at least 8 hours. This refrigeration aging period helps stabilize the coffee’s flavor and makes the mouthfeel smoother. Remember, it must be refrigerated—never freeze it, as this can negatively impact the flavor structure.
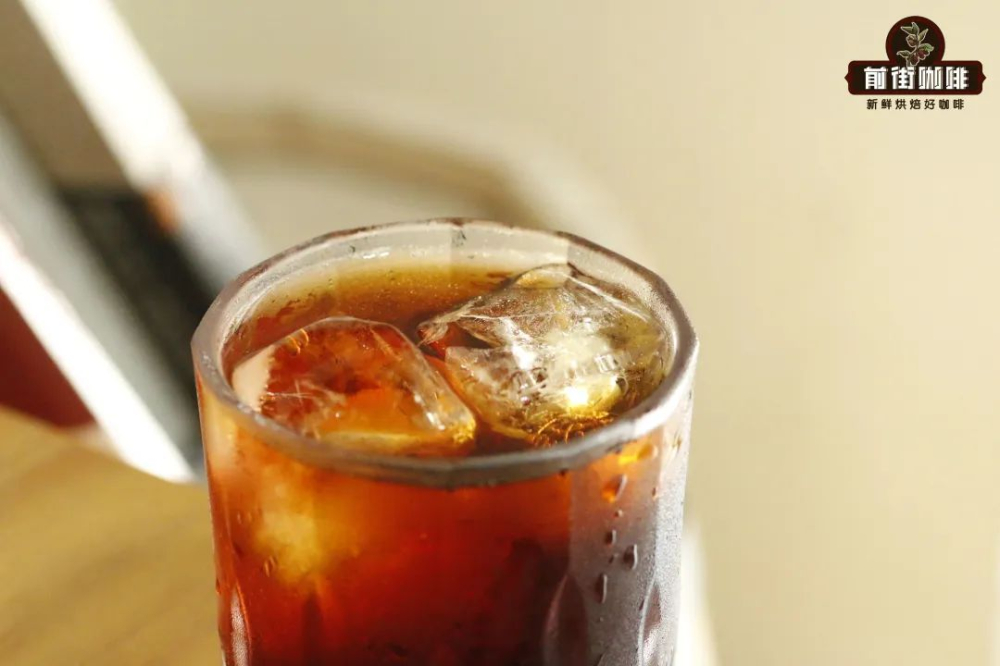
After the coffee has finished refrigerating and aging, it’s ready to serve. It’s recommended to enjoy it with ice cubes—not only to maintain a cool temperature but also to further highlight the clarity and layered profile of cold drip coffee. This cup of cold drip coffee, crafted through a long wait and careful adjustments, offers a fulfilling sense of accomplishment and a delightful tasting experience, whether enjoyed straight or used as a base for other beverages.
The above content is compiled by CoffeeHunters, a coffee news website.


