








Introduction:Latte art may seem like an art form, but it is actually built upon solid foundational skills. Many people, even when they achieve fine microfoam and good crema, still struggle to pour clear and beautiful patterns. The issue often lies in the milk and coffee fusion step—this not only affects whether the pattern can be smoothly presented, but also directly impacts the flavor layers. This article delves into fusion techniques, foam thickness and fineness, latte pitcher handling details, and offers practical advice to help you consistently create professional-level lattes with a golden crema layer.
Many beginners often encounter the same frustration when trying to pour latte art: even though their microfoam is fine and the espresso crema looks good, they repeatedly fail at pouring patterns. In fact, the most commonly overlooked step is the “fusion” of milk and coffee. This seemingly simple step actually has a huge impact on the smoothness of the pattern formation and the overall taste. This article will break down how to make a latte that is both aesthetically pleasing and smooth to drink, from aspects such as the crema condition of the espresso, the fineness and thickness of the milk foam, and various elements of the fusion technique—including direction, height, flow rate, and circle radius. It also includes beginner-friendly coffee bean recommendations, so you can consistently brew coffee with a beautiful golden crema even at home.

The so-called fusion refers to the process of evenly mixing the steamed milk foam with freshly extracted espresso. This not only determines the smoothness of the subsequent latte art pouring, but also greatly influences the overall flavor performance of the drink. If the fusion is uneven, the first sip might reveal distinctly layered flavors—one side overly bitter, the other as weak as water. Fusion may seem simple, but many beginners often just swirl a few times and stop, leading to failed latte art later on.
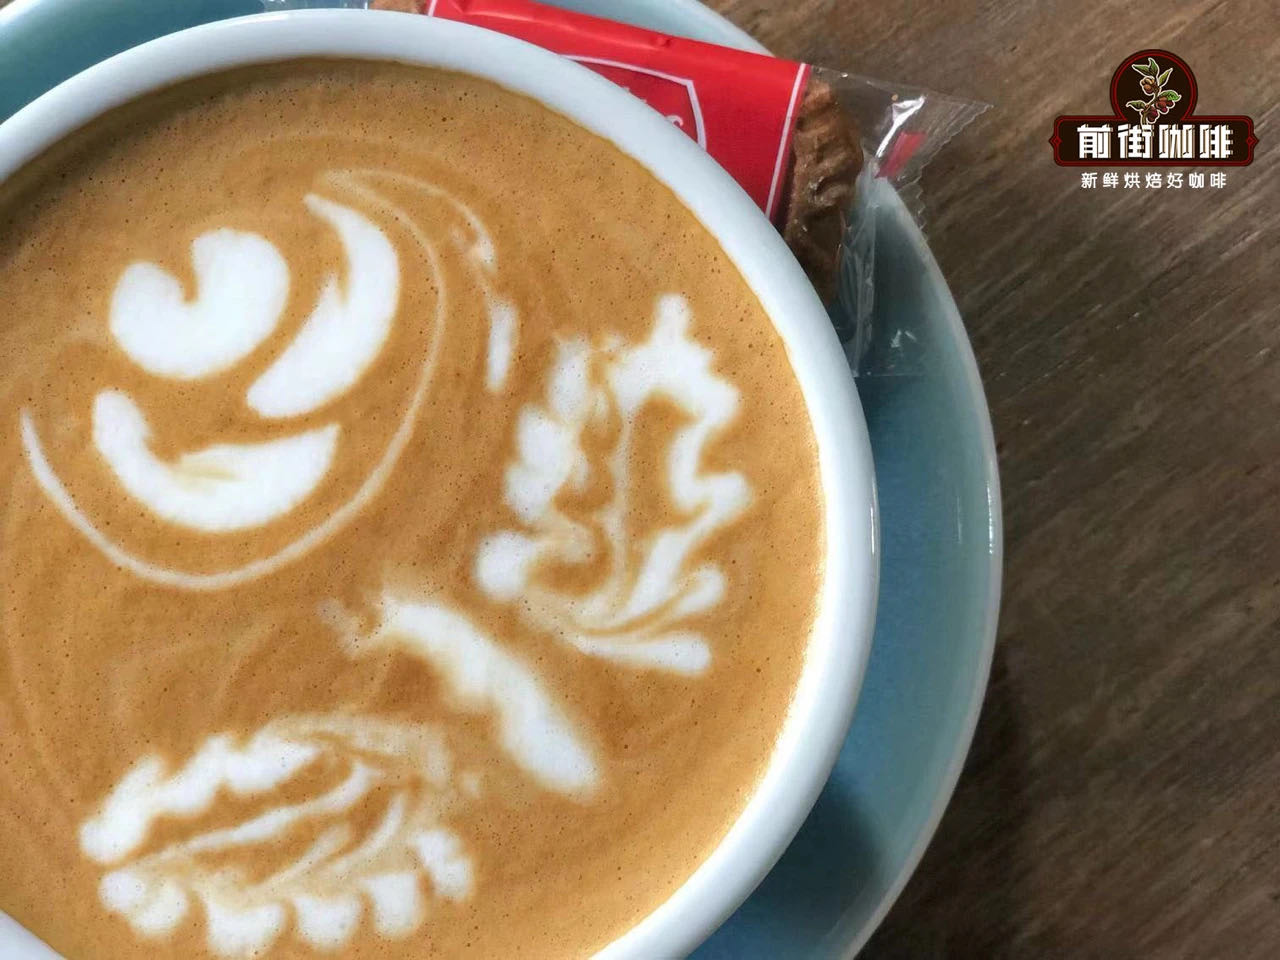
How can you tell if the fusion is successful? The key lies in observing the surface of the liquid. When milk and coffee are fully fused, the surface will exhibit a uniform and soft golden color, with a fine texture, no obvious large bubbles, and a naturally smooth color transition. Such fusion not only helps with the formation of subsequent latte art patterns, but also allows the coffee to deliver a distinct layered flavor upon drinking. This uniformly fused liquid surface is often referred to as the “golden circle.”

To achieve ideal fusion results, there are several key factors to pay attention to. First is the thickness of the espresso crema. Ideally, the crema layer should be around 0.7 centimeters thick. Such crema is both fluid enough and capable of stabilizing the direction of the milk foam. It’s worth noting that thicker crema is not always better. Excessively thick crema increases the difficulty of fusion, while too thin crema fails to effectively stabilize the milk foam, which can lead to shifting or instability during pouring. The formation of crema is closely related to the freshness of the coffee beans. Beans that are too fresh may have overly thick crema due to high CO₂ content, while beans that are past their prime or improperly stored may produce thin crema.
Secondly, the texture of the milk foam is equally crucial. For making lattes, it is recommended to steam the milk to about 1 centimeter of foam thickness. This is usually achieved by stopping the aeration after hearing about 4 to 5 “hissing” sounds, then tilting the pitcher at about a 45-degree angle and using a rotating motion to remove the coarser bubbles. The final foam should be smooth and fine, with a silky smooth touch.
Before starting the formal fusion, it is recommended to gently shake the pitcher to prevent the milk foam and milk from separating due to standing still. If fusion is not performed immediately after steaming, you can place the pitcher on a tabletop, rotate it clockwise around the wrist axis, and gently shake it to ensure the milk foam and milk are thoroughly mixed. If fusion is performed in a layered state, it often causes the milk foam to float on the surface, unable to blend evenly into the coffee, resulting in uneven large bubbles during pouring.
The direction of the circles during fusion is also worth noting. It is generally recommended to proceed in a clockwise direction, moving from the three o’clock position to the six o’clock position, maintaining a steady circular motion. During the operation, one should choose either the pitcher or the cup as the rotation reference point—avoid rotating both at the same time, as this can cause the milk and coffee to interfere with each other, creating a chaotic bubble structure.
The suggested height for pouring the milk is between 5 to 8 centimeters, which can be slightly adjusted based on personal feel. If the height is too low, it can cause a lot of milk foam to float on the surface, leading to uneven fusion. If the height is too high, the impact force may be too strong and create irregular bubbles. Additionally, the flow rate during fusion should be slightly finer than during the subsequent latte art pattern stage. The goal is to allow the milk foam and coffee to fully blend without damaging the surface layer of the crema.
The amount of milk used for fusion also needs to be adjusted according to the complexity of the pattern. If you are only creating simple patterns such as hearts or leaves, it is usually sufficient to begin lowering the pitcher height for subsequent pattern shaping once the cup is about seven-eighths full. When performing circular fusion, it is recommended to hold the cup at an approximate 45-degree angle and pour in an elliptical path. The size of the circles should be determined based on the diameter of the coffee surface, and you should aim to draw the largest and steadiest circle possible without touching the cup walls.
The above content is compiled by CoffeeHunters, a coffee news website.


