







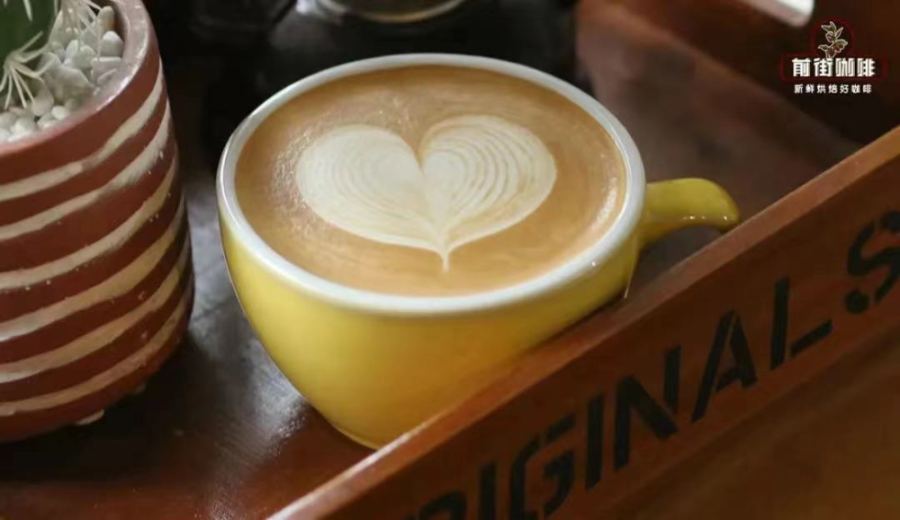
Introduction:Creating an espresso latte art that is both aesthetically pleasing and flavorful is not just about technique—it’s a culmination of experience and attention to detail. This article provides a comprehensive walkthrough from bean selection and milk frothing to pattern formation, offering an in-depth analysis of five key latte art principles. Using the classic heart design as an example, it guides you step-by-step to master practical skills. Whether you're a beginner or an advanced enthusiast, you’ll find direction here to improve your consistency.
Latte art is a crucial aspect where professional baristas showcase their skills. What may seem like simple patterns actually involve countless hours of practice and refinement. This article takes a hands-on approach to help you deeply understand the foundational elements of espresso latte art, including how to choose the right espresso beans, create fine and smooth milk foam, and the five important details that should never be overlooked during milk texturing. It then delves into the five core principles behind forming clear latte art patterns—such as pouring technique, pour height control, spout placement, shaking rhythm, and finishing touches—using the common heart pattern as an example with illustrative explanations to help readers build a complete latte art mindset and operational workflow.
Before starting your pour, creating milk foam with the right thickness and fineness is absolutely essential. The texture of the milk foam not only affects the smoothness and evenness of the milk and espresso blending but also directly impacts the performance and resistance when the final pattern emerges. At the same time, the fineness of the foam is the key factor determining whether your latte has a smooth and velvety mouthfeel. It’s worth noting that the foremost prerequisite for a successful latte art piece is having an espresso shot with a rich crema and smooth taste. It’s recommended to choose blends with excellent crema performance, such as classic recipes combining Brazilian and Mandheling flavors, or commercial blends with rich nutty aromas and a small amount of Robusta added to enhance crema gloss and layering.
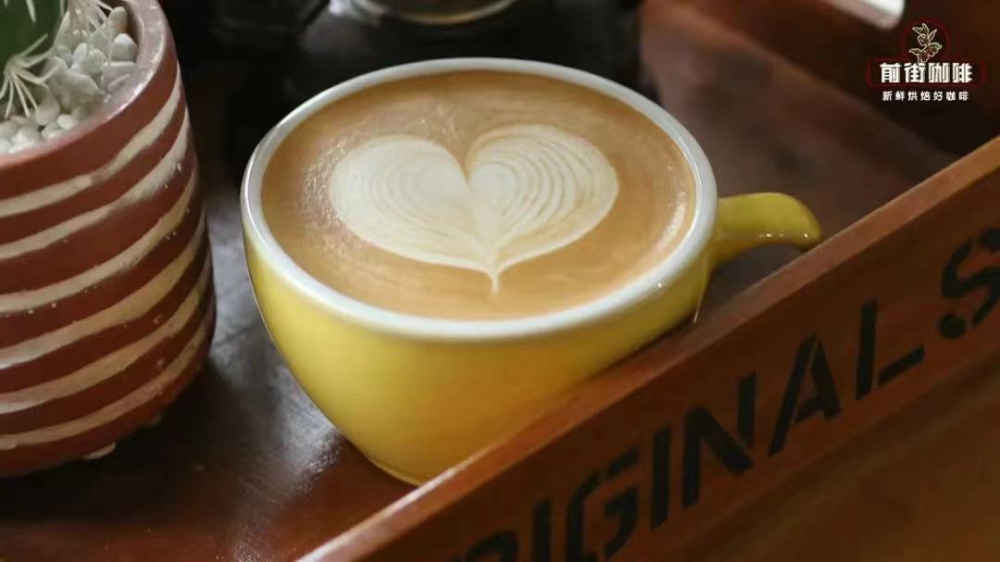
To make fine and well-textured milk foam, be sure to master the following five practical tips:
1. Before activating the steam wand to froth the milk, remember to purge any internal condensation first to avoid mixing excess water vapor into the milk, which can cause large bubbles and negatively affect the foam’s texture.
2. Insert the steam wand into the milk pitcher at approximately a 45-degree angle, which helps form a small whirlpool and effectively draws in any surface rough bubbles.
3. The depth at which the steam wand is inserted into the milk should be maintained at0.8 to 1 centimeter. Inserting it too deep will prevent the steam from effectively agitating air, making it difficult to form a whirlpool; inserting it too shallow can cause excessive impact, resulting in rough foam or even splattering milk.
4. During the aeration phase, aim to hear4 to 5 “hissing” sounds. Lower the steam tip to a0.3-centimeterdepth to start steaming. When you hear a distinct, finer sound, it indicates you’ve entered the aeration phase. Since the desired milk foam thickness for latte art is about 1 centimeter, there’s no need for excessive aeration. After this, adjust the steam wand depth back to0.8 to 1 centimeter, maintain a 45-degree angle, and continue swirling to eliminate large bubbles and heat the milk to the ideal temperature.
5. Based on practical experience, the recommended heating temperature for milk-based coffee drinks like lattes is55 to 65 degrees Celsius, and should not exceed 70 degrees. This temperature range effectively brings out the natural sweetness of lactose and other sugars, balances the bitterness of the espresso, and delivers a smoother drinking experience.

Once you’ve mastered the techniques for crafting fine milk foam, the next step is to explore the core of forming latte art patterns—the five key principles:
1. Theeven integrationof milk and espresso is extremely important. It not only affects whether the base color of the pattern is clean but also directly determines the overall flavor profile of the drink. It’s recommended to gently stir in a left-right circular motion, offsetting the cup and pitcher by half a turn, with one higher than the other to aid thorough mixing. Try to avoid the cup walls while stirring and maintain a larger arc to promote even blending.
2. Master the principle ofhigh integration, low pouring. Due to the density difference between milk foam and coffee, the white foam naturally floats to the surface. When the spout of the pitcher is held high, the foam tends to be pushed into the coffee, making it hard to form clear patterns; conversely, lowering the spout allows the foam to rise, creating the white design effect.
3. Thelanding point and trajectoryof the pattern need to be adjusted according to the type of design. For example, a heart shape often starts at the1/4 markof the cup. If the landing point is too central, the entire pattern will shift downward. Additionally, the amount of integration and the thickness of the foam also affect convection, with too much or too thick foam potentially shrinking the design—moderate control helps expand the visual impact.
4. Maintain arelaxed and fluidmotion during the pour. There’s no need to grip the pitcher too tightly. After integration, use gentle and consistent left-right shaking to guide the foam toward the surface, while stabilizing the angle of the cup to encourage convection. Normally, the cup should gradually return to an upright position. Observe the flow of milk as it exits from the center—the side backflows will make the pattern fuller. The thinner the foam, the more pronounced the convection, especially when drawing hearts or tulips.
5. The final key lies in thefinishing technique. As the pattern nears completion, remember to stay composed and maintain a steady hand. Taking the heart shape as an example, when the cup is about 90% full, gradually raise the pitcher and push it forward while reducing the milk flow. This ensures the tail of the pattern doesn’t sink due to excess milk, preserving the overall aesthetic.

The above content is compiled by CoffeeHunters, a coffee news website.


