







Introduction:To accurately control coffee concentration and extraction yield, the ATAGO refractometer is a powerful tool for many baristas. This article provides an in-depth analysis of the differences among three popular ATAGO coffee concentration meters—models 4523, 4532, and 4533—covering zero calibration, sample testing, and extraction yield formula calculations. It also highlights common operational pitfalls to help you achieve more professional and reliable measurements every time.
For coffee professionals or enthusiasts seeking precise extraction, ATAGO’s coffee concentration meters are among the most practical professional tools available. This article focuses on three commonly used refractometers from the brand—models 4523, 4532, and 4533—detailing their functional differences and purchasing recommendations. It also addresses frequently asked questions, such as accuracy comparisons with VST LAB instruments and whether they are suitable for espresso concentration testing, offering practical answers. Using the popular 4532 TDS model as an example, we guide you through unboxing, battery installation, zero calibration, concentration testing, and extraction yield calculation, covering every hands-on step. We also include often overlooked details such as zeroing frequency, sample temperature control, and cleaning precautions to help ensure greater accuracy in every measurement.
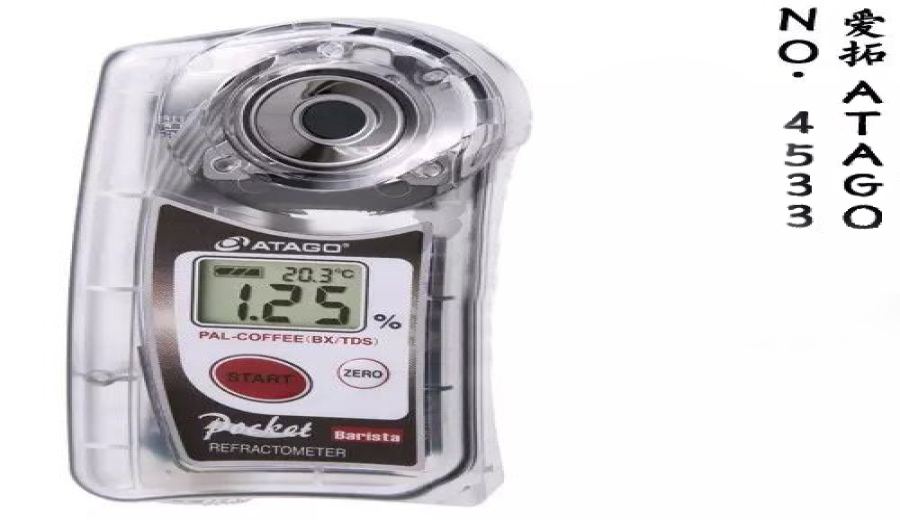
ATAGO offers three refractometers suitable for coffee concentration testing: NO.4523 (displays Brix value), NO.4532 (directly displays TDS value), and NO.4533 (can toggle between Brix and TDS display). These three instruments vary in features and pricing, suiting different user needs.
Specifically, the 4523 only displays the Brix (degrees Brix) value, requiring users to manually multiply by approximately 0.85 to convert to TDS (total dissolved solids). It is relatively affordable but involves a slightly more cumbersome operation. The 4532 directly shows the TDS reading, eliminating the conversion step. It is slightly more expensive than the 4523 and is the preferred choice for many users. The 4533 is the most comprehensive, capable of displaying Brix values and switching to TDS display with one touch. It suits cafes that need to measure other beverages such as syrups and juices in addition to coffee, and it is the most expensive of the three.
When choosing, if you mainly measure coffee and prefer ease of use, the 4532 TDS model is usually the most cost-effective option. Although the 4523 is cheaper, the need for manual conversion makes it less practical than models that directly show TDS, especially when your budget is close to that of the 4533—in which case the other two models are recommended. If your shop needs to test the concentration of other beverages besides coffee, the multifunctional design of the 4533 will be more useful.
Regarding the accuracy comparison between ATAGO and VST LAB, due to the lack of unified third-party standard samples and testing environments, along with minor individual variations among each instrument, there is currently no authoritative data proving that one brand’s instrument is absolutely more accurate. It is recommended that users stick to the same brand and model of concentration meter to minimize errors. Additionally, ATAGO instruments can be used for espresso concentration testing—just filter the coffee liquid with a dry pour over filter paper before measuring to avoid interference from settled residue. The subsequent testing process is the same as for other coffee liquids.
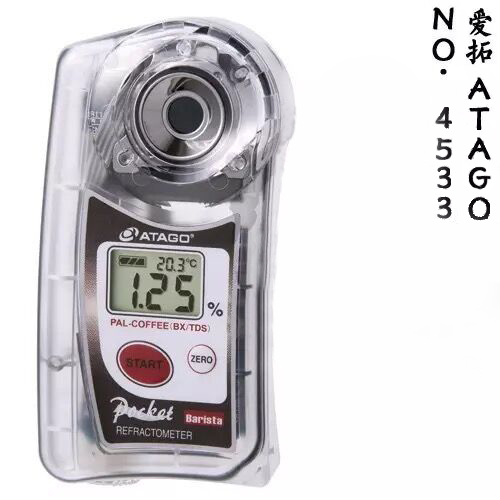
Taking the 4532 TDS model as an example, after unboxing you will receive the following accessories: one ATAGO 4532 concentration meter main unit, one Japanese instruction manual, one calibration certificate, one Japanese informational leaflet, and one warranty from Japan. Please note that due to international EMS air mail restrictions, batteries are usually not included and you will need to prepare two size AA batteries yourself.
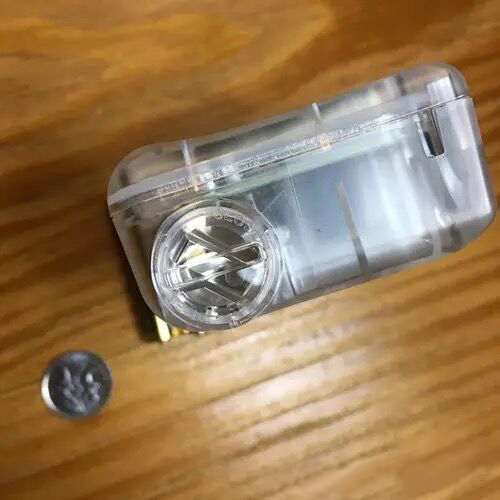
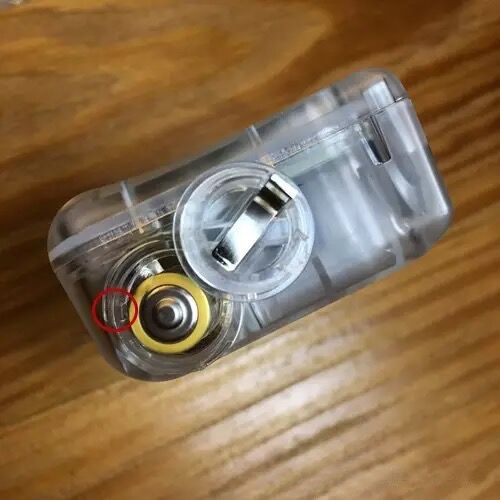
Installing the batteries is very simple: use a coin to turn the battery cover at the bottom of the device counterclockwise to loosen it, open the battery compartment, insert the batteries according to the positive and negative markings, then align the battery cover with the latch and turn it clockwise to secure it.
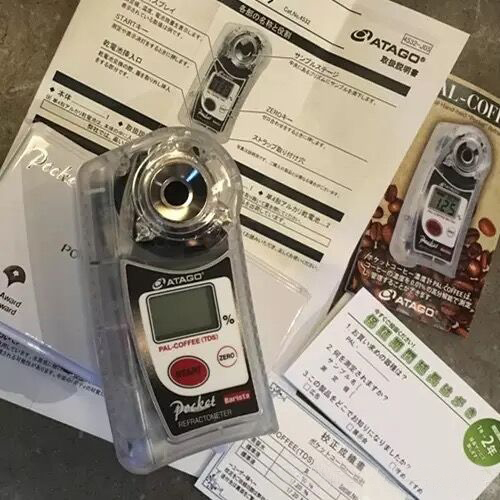
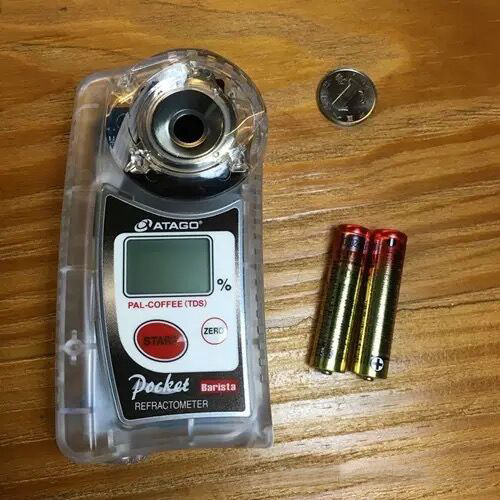
To turn the device on, press and hold the red START button. If the screen displays “LLL,” it means no sample has been placed on the detection plate, which is normal. Next comes the important zero calibration step—this is the foundation for ensuring accurate measurements each time.
Before zeroing, prepare room-temperature distilled water or pour over water that has been left to reach room temperature. First, clean the surface of the detection plate with a clean paper towel or cloth, then place about two drops of room-temperature water in the center of the detection plate. Press the ZERO button lightly and wait for the screen to display “000,” which indicates successful zeroing. If the screen shows another number, you can press the ZERO button again; if “AAA” appears, it means there is insufficient moisture, so add more water and zero again. After zeroing, be sure to wipe the water off the detection plate before testing coffee samples. It is recommended to perform zeroing once before each day of use to ensure measurement stability.
When testing coffee concentration, first complete your coffee brewing according to your preferred method, and allow the brewed coffee to cool to room temperature before measuring. Use a spoon to scoop an appropriate amount of room-temperature coffee liquid and drop it onto the detection plate, then press the START button and wait approximately 20 seconds. The value displayed on the screen is the TDS concentration of that coffee liquid—for example, 1.11%. After testing, remember to wipe the detection plate clean with a dry cloth before testing the next sample.
Notes during testing: the coffee liquid must be at room temperature, as temperatures that are too high or too low may affect accuracy; the instrument body can be gently rinsed with water but should not be soaked, nor should it be cleaned with hot water exceeding 30°C; although the detection plate can withstand coffee liquid above 30°C, take care to avoid burns; additionally, do not expose the instrument to any toxic or corrosive chemical solvents, and avoid touching the glass area in the center of the detection plate with metal or sharp objects to prevent scratching. If the screen displays “nnn” during measurement, it may be due to overly bright lighting—try slightly shielding the detection plate with your hand, then press the START button to remeasure.
Finally, let’s discuss how to calculate coffee extraction yield. Extraction yield is a key metric for evaluating whether coffee extraction has reached the ideal range, with the generally accepted ideal range for the Golden Cup being 18% to 22%. The calculation formula is: coffee liquid weight × TDS concentration ÷ coffee grounds weight = extraction yield. By mastering this formula, you can quickly calculate the efficiency of each extraction based on the actual amount of coffee grounds used, the measured TDS value, and the final weight of the coffee liquid, allowing you to further adjust grind size, water temperature, or brew time to optimize flavor performance.
The above content is compiled by CoffeeHunters, a coffee news website.


