








Introduction:Have you ever wondered what the real difference is between a cappuccino and a latte? At first glance, they both seem to be just coffee with milk, but in reality, they differ greatly in terms of milk foam thickness, cup selection, and pouring techniques. This article will delve into the ideal thickness of cappuccino foam, the core differences compared to a latte, and provide a full step-by-step guide—including how to create a 1.5 cm thick layer of foam, preserve the “coffee golden ring,” and master the pouring technique—to help you precisely grasp the essentials of crafting this classic Italian coffee.
Ordering a cappuccino or a latte at a café, they may look similar on the surface, but there are many subtle differences, especially in terms of foam thickness and preparation methods. Especially with the current latte art trend, many baristas love showcasing patterns on various coffees, but cappuccinos are actually not suited for latte art—precisely because of their unique “coffee golden ring” and the 1.5 cm-thick foam. This article will take you from the historical origins to practical operation, thoroughly analyzing the key differences between cappuccinos and lattes in terms of foam and presentation.
The Etymology and Traditional Shape of Cappuccino
The name “cappuccino” comes from the Italian word “Cappuccio,” meaning “hood” or “hooded cloak.” Its inspiration is drawn from the deep brown habits and pointed hoods worn by Capuchin monks in Italy. Early Italians, after pouring finely textured and stable steamed milk foam into espresso, would notice a dark coffee ring resembling the monks’ robes forming on the liquid’s surface. They would then use a spoon to shape the top foam into a small pointed hood—hence the name. Although the pointed hood is rarely seen today, the “coffee golden ring” and the fluffy foam that rises above the rim of the cup remain the classic hallmarks of this coffee.

Why Must a Cappuccino Have a “Coffee Golden Ring”?
When coffee and milk are mixed, the originally dark coffee crema often gets diluted, causing the “coffee golden ring” to disappear. Therefore, when making a cappuccino, it is essential to use thick and dense foam. On one hand, this prevents the milk from directly breaking up the crema, and on the other hand, it acts as a protective layer to preserve the dark brown hue on the surface of the coffee, creating a distinct color gradient. This is also why traditional cappuccinos insist on having a ring of exposed coffee, complemented by fluffy foam that resembles a little hat.
Why Aren’t Cappuccinos Suitable for Latte Art? The Critical Influence of Foam Thickness
Latte art typically requires foam that is around 1 cm thick—this thickness offers good fluidity, allowing it to blend swiftly with espresso and create smooth patterns. However, the foam for a cappuccino needs to be about1.5 cm thick, which significantly reduces its fluidity and prevents even blending of coffee and milk, thus naturally being unsuitable for latte art. Additionally, the 1.5 cm-thick foam provides sufficient surface tension and support, helping it stay stable without collapsing even when rising above the rim of the cup—an essential factor in forming the “hat” shape.
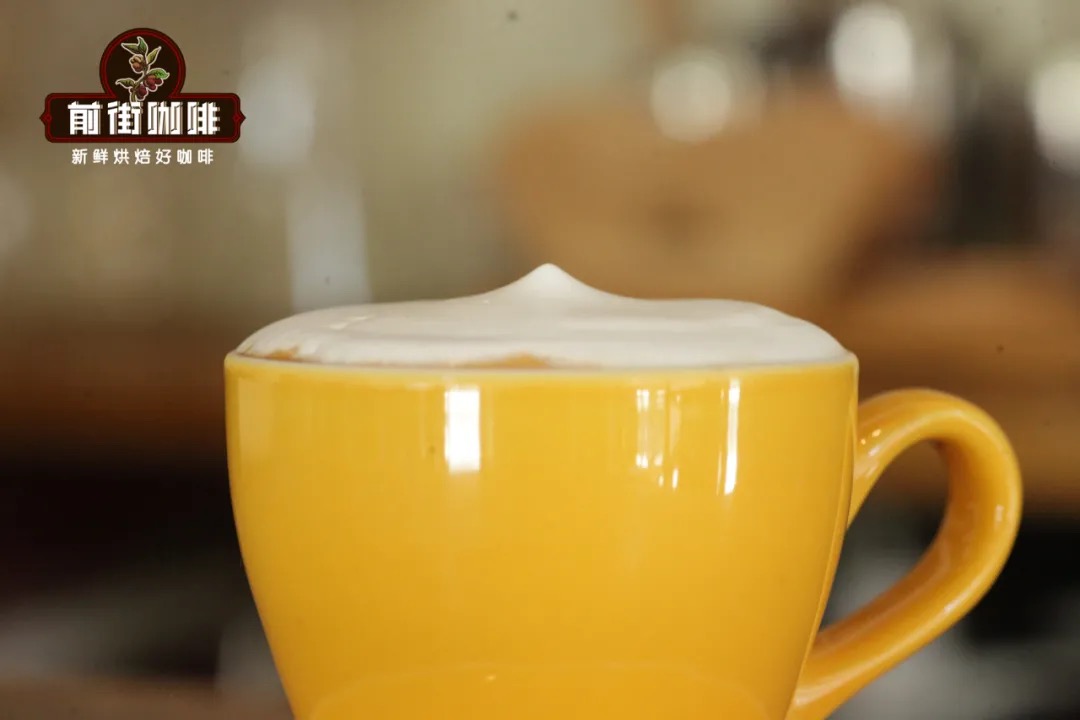
How to Make a Standard Cappuccino? Complete Step-by-Step Guide
To make a proper cappuccino, every step—from cup selection, brewing, to frothing and pouring—is crucial.
1. Choose the Right Coffee Cup
It is recommended to use a tulip-shaped coffee cup with a capacity of about 180 ml. This type of cup is narrower at the bottom and wider at the top, highlighting the “hat” effect created by the stacked foam, and showcases the layered beauty of a cappuccino better than a round-bottomed cup.
2. Brewing the Espresso
Using a blended coffee bean, such as a combination of sherry cask-aged beans and sun-dried Yirgacheffe, can bring rich flavor layers. For a single shot, it is suggested to extract 35 grams of coffee liquid using20 grams of coffee grounds, with an extraction time controlled at27 seconds. If conditions are limited, you can also use 12 grams of coffee grounds to extract 30 grams of coffee liquid in about 23 seconds, which can still produce a strong base.
3. Use Fresh Chilled Milk
The proteins and fats in fresh milk are key to the texture of the foam. Proteins help generate the foam, while fats stabilize the bubbles, delay collapse, and add smoothness and richness to the drink. It is recommended to use fresh milk stored in the refrigerator for the best frothing results.
4. Frothing the Milk
Use a small pitcher and pour in about150 ml of chilled fresh milk. Before starting, release the steam wand’s built-up condensation by purging it to get rid of any water vapor from the tip. Then insert the steam wand about 1 cm below the surface of the milk and start the steam, producing a “hissing” sound—that’s the aeration process, which is key to forming fine, dense foam. To make 1.5 cm-thick foam, you should usually stop aerating after hearing6–7 hissing sounds, then tilt the pitcher about 45 degrees and use a swirling motion to eliminate large bubbles. Finally, heat the milk to about55°C(temperature missing in original) to complete the process.
5. Shake and Blend to Avoid Layering
After frothing, the foam and milk can easily separate if left standing. Therefore, before pouring, find a stable spot on the table, and gently rotate the pitcher clockwise with your wrist to recombine the foam and milk evenly, ensuring consistent texture during pouring.
6. The Pouring Order Trick: Foam First or Milk First?
Here comes the key point: to avoid disrupting the coffee crema, you should pour the foam first as a protective layer, then the milk. But since foam is less dense, it often floats above the milk, meaning you might end up pouring milk first. The solution is to aim the pitcher spout at the center of the espresso, tilt the pitcher close to pouring position—but don’t pour yet—letting the foam gather at the spout. Then steadily pour the foam from the center slowly, avoiding circular or wobbly motions, to maintain the integrity of the crema.

By following these steps, you can create a cappuccino at home or in a café that boasts a beautiful coffee golden ring, perfectly thick foam, and showcases classic Italian style—no latte art required.
The above content is compiled by CoffeeHunters, a coffee news website.


