







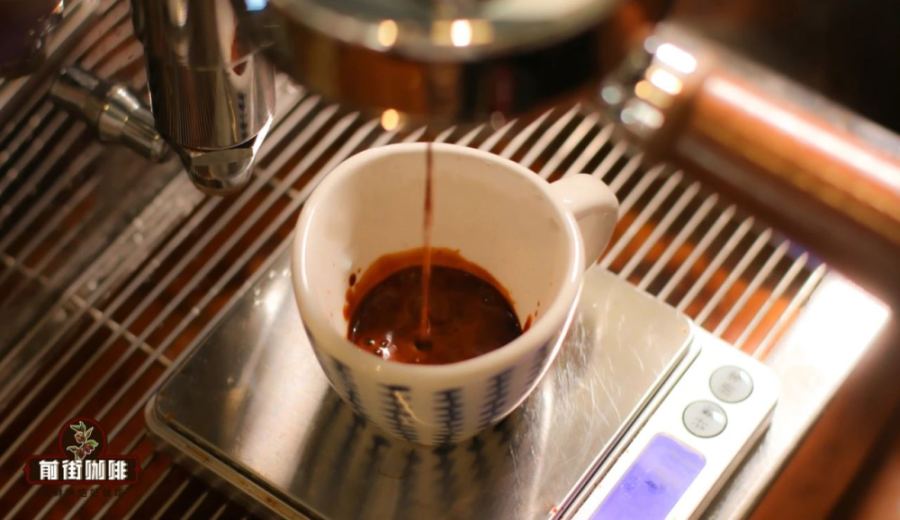
Introduction:Espresso is the representative of Italian coffee culture and the foundation of modern coffee beverages. This article delves into the origins of Espresso, the science behind crema formation, compares the extraction differences between dark roasted blends and SOE (single origin espresso) beans, and breaks down the six key operational steps: cleaning the portafilter basket, grinding and dosing, distributing the grounds, tamping, extracting, and cleaning. Whether you're a beginner or looking to refine your skills, you'll gain practical techniques for stable extraction and methods for recording parameters.
Espresso is an essential cornerstone of modern coffee beverages and the soul of Italian-style cafés. This high-pressure, quick-extraction coffee originating from Italy is characterized by a small cup of intense liquid topped with a crimson crema, beloved by coffee enthusiasts worldwide. Understanding Espresso is not just about learning how to drink it, but also an essential step into the world of professional coffee.
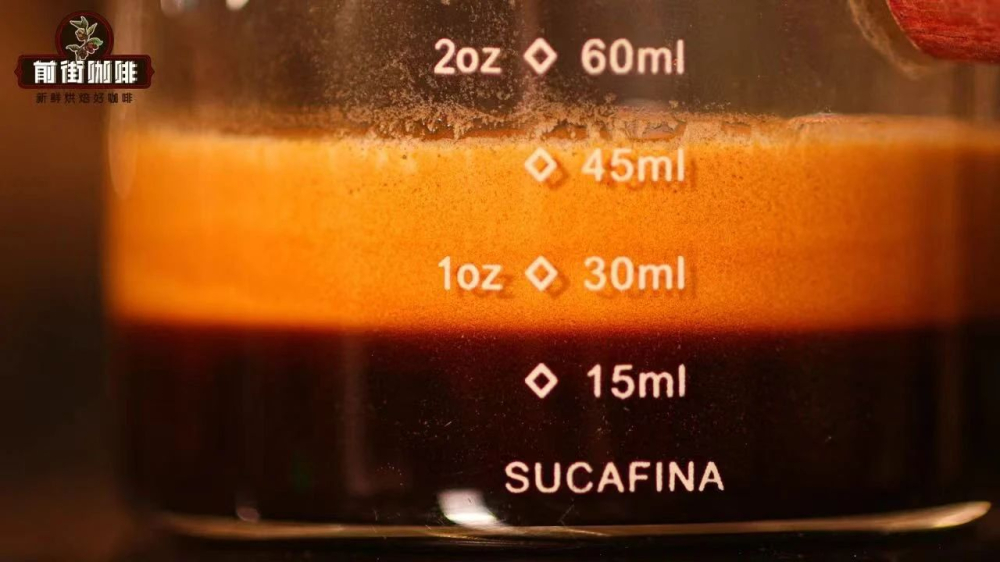
A traditional single shot of Espresso typically has a volume of around 30 milliliters, with an extraction time usually between 25 to 30 seconds. Using approximately 9 bars of pressure, hot water rapidly passes through finely ground coffee, releasing intense flavors and a unique crema layer. This crema is not only a visual highlight but also carries a rich array of aromas and taste layers.
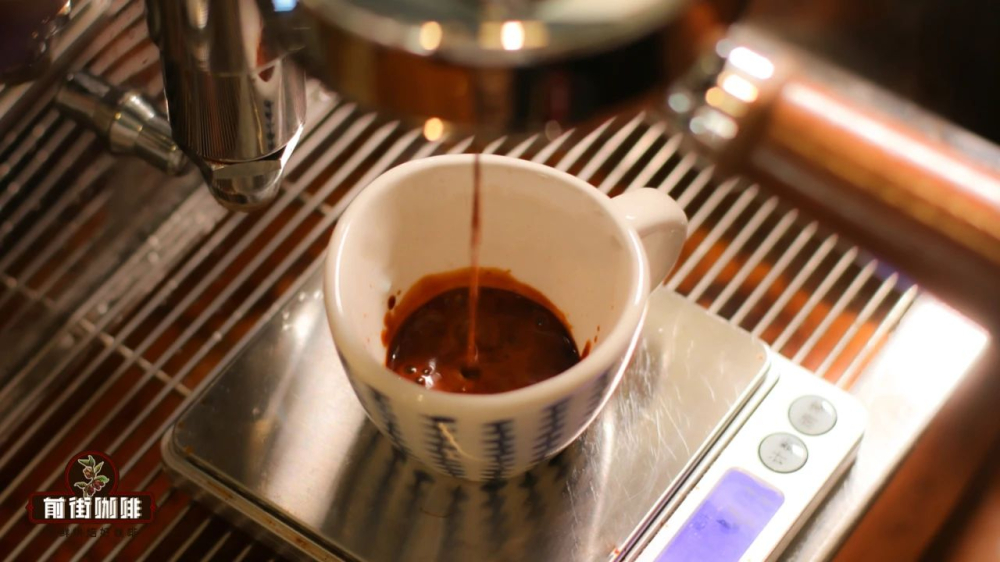
Many people, upon first encountering Espresso, are often drawn to its glossy, crimson-colored crema on the surface. This crema is actually formed during the high-pressure extraction process. When extremely finely ground coffee meets the high pressure of up to 9 bars, the carbon dioxide in the water, unable to release due to extreme saturation, dissolves into the coffee liquid instead. At the same time, the high pressure also extracts tiny oil particles from the coffee beans. When extraction ends and the pressure returns to normal, these gases and oils together form a stable crema layer, giving Espresso its rich texture and intense aroma.
Many assume that only dark roasted blends can produce good Espresso, but that’s not the case. While traditional Italian preferences lean toward the boldness and richness of dark roasts, nowadays more people are choosing Single Origin Espresso (SOE) to highlight the unique flavor characteristics of specific regions. For example, an SOE made from medium-roasted sherry cask-processed beans may not have as thick a crema layer as a dark roast, but its flavors are clearer and smoother, with more pronounced acidity and sweetness.
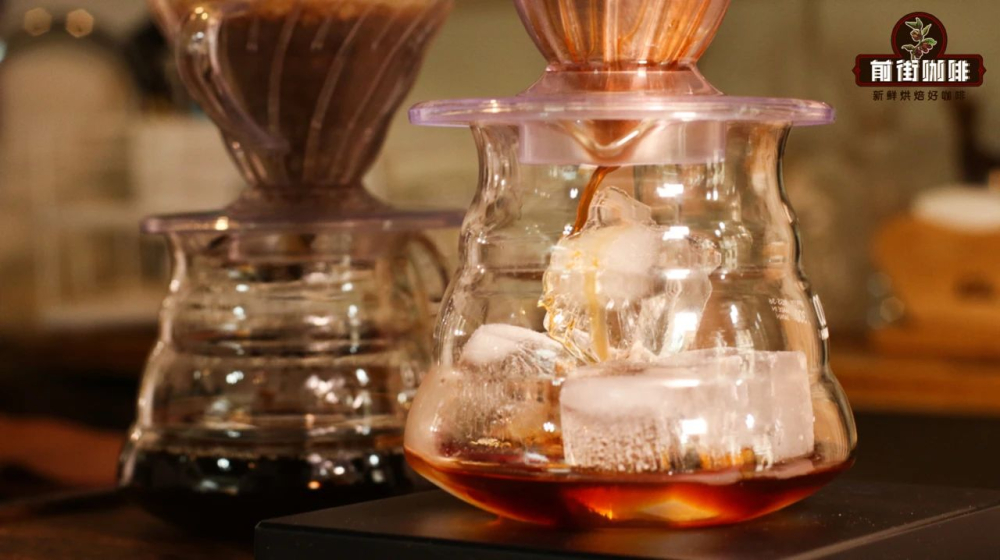
Making an ideal Espresso requires mastering every detail from preparation to extraction. Below is a complete six-step operational process, perfect for coffee lovers who want to consistently brew delicious Espresso at home.
Step 1: Clean the Portafilter Basket
Before starting, be sure to remove the coffee handle and wipe the portafilter basket with a clean, dedicated cloth to ensure there are no leftover coffee grounds or water stains. This step effectively prevents off-flavors and uneven extraction.
Step 2: Grinding and Dosing
Start the grinder and grind the coffee beans into extremely fine powder, with a consistency similar to superfine sugar. Before dosing, it’s recommended to place the handle on an electronic scale and tare it, then evenly distribute the coffee grounds. The target weight is usually 18 to 20 grams, though this can be adjusted based on the portafilter basket capacity. Make sure the coffee grounds are evenly spread in the basket, avoiding areas that are too dense or too sparse.
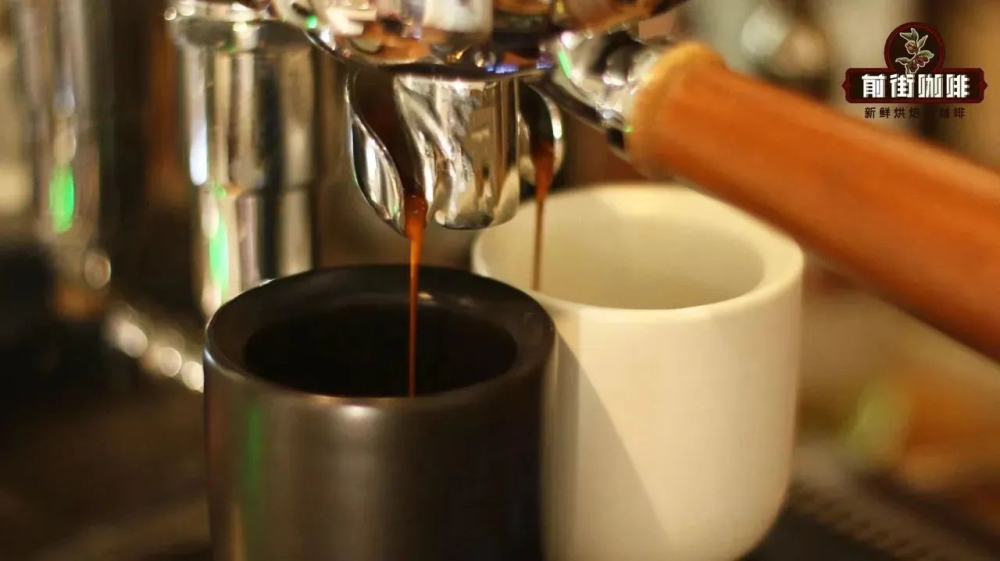
Step 3: Distributing the Grounds
After dosing, use your fingers or a professional distribution tool to evenly spread the coffee grounds. This step helps break up clumps, ensures consistent puck density, and reduces the likelihood of channeling. How well the grounds are distributed directly impacts the stability and flavor of the subsequent extraction.
Step 4: Tamping
Once the grounds are distributed, apply even downward pressure to tamp the coffee. It’s recommended to use a force of 30 to 40 pounds, resulting in a flat and appropriately firm puck surface. Under-tamping can lead to fast water flow and under-extraction, while over-tamping restricts flow, often causing over-extraction or uneven channels.
Step 5: Extraction
Securely attach the handle to the espresso machine, avoiding any bumps that could crack the puck. Once extraction begins, it’s advisable to monitor the extraction time and flow rate in real time, while also observing changes in the color of the coffee liquid. Ideally, the early phase should be golden, the middle phase amber, accompanied by steady crema production. Extraction time should be controlled within 25 to 30 seconds, with an output of about 30 milliliters.
Step 6: Cleaning
After extraction, gently eject the puck and place it in the coffee grounds container, then immediately clean the portafilter basket and handle to ensure hygiene and stability for the next use.
Recording parameters for each extraction (such as coffee dose, yield, and time) is an important method for achieving consistent results. These data points can help you identify optimal extraction conditions and gradually adjust to an Espresso that suits your taste. Additionally, coffee bean freshness is a key factor—choose beans roasted within 5 days and use them within 4 to 7 days post-roast for the best flavor expression.
Whether you’re new to Espresso or already have some experience, mastering these six steps and core principles will allow you to consistently brew balanced, mellow, and uniquely flavored Espresso using a home machine.
The above content is compiled by CoffeeHunters, a coffee news website.


