







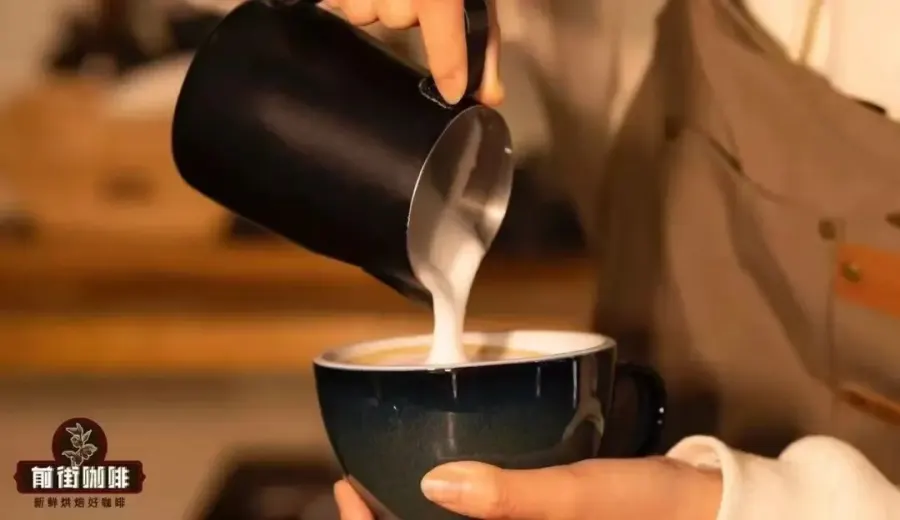
Introduction:To pour beautiful latte art patterns such as layered hearts, leaves, or swans, the texture and thickness of the milk foam are key. This article starts with the fundamentals of steam frothing, delves into the three core stages of milk frothing—stretching, texturing, and blending—and provides practical advice on the ideal milk foam thickness for different latte art designs. It also covers steam wand techniques, vortex formation, and common troubleshooting methods for layer separation, helping you consistently produce fine, glossy, and fluid milk foam.
The success of latte art often hinges not on technique, but on the condition of the milk foam. Many people find the milk frothing process complicated, but in reality, mastering the three essential steps—stretching, texturing, and blending—is enough to consistently create delicate milk foam suitable for pouring. This article will guide you from the basic principles of steam frothing, help you understand the milk foam thickness requirements for different patterns, teach you how to control the angle and depth of the steam wand to achieve fluid, glossy milk foam, and provide solutions for common mistakes.
First, let’s understand the basic process of milk frothing. This can be divided into three stages: stretching, texturing, and blending. Each step directly affects the final texture and thickness of the milk foam, which in turn influences the smoothness and aesthetics of your latte art. By mastering the details of these three steps, you can significantly improve your latte art success rate.
During the stretching phase, where steam is injected into the milk to incorporate air and form bubbles, this step plays a decisive role in determining the thickness of the milk foam. Generally speaking, the longer the stretching time and the more air incorporated, the thicker the resulting milk foam will be; conversely, limiting air intake will result in thinner foam. For common patterns like layered hearts, etched designs, swans, or leaves, it is recommended to keep the milk foam thickness around 1 centimeter, similar to that of a typical latte. This ensures sufficient fluidity for smoother, more natural patterns.
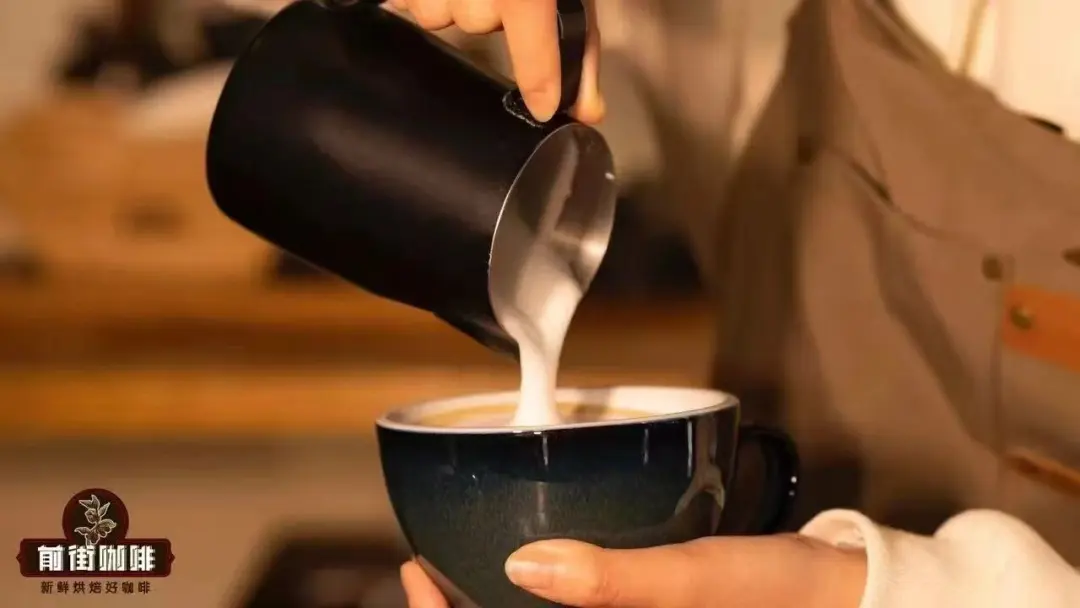
If your goal is to create patterns that require delicate fluidity, it is advised to keep the stretching time within 1 second, adjusting slightly based on the power of your steam wand. If your espresso machine has weaker steam output, you may slightly extend the stretching time, but the principle of not over-thickening the foam still applies. If you’re aiming for a simple large white dot (heart), a slightly thicker foam is acceptable—you’ll just need to focus more on blending during the next stage.
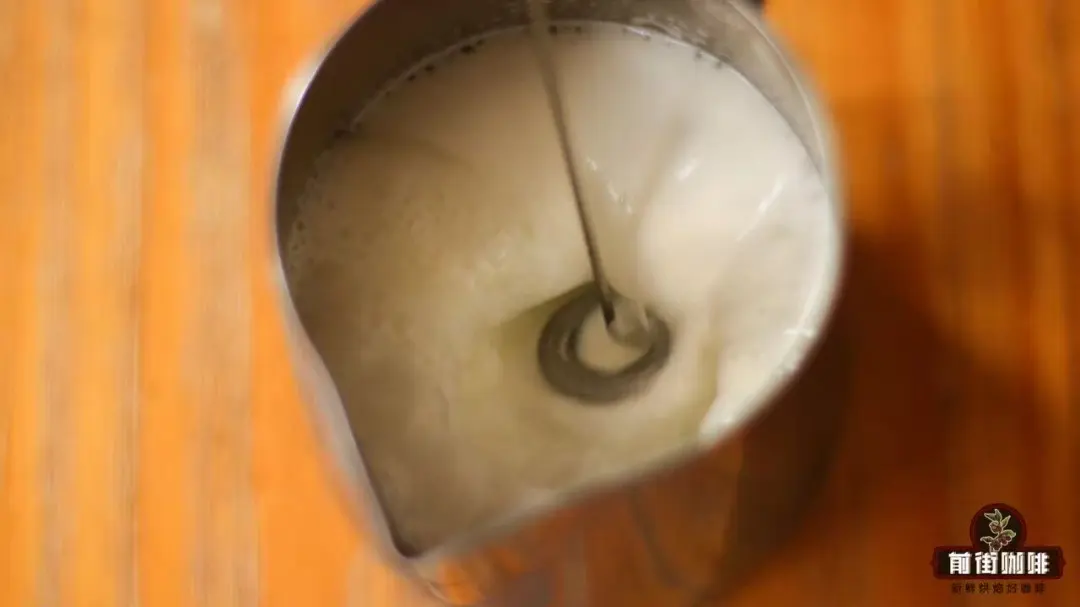
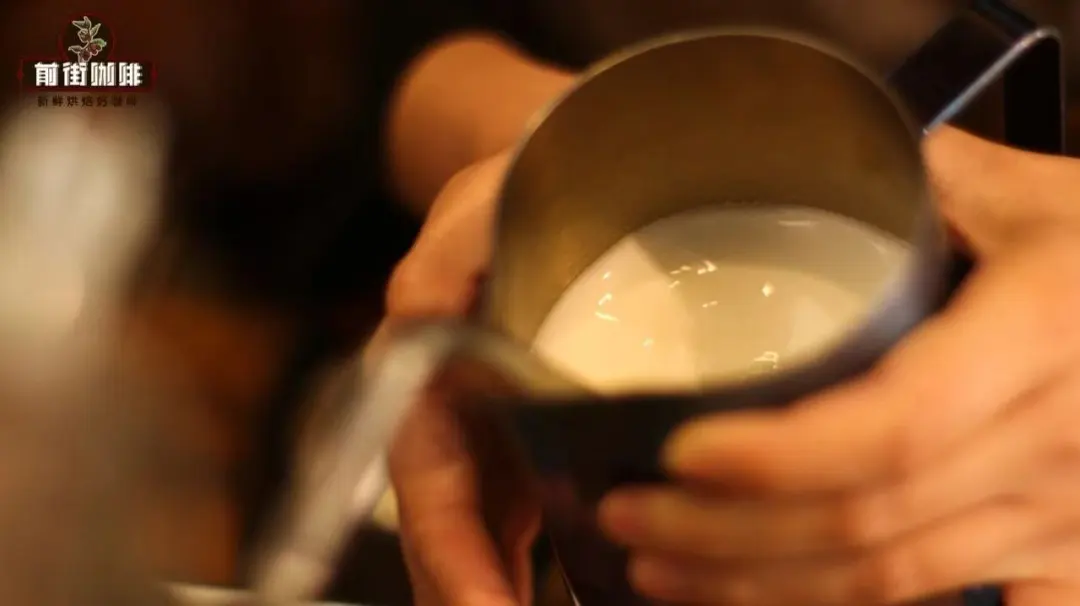
Next comes the texturing and blending stages. Though named differently, in practice these two steps often occur almost simultaneously. Texturing refers to using the steam wand to create a stable vortex in the pitcher, breaking down the larger bubbles formed during stretching into smaller ones, resulting in finer and denser milk foam. At the same time, blending ensures the milk foam and milk are fully mixed, improving overall fluidity and preventing layer separation or unevenness during pouring.
A common issue is when the milk foam looks good but lacks gloss, has poor fluidity, or fails to hold its shape during pouring. This is often not due to the foam being too thick, but rather because the milk foam and milk haven’t been properly blended or have visibly separated, leading to poor flow. Therefore, at this stage, in addition to controlling the angle and depth of the steam wand relative to the pitcher, you must also ensure a stable vortex is formed to draw the foam in for cutting and blending.
During operation, it is recommended to submerge the steam wand slightly into the milk. Going too deep weakens the vortex, making cutting and blending less effective. At the same time, monitor the milk temperature—when it reaches the appropriate range (about 55–65°C), you can stop stretching. At this point, the milk foam should be fine, glossy, and fluid, laying a solid foundation for your latte art.
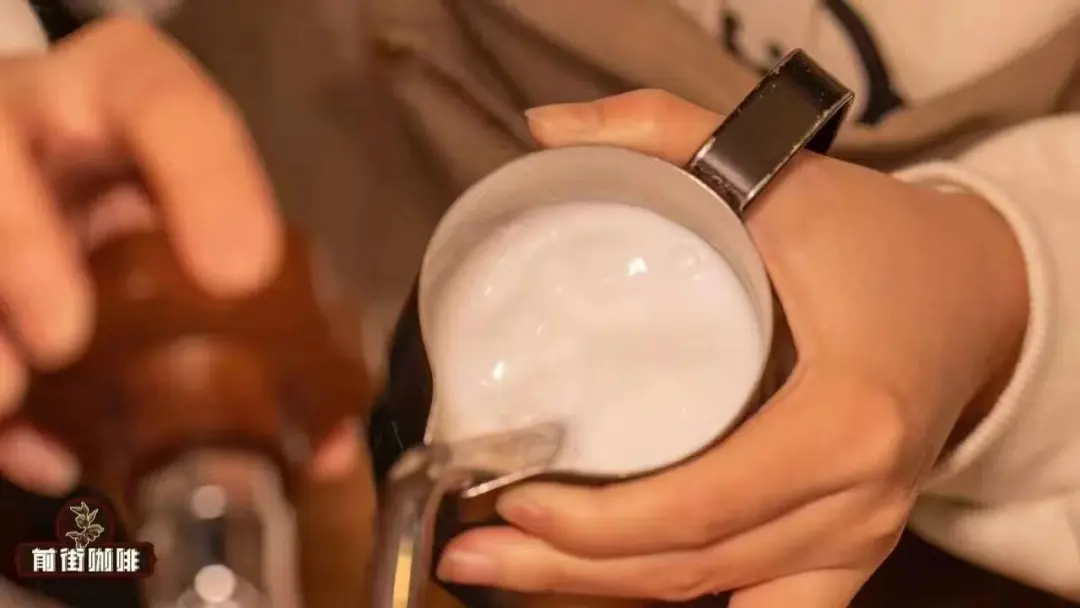
After the milk foam is ready, there are a few additional details to note. For example, if the frothed milk is not used immediately, the difference in density between milk and foam can cause them to separate again, leading to the entire foam being poured into the coffee and affecting the pattern. When temporarily not in use, gently shaking the pitcher or pouring it back and forth can help remix the foam and milk, restoring fluidity.
If you accidentally froth the milk too thick, don’t worry. You can use a spoon to scoop off excess foam, or pour the milk back and forth to let the lighter foam naturally rise to the top before mixing appropriately to adjust to the desired thickness. These are practical and simple remedies that can adapt flexibly to real situations.
In addition to the milk foam itself, the quality of the espresso also greatly impacts latte art performance. Particularly, the thickness and fluidity of the coffee crema play a crucial role in pattern formation. A rich, evenly textured espresso crema not only makes patterns clearer but also enhances the overall visual and flavor complexity.
To extract an ideal espresso crema, choosing the right coffee beans is key. It is recommended to select a medium-dark roasted blend, such as one composed of beans from Indonesia, Brazil, and Vietnam. These beans typically release rich notes of chocolate, nuts, cream, and caramel during extraction, with a distinct crema layer, balanced flavor, and long-lasting aftertaste. They are not only great for everyday drinking but also an excellent choice for practicing latte art.
In summary, to consistently pour intricate patterns like layered hearts, leaves, or swans, the key lies in mastering every detail of milk foam stretching, texturing, and blending, and adjusting foam thickness according to the desired design. With consistent practice and observation, you too can easily produce fine, glossy, and fluid milk foam, thereby improving both the success rate and beauty of your latte art.
The above content is compiled by CoffeeHunters, a coffee news website.


