







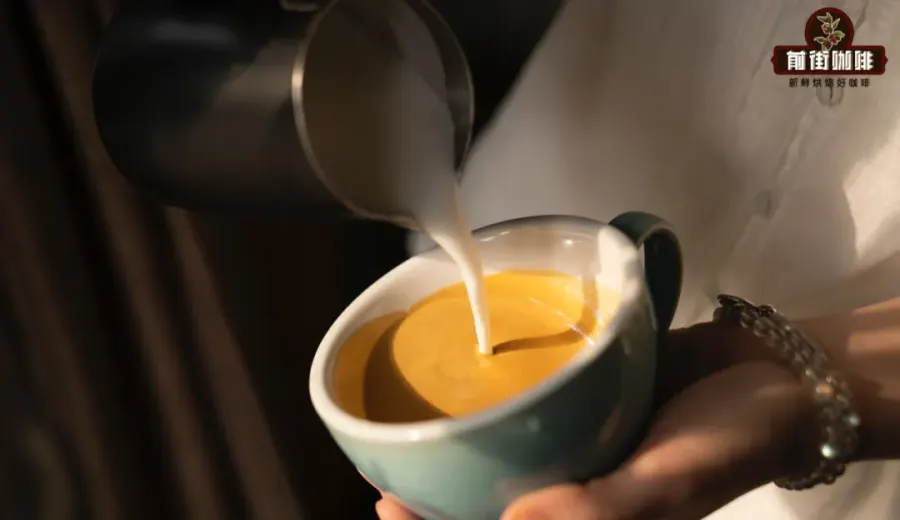
Introduction:During the latte art process, the texture of the milk foam directly affects the outcome of the design. Common issues such as overly thick or thin foam, or separation of layers, often make pouring latte art more difficult. This article delves into several practical adjustment methods—including shaking the pitcher, scooping off excess foam, pouring between pitchers, and pre-infusion—to help you quickly adapt even when faced with less-than-ideal foam, enabling you to create smooth and delicate latte art patterns.
In the process of creating latte art, the quality of steamed milk foam is crucial. However, even experienced baristas can occasionally encounter foam that is too thick, coarse, or even separated into distinct milk and foam layers. This not only affects the fluidity of the pour but also makes it difficult to showcase intricate design details. This article will introduce several practical and effective techniques for correcting milk foam, such as proper shaking, pitcher tapping, foam scooping, pouring between pitchers, and pre-infusion, helping you adjust the foam on the spot and make latte art more effortless.
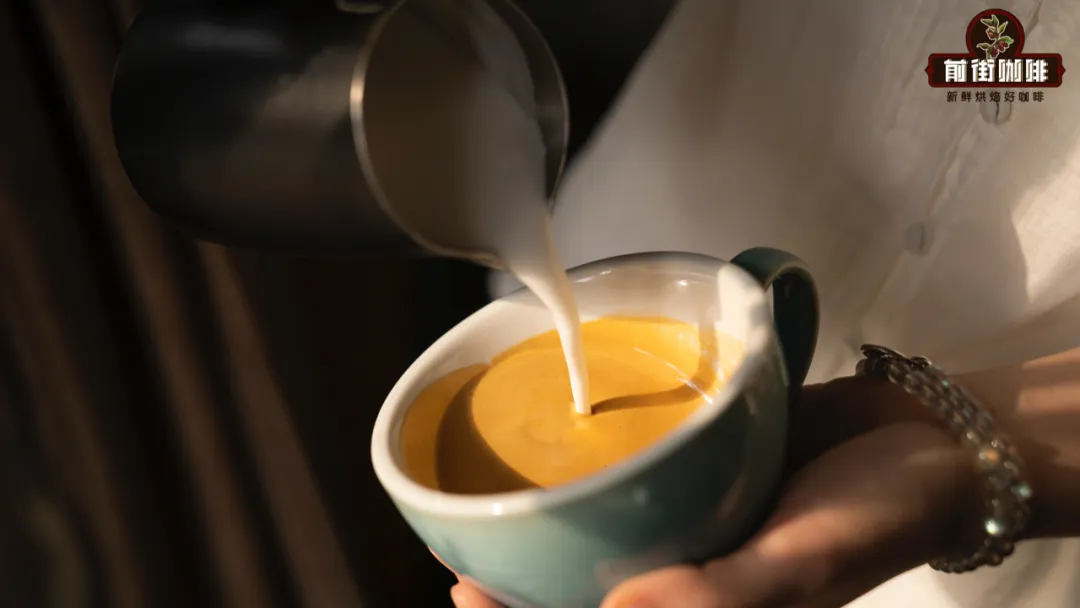
Many baristas, when busy or distracted, can easily let the foam deviate from the ideal state—such as becoming too thick, having coarse bubbles, or separating after sitting idle due to a delay in pouring art. If these conditions are not properly managed, even the best technique may result in disappointing patterns. Therefore, mastering several simple yet effective foam adjustment methods is essential basic skills for any latte art enthusiast.
When the foam isn’t steamed to the desired quality, many people’s first reaction might be to steam it again, but in fact, some straightforward steps can effectively improve the existing foam’s fluidity and fineness, giving subpar foam a second chance.
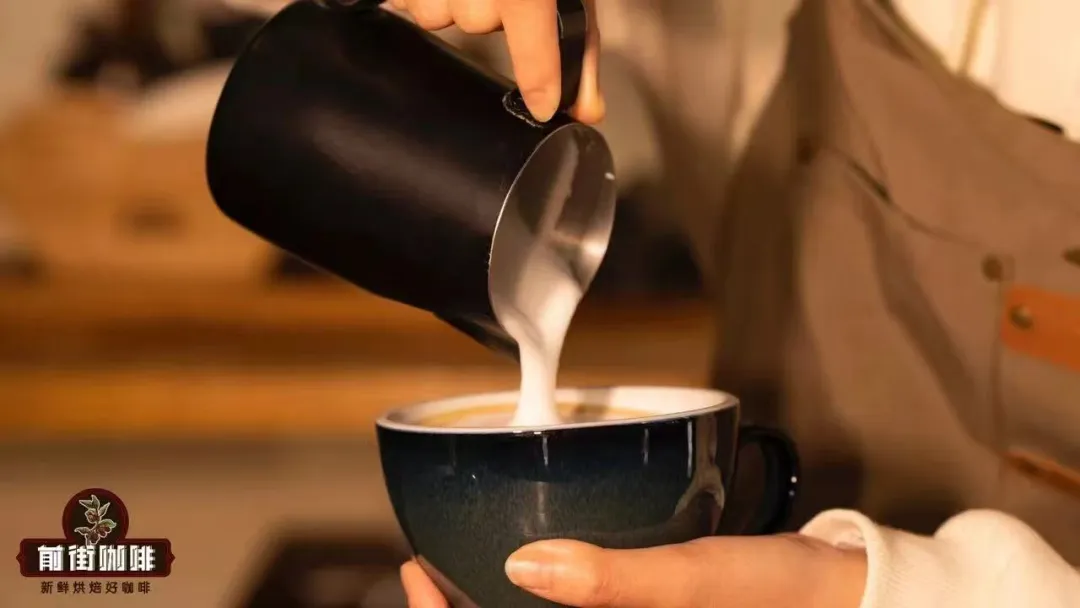
Below, we will introduce several common foam adjustment techniques, including:Shaking and Tapping the Pitcher,Scooping Off Excess Foam with a Spoon,Pouring Between Pitchers, and for thinner foam,Pre-Infusion, ensuring you’re equipped to handle all kinds of foam conditions.
I. Shaking and Tapping the Pitcher: Improving Foam Fluidity
Before pouring latte art, gentlyshaking the milk pitcheris a simple yet often overlooked technique. By lightly shaking, you promote better mixing between the milk and foam, enhancing overall fluidity and making the foam more uniform—which in turn helps create finer designs. This method is especially useful when the foam has slight agitation, reduced fluidity, or minor layering.
To do this, simply shake the pitcher lightly until the foam surface shows a slight glossy sheen. Over-shaking may cause excessive breakdown of the foam.
Additionally, if there are noticeable large bubbles trapped in the foam, you can improve the situation bytapping the pitcher. Lightly tap the bottom of the pitcher to use vibration to break up larger bubbles, preventing them from disrupting the design during pouring. Be aware that while tapping effectively eliminates coarse bubbles, it can also accelerate separation between foam and milk, so it’s recommended to gently shake the pitcher afterward to recombine the two.

II. Scooping Off Excess Foam: Quickly Adjusting Foam Thickness
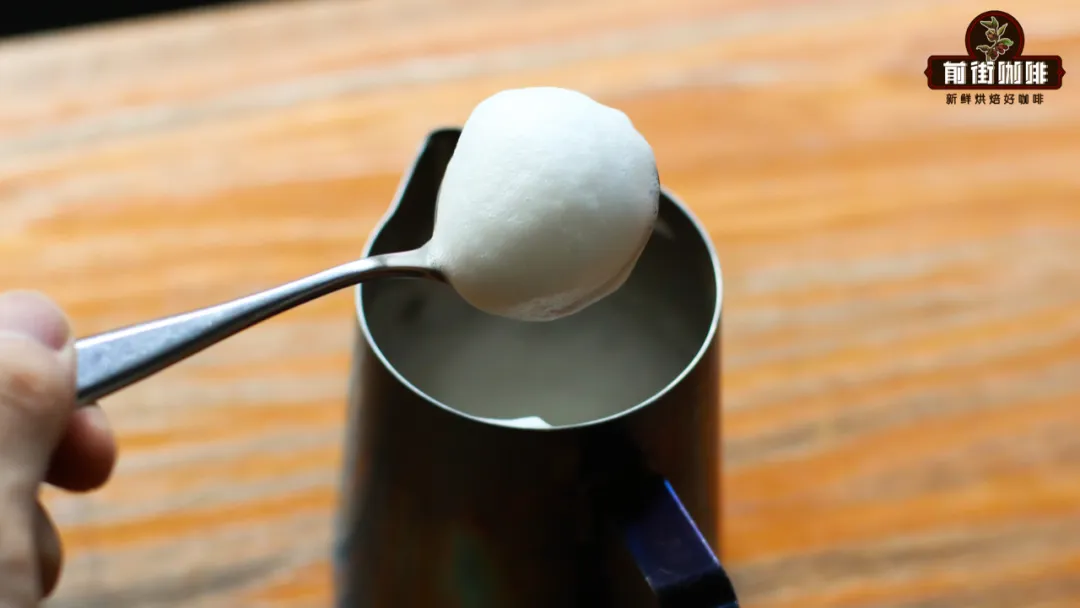
If the foam is too thick or coarse due to over-steaming, you can use a spoon toscoop off the excess foam. This method quickly reduces the thickness of the foam layer, bringing it closer to the fine consistency ideal for latte art—especially helpful when the foam is too fluffy or lacks fluidity.
When doing this, it’s recommended to carefully scoop off the overly thick foam layer one spoonful at a time, being careful not to remove too much milk along with it. However, note that scooping foam can also cause a degree of separation, so it’s advisable to gently shake the pitcher afterward to help remix the milk and foam evenly.
III. Pouring Between Pitchers: A Practical Technique to Improve Foam Texture
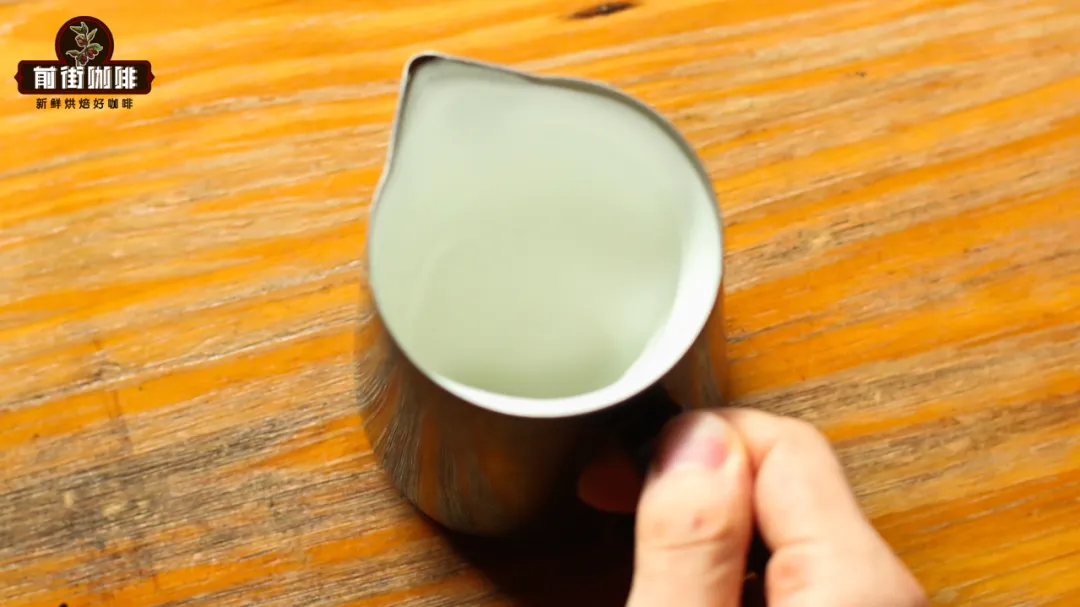
“Pouring between pitchers” is a common yet highly effective method for adjusting milk foam. It refers to transferring the foam from one pitcher to another. Though seemingly simple, this action promotes further blending of foam and milk through the impact, and some larger foam particles may break upon collision, resulting in smoother, more fluid foam overall.
For example, when you notice the foam is too thick or coarse, or has layered after sitting, you can try pouring it into another clean, preheated pitcher. This method is particularly suitable when using larger capacity pitchers, where the foam ratio is lower and harder to steam evenly. Pouring between pitchers not only improves fluidity but also leverages the handling advantages of larger pitchers during pouring.
Note that after pouring, the foam and milk may separate more quickly, so it’s advised tobegin pouring latte art immediatelyafter the transfer to avoid waiting too long, which could negatively affect the foam condition. Also, make sure the target pitcher is preheated beforehand—using the steam wand to blow hot air into it can prevent the hot foam from losing heat rapidly due to a cold pitcher, which would impact the final latte art effect.
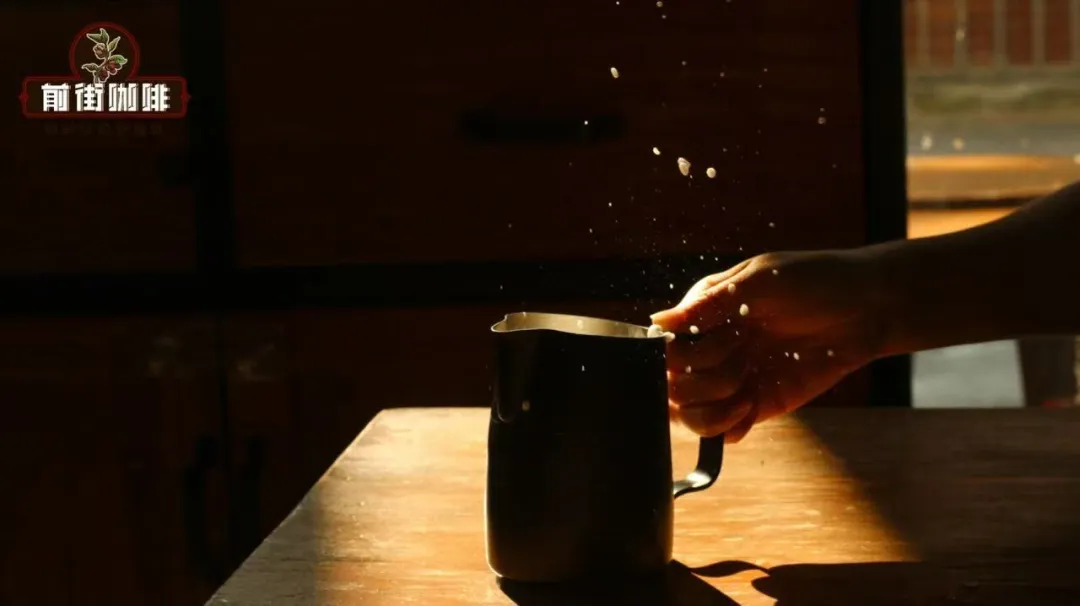
When pouring between pitchers, you may also consider steaming the milk slightly thicker than usual to compensate for any foam lost during the transfer, ensuring the final foam thickness remains appropriate for pouring.
IV. Pre-Infusion: Making Thin Foam Suitable for Latte Art
If the foam is steamed too thin, don’t give up on latte art just yet. As long as the foam isn’t as extremely thin as that used for an espresso au lait, you can still use the “pre-infusion” technique to assist in completing your design.
So-calledpre-infusionrefers to pouring a small amount of milk into the espresso and gently swirling the cup before performing the actual latte art pour. This helps reduce the fluidity of the liquid surface and minimizes uneven patterns or breaks caused by overly clumped coffee crema, allowing thin foam to still produce smooth designs.
While pre-infusion doesn’t completely replace the inherent quality of the foam itself, it significantly improves stability and control during pouring, and is a secret weapon many professional baristas rely on when dealing with special foam conditions. For those wanting to explore more pre-infusion techniques, advanced latte art tutorials can be a great resource.
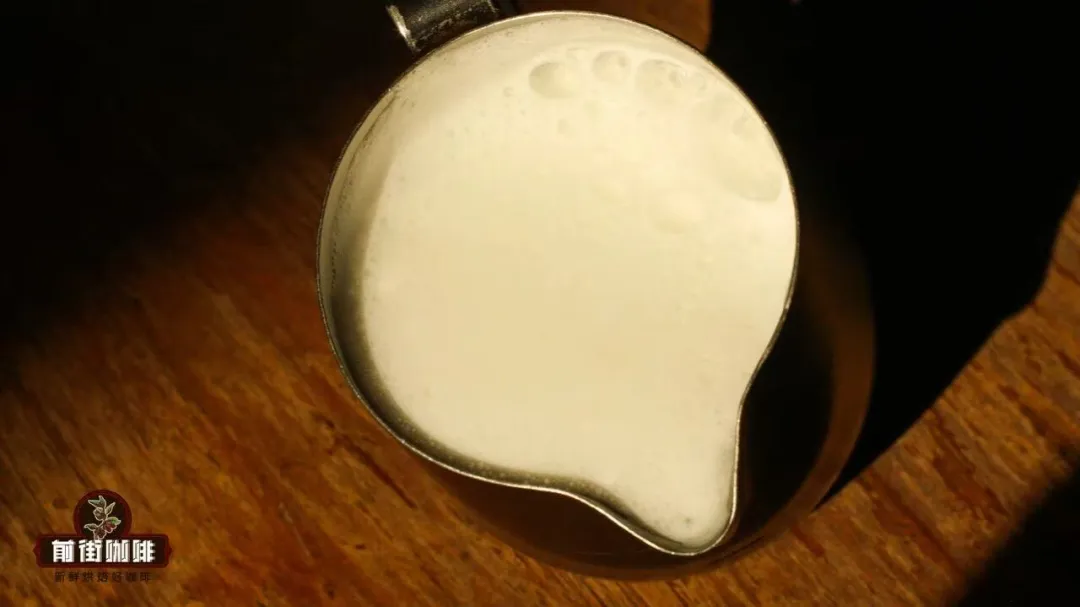
In summary, although the state of the foam greatly impacts latte art results, by using techniques such as shaking, tapping, scooping, pouring between pitchers, and pre-infusion, you can adjust even less-than-ideal foam on the spot and still achieve satisfying latte art patterns. Every barista hones their craft through attention to these details, ultimately delivering their best performance with every pour.
If you have other practical foam adjustment methods, feel free to share and discuss in the comments below!
The above content is compiled by CoffeeHunters, a coffee news website.


