







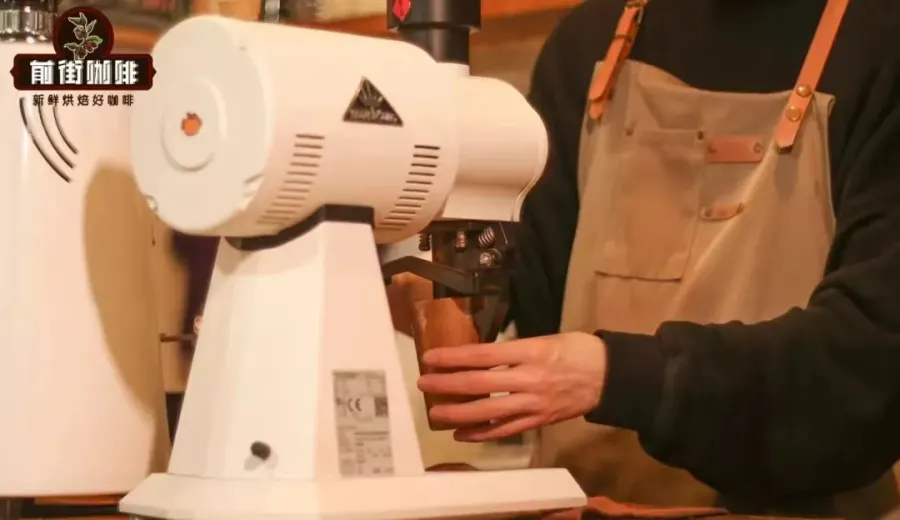
Introduction:Have you ever experienced your electric grinder’s burrs spinning without actually grinding beans? Or are you unsure when and how to “clean the burrs” properly? This article dives deep into four key details of electric grinder operation, including an analysis of burr spin issues, the correct concept and steps for burr cleaning, precautions before starting to grind, and the necessity of regularly checking grind size — all to help you maintain your grinder’s performance and consistently brew delicious coffee.
A coffee grinder is an indispensable tool for every coffee enthusiast. However, many still have questions about its daily use and maintenance. Especially with electric grinders, common issues such as “burr spinning without grinding beans” or confusion over how to effectively “clean the burrs” can be frustrating. This article will detail four crucial aspects of using an electric grinder, helping you better understand how to operate and care for your grinder properly, thereby improving the stability and purity of your coffee’s flavor.
First, many have heard of “burr cleaning,” but in practice, this term actually refers to two completely different operations. Although both are related to cleaning, their purposes and methods are vastly different.The First Type of “Burr Cleaning”refers to pre-grinding a small amount of beans before actually grinding coffee. Its primary purpose is to remove any residual coffee grounds, oils, or odors left on the burrs or inside the grinder from previous use. This step is common in professional cafés and is also a detail that many pour-over enthusiasts tend to overlook.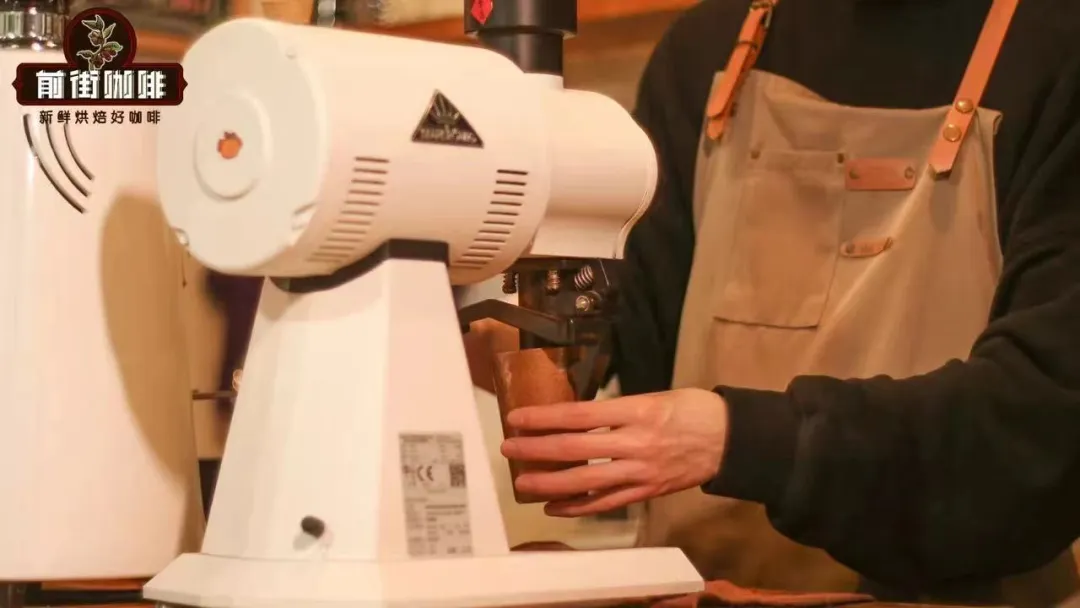
Even if you’re using a high-quality grinder, it’s hard to avoid the phenomenon known as “bean retention” — where the actual amount of ground coffee produced is slightly less than the amount of beans input. This happens because some fine particles stick to the burrs and internal crevices, especially with dark-roasted, oily beans, which are more likely to leave residues on the burrs and affect the flavor and overall cleanliness of the next batch. Therefore, it’s recommended to pre-grind1–2 grams (about 3–4 beans)before your main grind session to flush out these residues. If you often work with dark roasts, this step becomes even more critical, and you might need to perform a more thorough deep cleaning.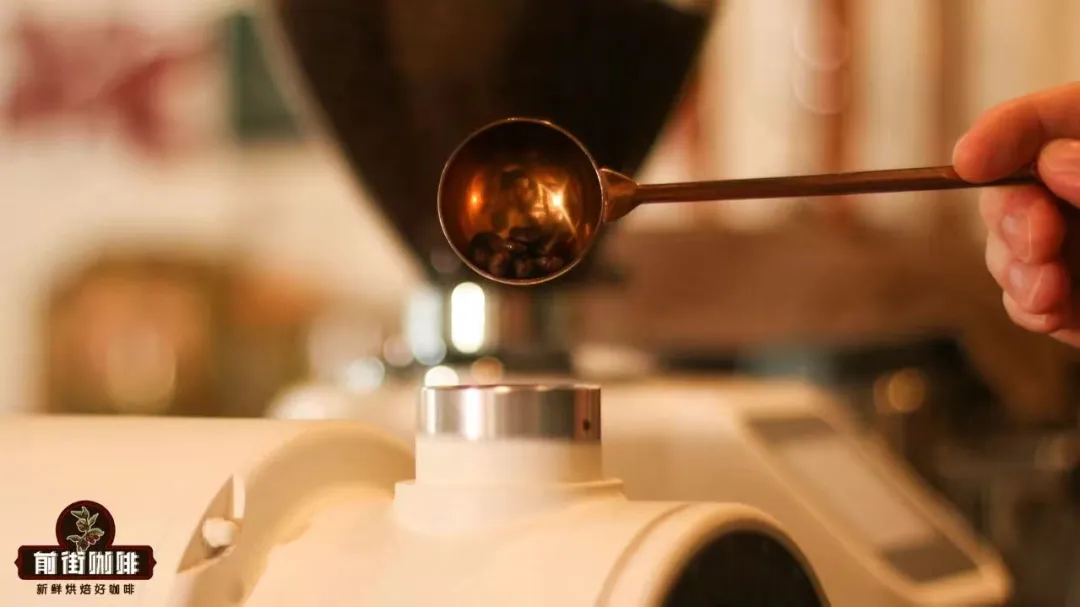
The second type of “burr cleaning” refers todeep cleaningof the burrs and internal components to remove accumulated oils and odors. Dark roast beans contain a lot of coffee oils. If not cleaned regularly, these oils can oxidize and produce unpleasant smells. They can also worsen the bean retention issue, causing more coffee dust to accumulate inside the machine. If you frequently use dark roasts, you should increase the frequency of cleaning. Such cleaning usually involves disassembling parts of the grinder, so it’s advisable to refer to the manufacturer’s cleaning instructions, as different models have varying structures and require different procedures.
Another common mistake is the habit of “putting beans in first, then turning on the grinder.” In reality,the correct procedure is to start the grinder first, wait for the burrs to reach a stable speed, and then add the coffee beans. There are two reasons for this: First, when a grinder starts up, it takes about 0.5–1 second for the burrs to accelerate from a standstill to the designed speed, depending on the model.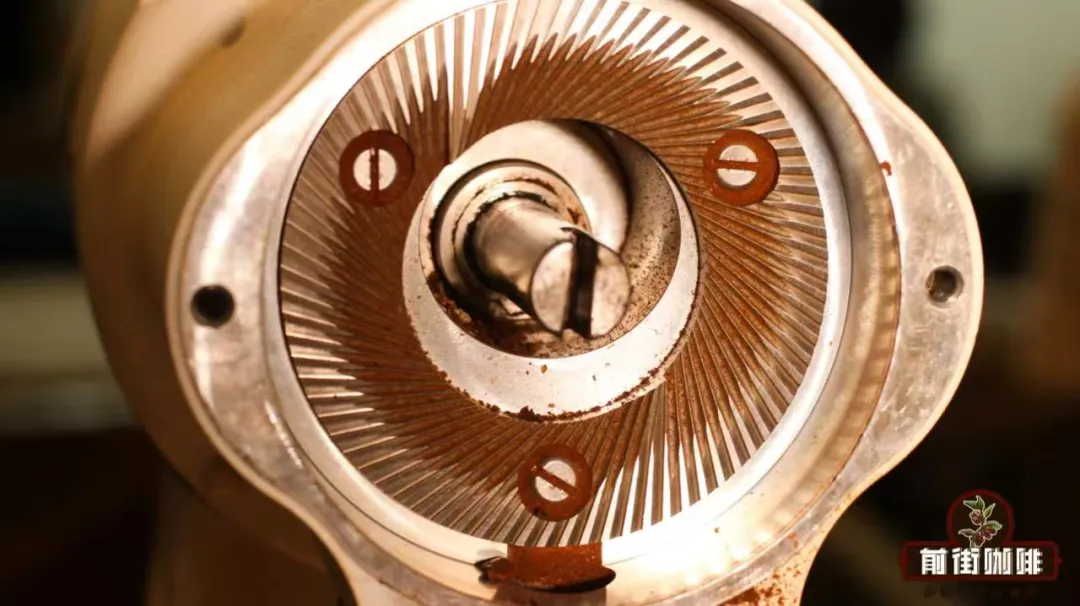 If beans are already on the burrs at this moment, it creates extra load, not only increasing the risk of motor wear but also making jamming or overheating failures more likely for small home-use grinders. Second, a stable rotation speed ensures that each coffee bean is cut with consistent force, resulting in a more uniform grind size that benefits extraction quality.
Additionally, as a grinder is used over time, burr wear is inevitable, which directly affects the fineness of the ground coffee. To ensure consistency in extraction, it’s recommended to periodically use something like a20-mesh sieveto test the grind’s sieving rate. This not only helps assess grind uniformity but can also reveal whether the burrs are gradually wearing down, leading to coarser grinds. Many users may notice that their coffee tastes increasingly weak — this is likely due to coarser grinding, which leads to under-extraction.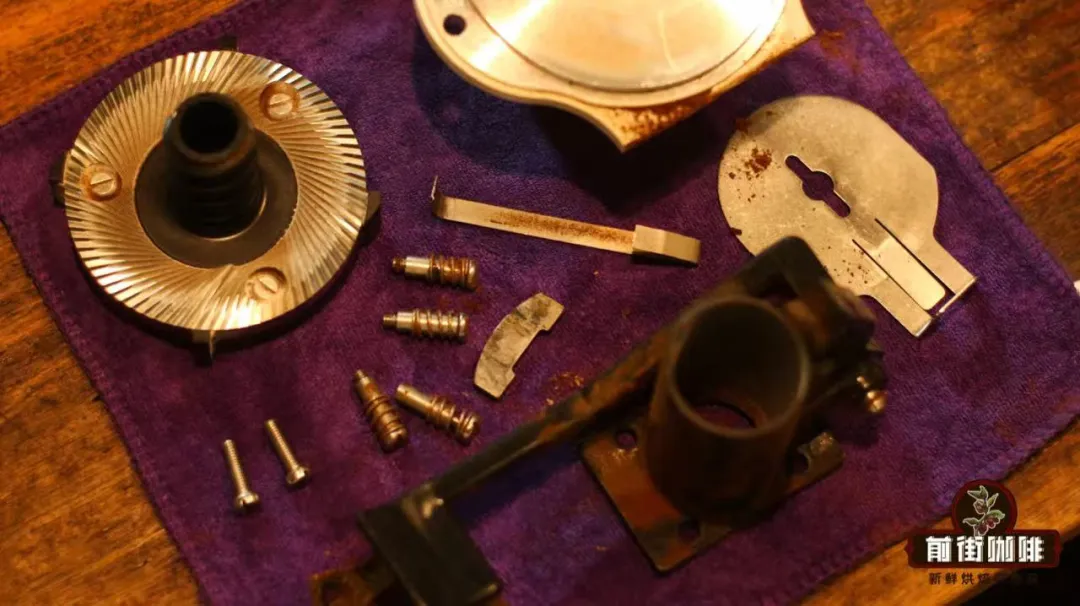
If the grind setting hasn’t changed but your coffee tastes weaker, check whether the ground coffee is coarser than usual. If burr wear is confirmed as the cause, try adjusting the grind finer and re-finding the right extraction balance. This change tends to be more noticeable for espresso grinder users, where the settings often shift significantly lower than originally dialed in.
Finally, let’s discuss the common issue of “burr spinning without grinding” that many espresso enthusiasts encounter. This refers to the burrs rotating, but no actual grinding of beans occurring. Most often, this is becausethe grind setting is too fine, causing fine particles to clog the burrs and the output chute, preventing the coffee grounds from flowing out smoothly. When facing this issue, it’s recommended to first try adjusting to a coarser grind to make the particles larger and flow more easily; alternatively, you can clean the grinder to remove the clogged fine particles and restore normal function. In such cases, repeatedly starting the grinder is not advised, as it may worsen the blockage or damage the components.
Mastering these key details of electric grinder usage not only extends the life of your equipment but also helps you brew coffee with consistent flavor and clarity every time. Whether you focus on pour-over or espresso, these practical tips are worth incorporating into your daily routine.
The above content is compiled by CoffeeHunters, a coffee news website.


