







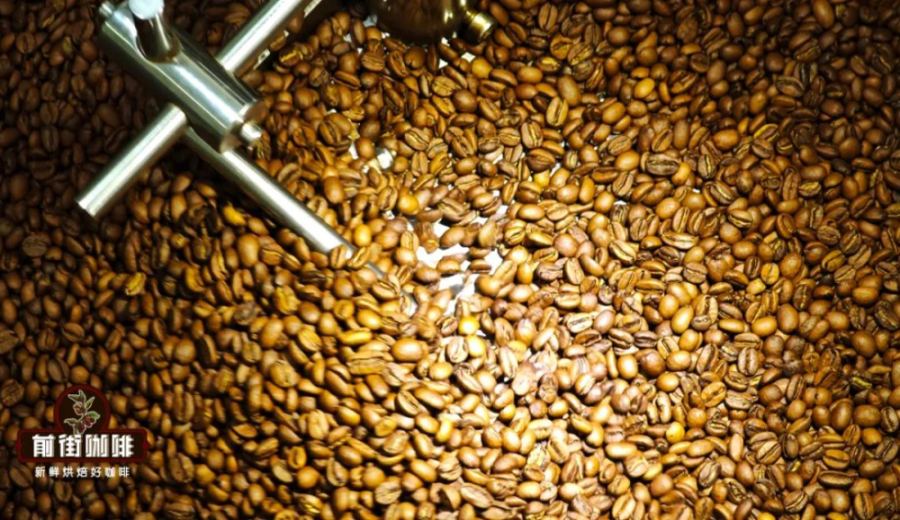
Introduction:Want to learn how green coffee beans can be transformed into aromatic roasted beans at home, but don’t have a professional roaster? This article documents three different roasting experiments using a frying pan and gas stove with varying heat levels and bean varieties. It details key moments from adding beans to the pan to the occurrence of “first crack” and “second crack,” including color changes, silver skin shedding, and records time nodes. It also shares how to judge roast level through sound, sight, and smell, and finally compares the flavor profiles of different roast levels through actual brewing. Take your first step into the joy of hand-roasting coffee.
Have you ever wondered how green coffee beans—hard and unassuming—transform into the familiar deep-brown, aromatic beans we love? Especially if you don’t have professional roasting equipment at home, is it possible to roast coffee using basic tools like a frying pan and gas stove?
To explore this, we conducted a series of home experiments using two different single-origin green coffees with distinct processing methods—natural-process Santa Vini and washed Kafa Forest. Through three attempts with varying heat control and target roast levels, we fully documented every critical moment from adding beans to the pan to the first crack, including color changes, silver skin shedding, smoke production, and more. We then brewed the results to compare the flavor characteristics of each roast level.
Many may have heard of the “first crack,” but aren’t sure what it signifies.The “first crack” is the popping sound produced when internal moisture evaporates and pressure builds up during heating, eventually causing the bean core to expand and rupture.It is usually also an important turning point in flavor development. This sound not only serves as an “audio cue” for professional roasters, but for home roasters, it’s a key signal to gauge heat control and timing for removing the beans from the heat.
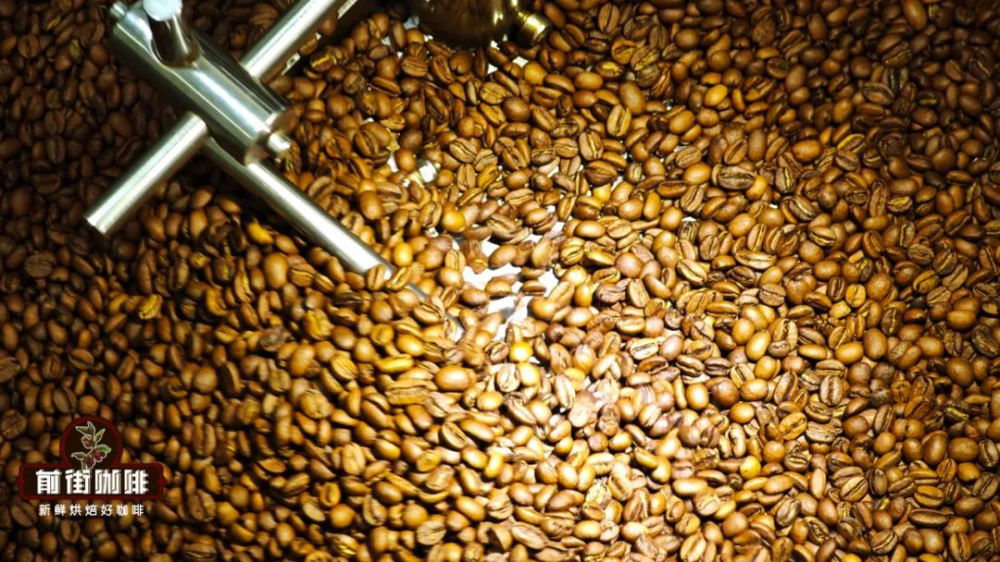
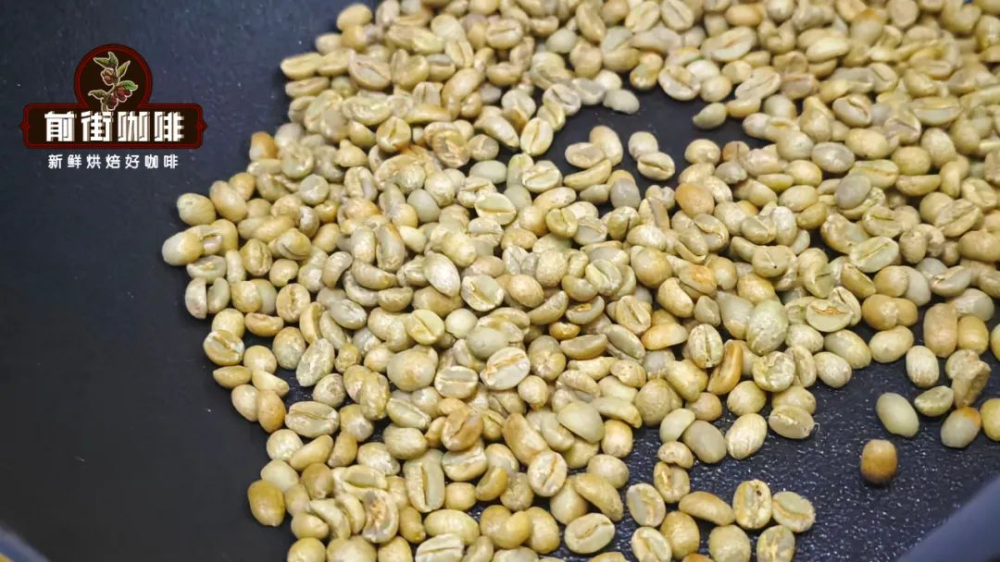
In the first pan experiment, we used natural-process Santa Vini beans from Ethiopia. These beans are of heirloom variety, varying in size, which made even stirring more challenging. For safety, we started with the lowest heat, adding about half a bowl of green beans, and continuously stirred them by hand while observing the color changes.
After roughly 5–6 minutes, some beans began to turn light yellow; by the 7th minute, most beans had clearly yellowed, and silver skin started to shed, which we gently blew away. However, due to the low heat, the beans absorbed heat slowly, and the first crack was delayed. It wasn’t until around 20 minutes that individual beans began turning brown, and atthe 22nd minute, we finally heard the first “pop” of cracking,followed by continuous smoke—the first crack had officially begun.
Because the beans varied greatly in size, uneven heating easily occurred if not stirred in time. By the 24th minute, about half of the beans had completed the first crack, darkening further, but the other half were still yellowish-brown and hadn’t entered the cracking stage. To avoid over-roasting or burning some beans, we ultimately turned off the heat atthe 26th minute and quickly transferred the beans to a stainless steel container to cool,preventing residual heat from continuing to affect them.
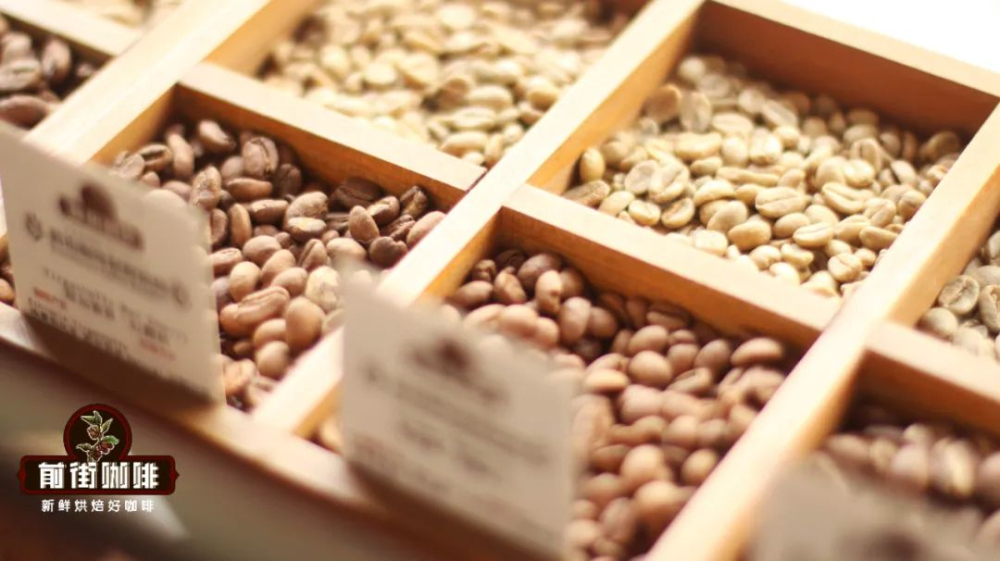
For the second pan, we switched to the more uniformly processed washed Kafa Forest, aiming for a medium roast. This time, we adjusted our strategy by first preheating the pan on medium heat. Once the pan was sufficiently hot (tested by dropping water—if the droplets vaporized instantly, the temperature was right), we reduced to low heat and added the green beans.
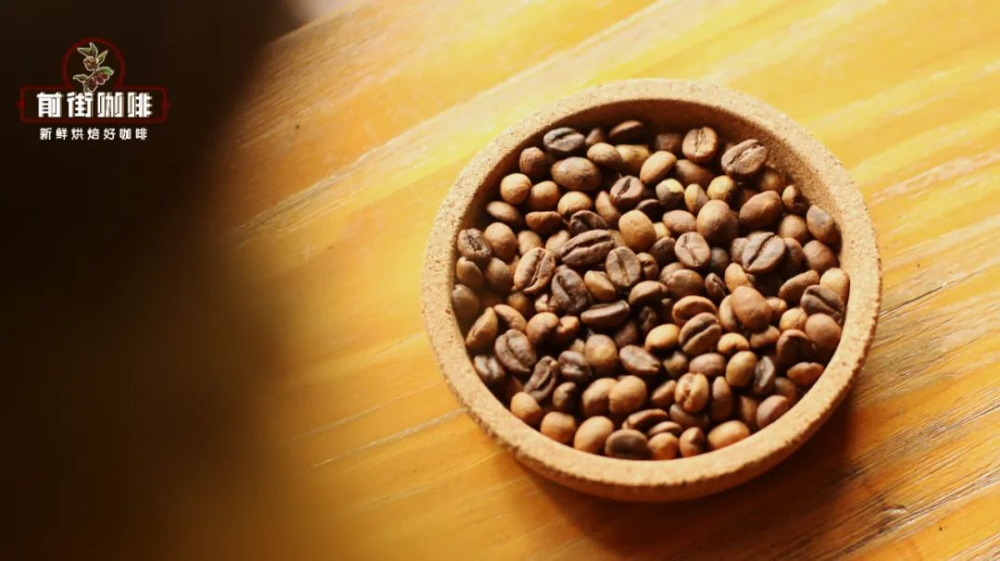
Maintaining gentle, steady stirring on low heat, at around4–5 minutes the beans began to yellow, and by around 10 minutes, individual light brown beans appeared, emitting a popcorn-like aroma.By the 12th minute, the first crack sounded for the first time, so we immediately reduced the heat to very low. With increasingly dense crackling sounds and thicker smoke,at around 14–15 minutes the beans had fully turned dark brown, and we decided to remove them from the heat at 16 minutesto achieve a balanced medium roast flavor.
To further understand how roast level affects flavor, in the third pan we returned to the natural Santa Vini, but this time aimed for a medium-dark roast, hoping to hear the later-stage “second crack.”
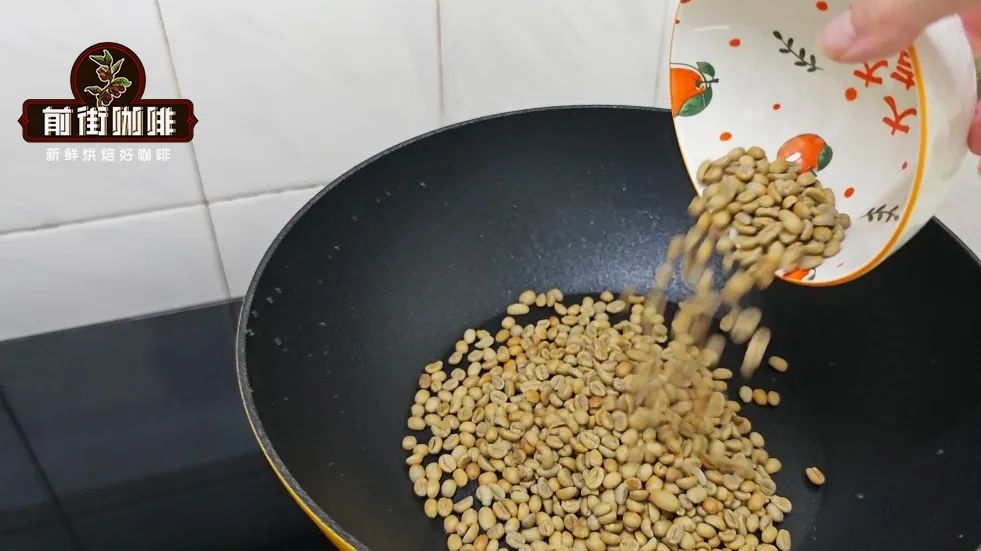
Following previous experience, we started with medium heat to preheat, then switched to low heat for steady stirring. At approximately4–5 minutes the beans began to yellow, and around 8 minutes turned yellowish-brown, with large amounts of silver skin shedding and a subtle nutty aroma wafting from the pan.At the 9th minute, smaller-sized beans entered the first crack first, accompanied by smoke, so we reduced the heat to very low.
As we continued stirring, at around13–14 minutes most beans had completed the first crack, and after resting for 1–2 minutes, we began hearing fainter secondary cracking sounds—that is, the early stage of the second crack—marking entry into the medium-dark roast range. We stirred for another 10 seconds,and at around 14½ minutes quickly removed the beans to cool,locking in the flavor characteristics of this roast level.
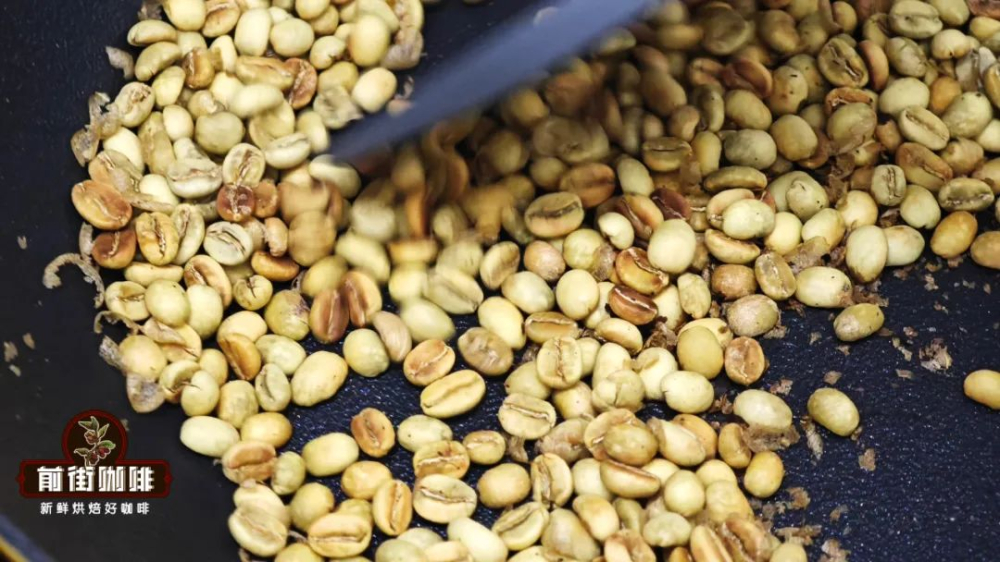
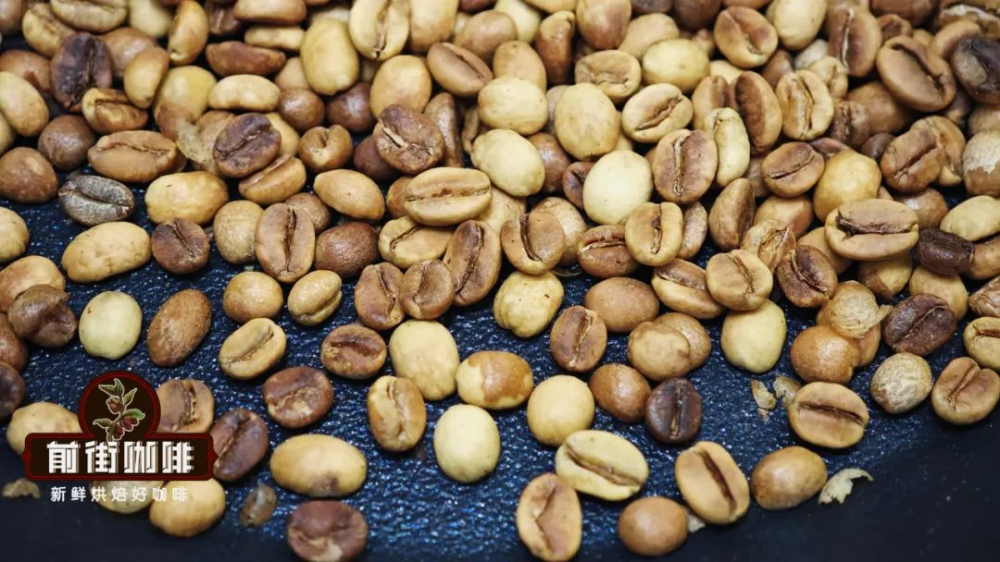
Overall observations from the three pan experiments:The first pan, due to low heat and uneven stirring, had noticeably underdeveloped beans, with some still yellow; the second pan had uniform color overall, achieving the intended medium roast; the third pan leaned more toward medium-dark, but showed a few beans with localized scorching or charring, which needed sorting.。
After several days of resting, we removed obvious defective beans and conducted pour over tastings to compare:
The first cup, with the underdeveloped Santa Vini, had a roasted peanut and popcorn aroma after grinding, but the coffee liquid was light in color. The sip revealed only weak berry acidity and black tea notes, with overall under-extraction and lack of typical coffee flavors.
The second cup, the medium-roast Kafa Forest, gave off sweet bread and nut aromas after grinding. The sip featured smooth sweetness of chocolate, cane sugar, and hazelnuts, with a slight intoxicating feel. As it cooled slightly, citrus fruit acidity emerged. Overall, the flavor was balanced but mild.
The third cup, the medium-dark Santa Vini, had a lemon and butter cookie aroma after grinding. The coffee liquid was the darkest in color. The sip offered flavors of dried fruit, roasted hazelnuts, and caramel, with mellow aroma, no bitterness, but less acidity, slightly lower body, and a shorter aftertaste.
 /
 /
In summary,a frying pan can indeed be used to roast coffee beans—just control the heat, stir evenly, and use your ears, eyes, and nose to judge the roasting process.However, due to the lack of precise temperature control and a smoke exhaust system, beginners are advised to ensure good ventilation and prepare for cleaning up silver skin.
The above content is compiled by CoffeeHunters, a coffee news website.


