








Introduction:Want to create silky and smooth latte milk foam? Just relying on the angle of the steam wand isn’t enough. This article takes an in-depth look at the six key factors that affect milk foam texture—from the optimal steaming temperature and milk chilling process, to steam wand preparation techniques and the rescue method known as “tank dumping”—to help you master the professional details of milk foam. By addressing common mistakes, you’ll find latte art easier, with significantly improved milk foam fluidity and smoothness.
A stunning latte art pour is never achieved by technique alone; stable and fine-textured milk foam is the true key to success. Many coffee enthusiasts, when practicing steaming, tend to focus solely on the depth and angle of the steam wand insertion, often overlooking several seemingly minor yet critically important details. This article will comprehensively break down these six commonly neglected steaming essentials—from milk foam temperature control, the initial state of the milk, steam wand preparation, angle adjustment, shaking techniques, all the way to the practical tank-dumping rescue method—to help you achieve professional-grade milk foam quality.

First, let’s talk about the ideal temperature range for steaming milk. Based on experience and practical testing, keeping the milk foam temperature within60~70°Cis the optimal state. This temperature not only helps bring out the natural sweetness of lactose in the milk, but also slows down the breakdown of the foam structure, maintaining greater stability for a longer period. Once the temperature exceeds this range—especially going above 70°C—the fat molecules in the foam can lose their structural support due to the high heat, causing the foam to collapse quickly. The coffee surface may also develop noticeable large air bubble craters. If the temperature continues to rise, the foam volume may expand excessively, which not only affects the flavor balance of the coffee but could also ruin the overall mouthfeel.
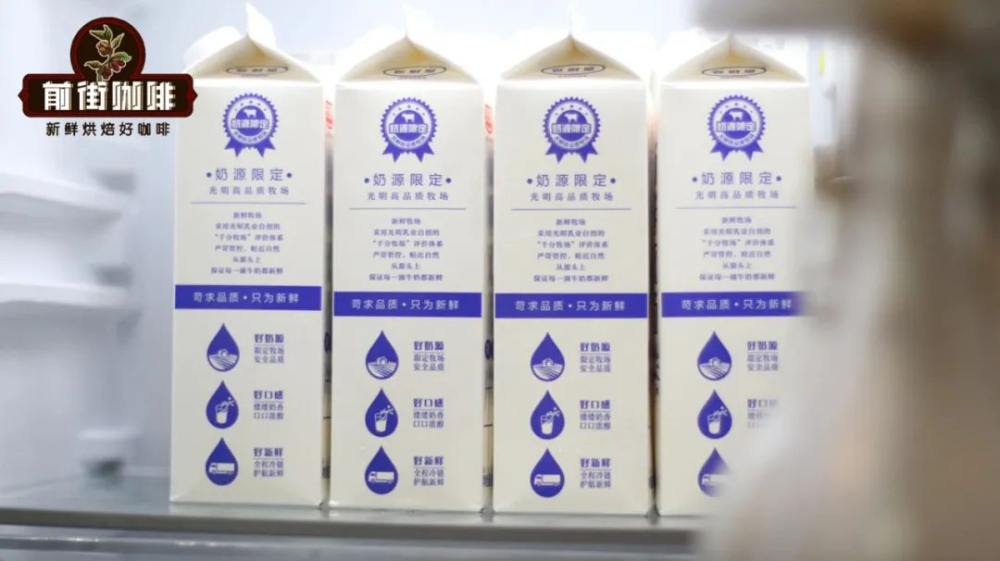
Next is the initial temperature treatment of the milk. Whether you’re using pasteurized fresh milk or UHT (ultra-high temperature) sterilized ambient milk, it’s recommended to chill it in the refrigerator before steaming. This step effectively extends the golden window for optimal milk foam production.Chilled milk starts at a lower temperature, giving you more leeway during the steaming process and helping to form a more even and delicate foam structure. In contrast, using room-temperature milk not only significantly shortens the steaming time, but also makes the stretching phase harder to execute fully, presenting a higher difficulty level for beginners.

Before using the steam wand, don’t overlook one simple yet crucial step—purging for 2–3 seconds. This action helps expel any condensed water accumulated inside the steam wand. When idle, residual steam inside the wand gradually cools and condenses into water droplets. Without purging first, this moisture will mix directly into the milk, not only diluting the concentration but also affecting the final texture and flavor of the foam. Therefore, making it a habit to preheat and purge the wand before each use is your first line of defense in ensuring milk foam quality.
The angle between the steam wand and the milk surface also has a profound impact. Many tutorials will teach you where to position the steam wand, such as the 3 o’clock or 9 o’clock positions, but few emphasizethe angle between the steam wand and the milk surface. If the steam wand is inserted almost vertically into the milk, even if the position is correct, it’s hard to create an effective whirlpool, making it difficult to properly cut and blend large air bubbles, resulting in rough and uneven foam. Practical experience suggests adjusting the steam wand to an angle of around30°~45°relative to the milk surface, which helps create a stable whirlpool effect, yielding finer and more fluid foam. Also, remember to gently shake the pitcher after steaming to further enhance the integration of foam and milk, resulting in a smoother overall mouthfeel.
In the final stage of steaming, you might occasionally encounter a sudden burst of large bubbles on the milk surface—usually caused by accidentally raising the steam wand too high. At this point, if the temperature has already reached the upper limit and you can no longer continue steaming, many baristas employ the “tank shake” or “shaking” technique—lightly tapping the side of the pitcher to break up large bubbles. However, if the shaking motion exceeds2–3 times, even the originally stable micro-bubbles may rupture, accelerating foam dissipation and deflation. Therefore, it’s recommended to control the number of shakes. If stubborn bubbles remain, you can use a spoon or other tool to assist in removing them, thereby maintaining the overall structure and stability of the foam.
Finally, when you find the foam too thick or with too many coarse large bubbles, “tank dumping” is your lifesaver technique. Pouring the milk from the original pitcher into another clean pitcher naturally filters out some of the larger bubbles while further promoting the mixing of foam and milk.Through a single tank-dumping process, not only can the number of coarse bubbles be reduced, but the foam texture can also become finer and more fluid, laying a more solid foundation for subsequent latte art.

The above content is compiled by CoffeeHunters, a coffee news website.


