







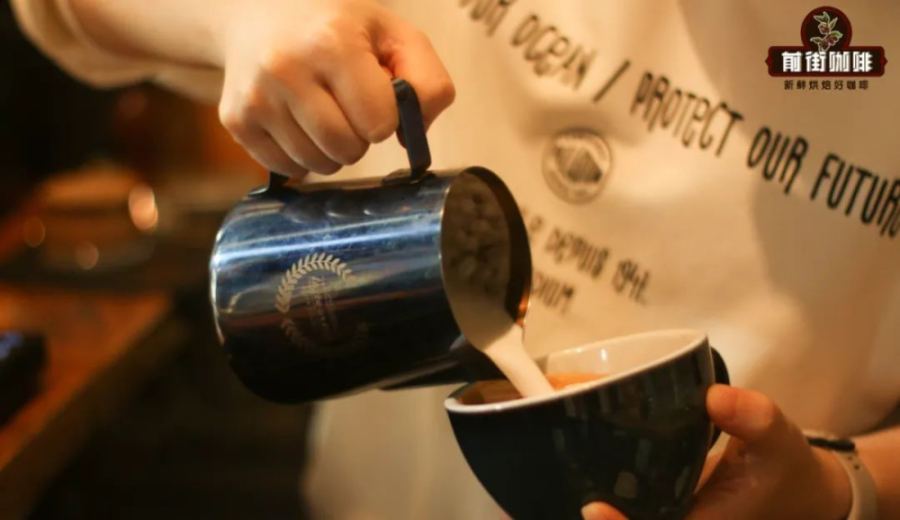
Introduction:When learning latte art, the pitcher grip is often the first hurdle for many beginners. Various online tutorial videos showcase a wide range of gripping techniques, which can easily lead people to assume that each pattern requires a specific grip. As a result, they struggle to operate the pitcher steadily. This article delves into an analysis of the two most common latte art pitcher grips, explaining their respective applicable scenarios and pros and cons. It also provides practical troubleshooting directions — from espresso quality to milk foam condition — for the common issue of “correct posture but no patterns,” helping you improve your practice efficiency effectively.
In the process of learning latte art, mastering the pitcher grip is often the first challenge beginners face. Many people’s first encounter with latte art comes through online instructional videos, yet the way each demonstrator holds the pitcher varies. This can easily lead beginners to believe that each pattern must be paired with a specific grip. Consequently, many switch pitcher grips frequently in an attempt to try different patterns, only to find that the designs are hard to form and their wrists become sore from overuse.
The root of this issue lies in frequently changing grips before becoming proficient, preventing any one posture from functioning effectively. Without a stable foundation for holding the pitcher, not only does it affect the fluidity of the patterns, it also increases operational difficulty. Therefore, it’s recommended that beginners choose a grip that suits them and practice repeatedly to build muscle memory. Once holding the pitcher becomes natural and stable, the wrist is less prone to fatigue, pattern control and milk flow become more intuitive, and latte art efficiency will naturally improve significantly.
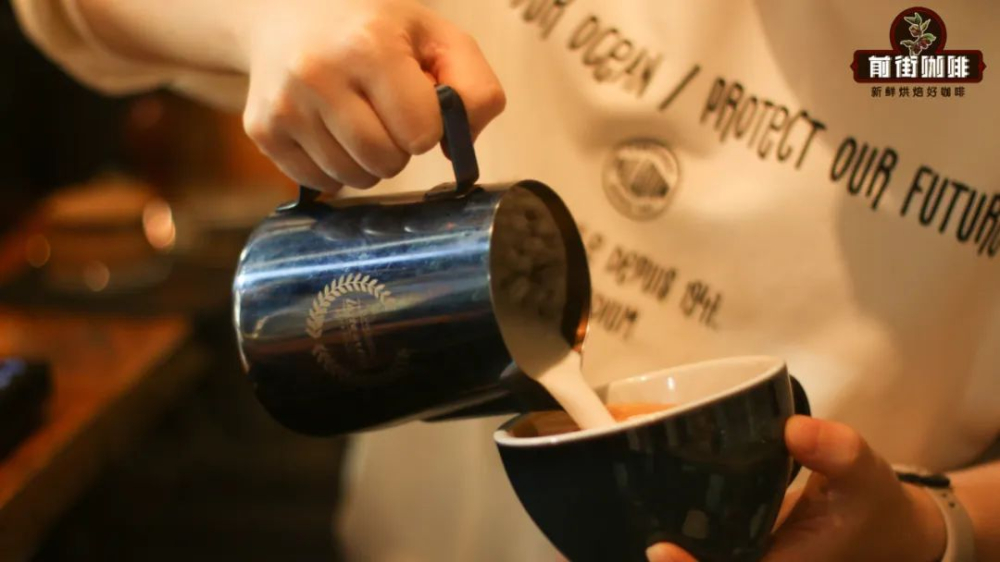
Why is the pitcher grip so important? Because no matter which grip you choose, the core goal is the same: to hold the pitcher firmly while ensuring your wrist remains flexible. Firmly holding the pitcher may seem simple, but it actually requires balancing force distribution and maneuverability. Generally, the weight of a latte art pitcher ranges from 150 to 280 grams, and when adding frothed milk, the total weight may approach or even exceed 500 grams — a significant test of wrist control.
If you grip the pitcher too tightly, causing your wrist to stiffen and unable to swing freely, it not only makes latte art more difficult but can also affect the detail of the patterns. Therefore, choosing a grip that suits you and building muscle memory through consistent practice is an essential foundation for advancing your latte art skills. Currently, the two most common pitcher grip styles are mainly suited to baristas with different wrist strength and control needs.

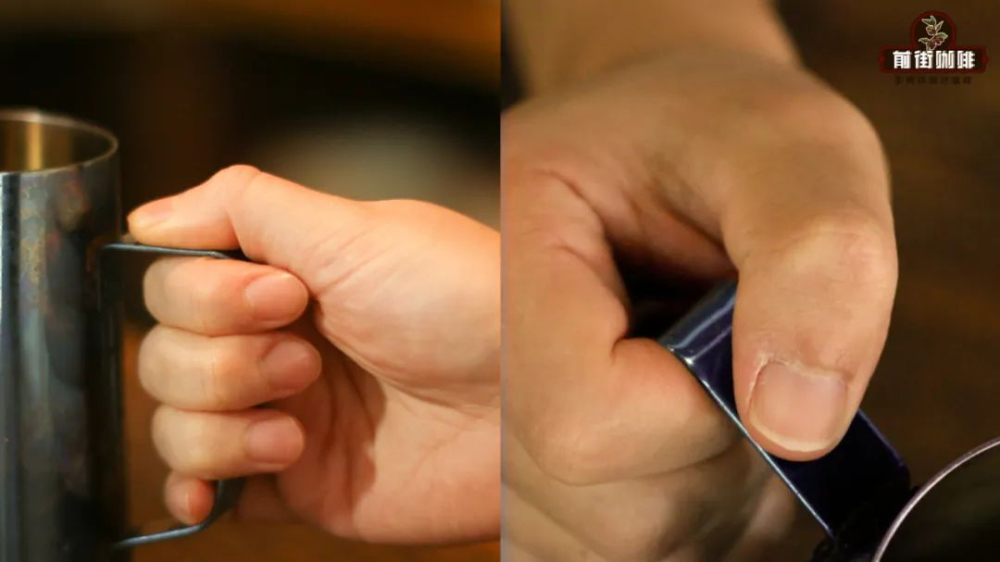
The first isthe fist-grip style. This grip involves wrapping the four fingers (excluding the thumb) around the handle of the pitcher, distributing the force relatively evenly to provide better stability, while the thumb rests lightly on top of the handle, primarily serving a guiding role. This grip is a more beginner-friendly option for those with weaker wrist strength or who are just starting to practice latte art, as it reduces hand fatigue while maintaining a certain level of handling flexibility.
The second isthe pinch-grip style, which is also the method used by most professional baristas today. This grip involves pinching the top two sides of the handle with the index finger and thumb, with the remaining fingers assisting in stabilizing the pitcher. The advantage of this method is that once mastered, it allows for greater flexibility in movement, helping to create finer and smoother latte art patterns. Since the main force is applied through the index finger and thumb, this grip offers higher control, but it also demands greater wrist strength and stability, making it more suitable for practitioners with some foundational experience.

However, even if you’ve mastered the correct pitcher grip, many beginners still struggle with the issue of “correct posture but unable to pour ideal patterns.” In such cases, it’s advisable to shift attention to the quality of the espresso and milk foam. First, check whether the milk foam is steamed to the appropriate fineness and texture — foam that is either too coarse or too thin can affect the clarity of the patterns. Next, observe whether the crema of the espresso is even and fine; overly rough crema may make it difficult for patterns to form.
Additionally, if the espresso and milk foam are left standing for too long after preparation, they may separate or dissipate, affecting the latte art outcome. Ideally, latte art should be performed immediately after pulling the shot to ensure both are in their best state. Once these basic elements are well-prepared, pouring a cup of latte art with clear patterns and an appealing design will no longer be a challenge.
The above content is compiled by CoffeeHunters, a coffee news website.


