








Introduction:Want to learn latte art but don't know where to start? This tutorial breaks down the basic image formation logic of latte art, the key techniques of pouring and drawing, as well as commonly overlooked details like returning the cup and finishing touches, plus cup selection advice, helping you quickly master basic patterns and lay a solid foundation for attempting more advanced designs.
Many people are drawn to the world of coffee by the visual charm of latte art. They dream of one day gracefully creating beautiful patterns. But is latte art really that hard to learn? In fact, with core skills and the right practice method, you can draw simple patterns in as little as one day or begin to see results within two or three days. For those aiming to tackle more complex designs, a deeper understanding of the principles and additional practice are needed.
This article will start with the theory behind how latte art patterns form, explain the key differences between pouring and drawing, the considerations for returning the cup and finishing, as well as practical details like practicing rhythm and cup selection, to help you overcome common bottlenecks and get started more smoothly. Additionally, we’ll explore how the crema of espresso impacts the final look of your designs and suggest suitable blends for practice.
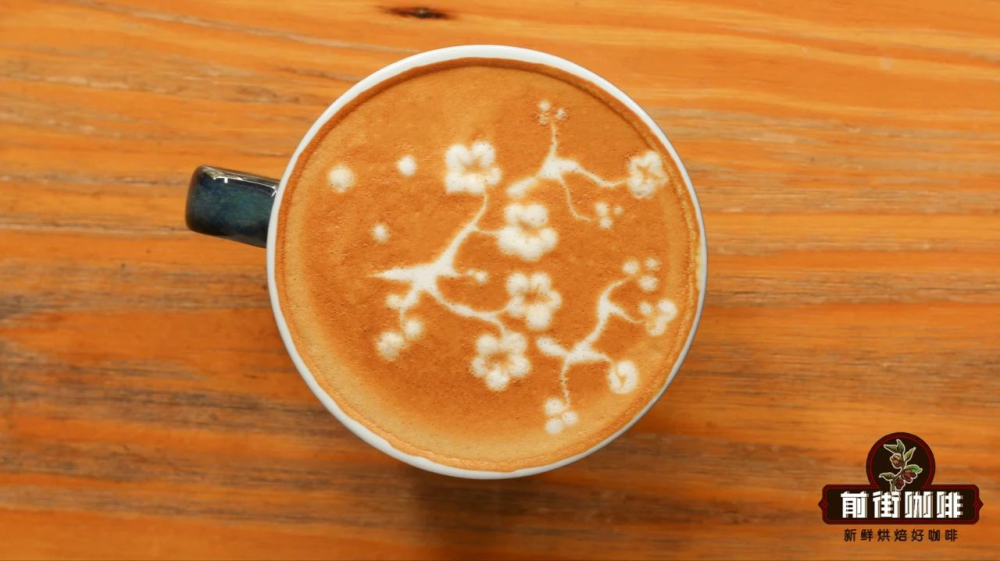
The reason latte art is so captivating is because it transforms an ordinary cup of coffee into a piece of art. Many people are thus inspired to explore coffee and set a clear goal: one day, they hope to create delicate and beautiful patterns with their own hands. But the question is, how long does it take to learn latte art?
In reality, latte art isn’t as mysterious as it seems. If you just want to create decent-looking patterns, as long as your hand feel isn’t too poor, you can get the hang of it in as quickly as one day or at most two or three days. But if you aim to challenge more advanced designs, beyond mastering the basics, you also need to understand the underlying principles and improve gradually through continued practice.

To produce aesthetically pleasing latte art, you must first have high-quality espresso. And the condition of the espresso’s crema is one of the key factors affecting latte art performance. Good crema should be fine, smooth, layered, and thick enough. It’s recommended to use blends with excellent crema texture, such as classic blends based on Brazil and Mandheling with wilder crema, or commercial blends with strong nutty notes and bright golden color, enhanced with a small amount of Robusta to boost crema performance.
The overall latte art process can generally be divided into two main actions: pouring (fusion) and drawing (artwork). The biggest difference between the two lies in the distance between the spout of the pitcher and the surface of the coffee. When the spout is held at a certain height above the liquid surface, the milk foam falls directly into the coffee and mixes with it. This process is called "pouring" or "fusion."
When the spout is almost touching the liquid surface and the milk foam is poured slowly and steadily, white patterns emerge on the coffee surface as the foam flows. This is what’s known as "drawing" or "artwork."

Typically, we first pour and mix the milk with the coffee until the cup is about half full, then begin the drawing phase. This serves two purposes: allowing the milk foam and coffee to blend thoroughly, and ensuring that once the liquid level reaches halfway, the design can more easily display clear outlines and intricate details.
Pouring technique is the foundation of latte art. It's not just about randomly lifting the pitcher and shaking it a few times. Instead, it requires precise control of height and movement. A common approach is to hold the cup in the left hand and the pitcher in the right, moving both hands in opposite circular motions. During this process, it's advised to keep the spout ata height of 5 to 10 centimeters, along with slightly firm up-and-down pressure and stirring, to avoid creating irregular streaks or a murky liquid surface.
The drawing part is where the actual design comes to life. By this point, the coffee has been poured and mixed to about half the cup’s volume. Now, focus on four key points.
First, drawing requires close coordination between both hands: the right hand controls the flow rate and stability of the milk foam, while the left hand is responsible for steadily rotating the cup. This rotation is often referred to as "returning the cup." Timing is crucial—doing it too early can make the pattern blurry, while doing it too late may cause the coffee to overflow. Beginners must first practice syncing both hands and controlling the rhythm.
Second, the force used to pour the milk foam directly affects the thickness of the lines. More force leads to more foam output and thicker lines (especially when the foam is dense), while less force combined with moderate shaking can create thin, clear, and delicate patterns—particularly effective when the foam density is just right.

Third, different latte art patterns have different starting and ending points. For example, the final position of a heart shape is usually at the center of the cup, but when beginning the drawing, the starting point should be slightly shifted to theright side (i.e., closer to the pitcher), as the pattern will naturally shift during the return and milk flow process.
Fourth, the finishing move is the final key to determining whether the design succeeds. Poor control of height during the finish can leave heavy strokes or even throw off the balance of the entire design. It’s recommended to begin the finish when the cup isabout 90% full, keeping an appropriate distance between the pitcher and the liquid surface to avoid unwanted lines or smudges.
For beginners just starting to practice latte art, it’s suggested to try with real milk and coffee for1 to 2 timesto get a feel for the real resistance and handling. This will make later simulated practice using dish soap and soy sauce more effective. If possible, continuing to practice with real ingredients is also a good option.
The core of practice is building muscle memory in your hands. You don’t need to aim for complex patterns right away. Focus first on solidifying fundamentals like “cup-holding posture, pouring movements, returning rhythm, and drawing details.” Though it might seem dull, consistent practice overone to two dayswill allow you to master basic shapes.
Also, it’s advisable to control the length of each practice session to avoid fatigue and mental stagnation from prolonged continuous operation. Take a breakevery 20 minutesto review your previous movements and issues, which helps improve more efficiently. If you hit a bottleneck, you can also take photos to discuss with experienced friends or professionals for external advice.

Lastly, there’s a commonly overlooked detail: cup shape greatly affects latte art performance. Many only realize after mastering basic patterns and attempting advanced designs that it’s not their skill but the cup that limits their potential.
Generally speaking,cups with a wider rim and a slightly curved baseprovide a larger drawing area and better pouring effect, which positively impacts the fineness and stability of latte art patterns. If you’re aiming for more refined designs, opt for wide-mouthed cups with a gently curved base to give your skills greater room to shine.
The above content is compiled by CoffeeHunters, a coffee news website.


