








Introduction:Many coffee enthusiasts often encounter the issue of the coffee surface becoming cloudy before the latte art pattern can fully form during practice. In fact, to achieve clear and distinct latte art designs, the key lies in the correctness and finesse of the blending step. This article delves into how to master blending techniques, analyzes common reasons for a murky coffee surface, and provides a complete walkthrough from milk foam preparation to pattern formation. With practical experience shared, it helps you create aesthetically pleasing and well-contrasted latte art even at home.
It’s a common frustration for beginners: you’re excited to draw an intricate design on your coffee, only to find the surface already cloudy and the latte art effect greatly diminished. In truth, whether a latte art pattern turns out clean largely depends on the “blending” process. Mastering the correct blending technique not only ensures even mixing of coffee and milk foam but also lays a stable foundation for subsequent latte art.
First, let’s talk about the importance of blending. When hot milk is poured into espresso, how the two blend determines the cleanliness and fluidity of the coffee surface. Uneven blending can cause the espresso crema and milk foam layers to separate, leading to irregular patterns on the surface and affecting the final presentation. Therefore, blending is not just an action but a delicate control technique.

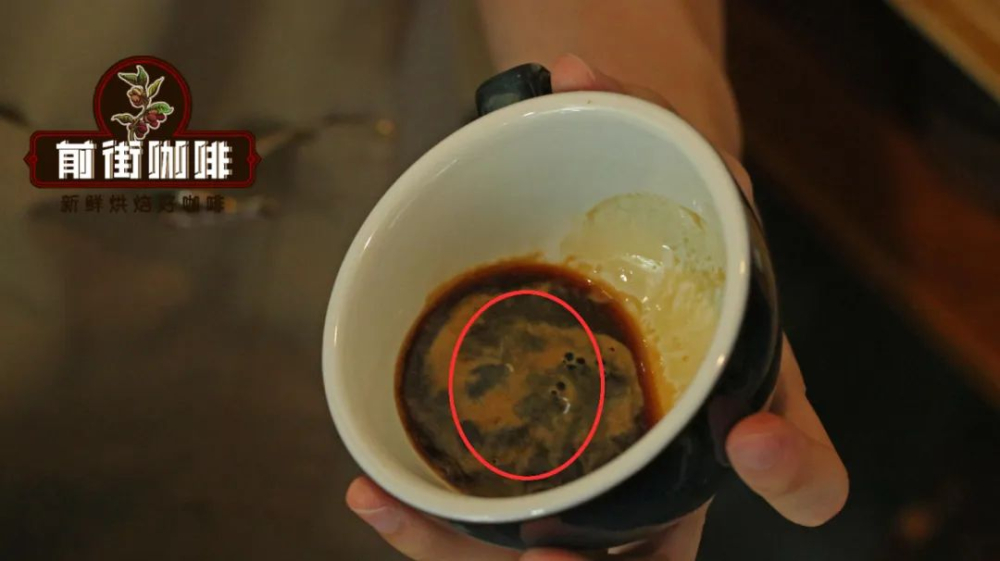
Common causes of a messy coffee surface include poor milk foam texture, incorrect pouring angle, insufficient blending time, or overly hasty movements. Especially, if the milk foam is too coarse or contains too many large air bubbles, it can prevent smooth blending on the surface, thereby compromising the details of the latte art. It is recommended to control the milk temperature at around 55°C to 60°C when steaming, and ensure the milk foam is fine, dense, and smooth in texture.
Next is the complete latte art process. It starts with milk foam preparation. It is recommended to use whole milk, as its higher fat content helps produce fine milk foam. When steaming, insert the steam wand diagonally into the milk to create a vortex that evenly incorporates air until the milk foam reaches the desired texture. At this stage, pay attention to the sound and shape changes in the milk pitcher to determine if the milk foam is ready.

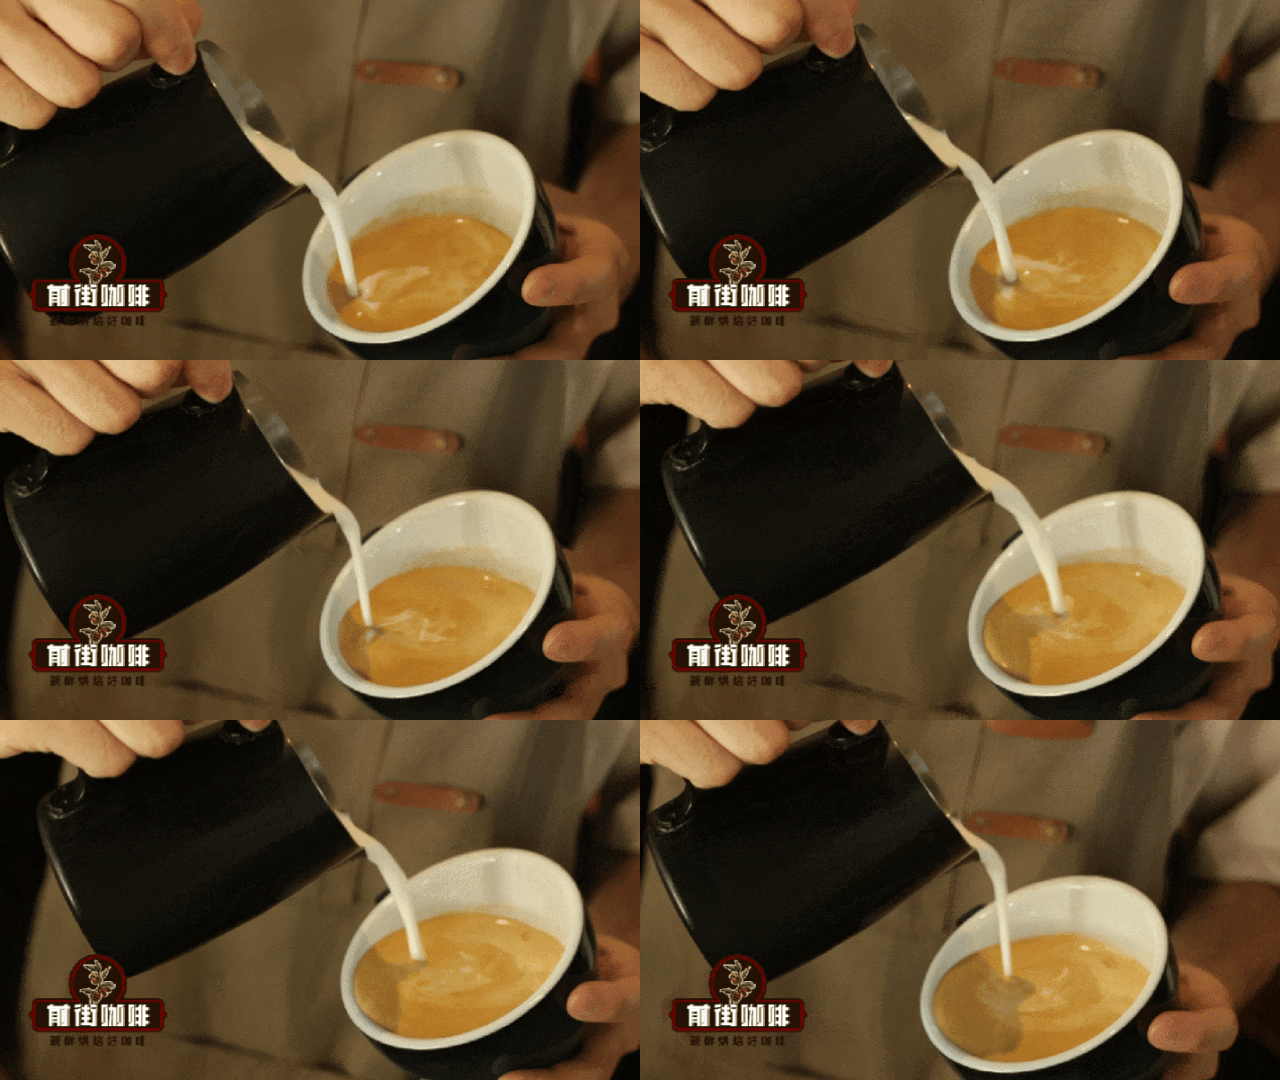
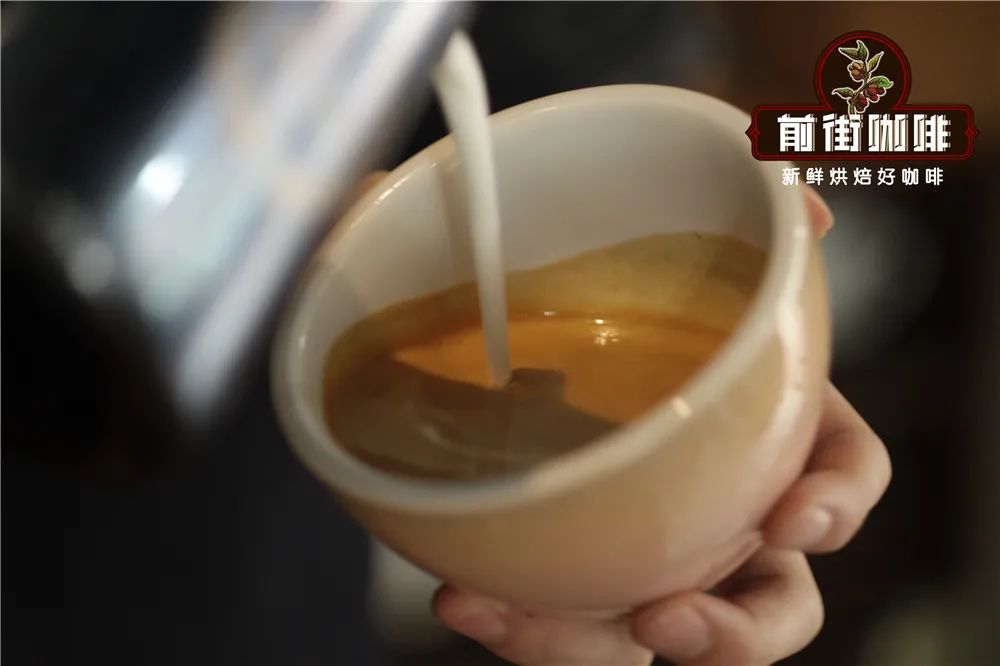
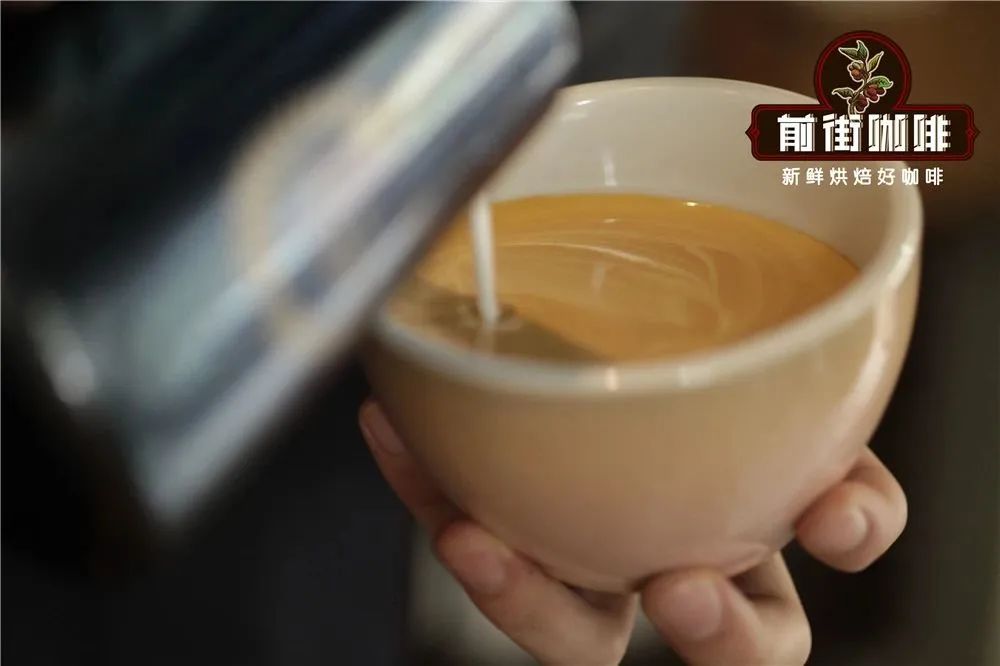
Once the milk foam is prepared, the next step is to pour the milk into the espresso for blending. It is recommended to start with a small flow rate, bringing the pitcher slightly close to the coffee surface and pouring steadily to allow the espresso and milk foam to gradually blend. This stage is called “blending,” where the milk foam and coffee are thoroughly mixed to form a uniform base, paving the way for subsequent latte art.
The sign that blending is complete is when the coffee surface shows a uniform grayish-brown color, with no obvious color differences or layering. At this point, you can slightly increase the pouring speed and height to begin shaping the pattern. Common latte art patterns such as hearts, leaves, or tulips are created at this stage by controlling the movement and tilt angle of the pitcher.
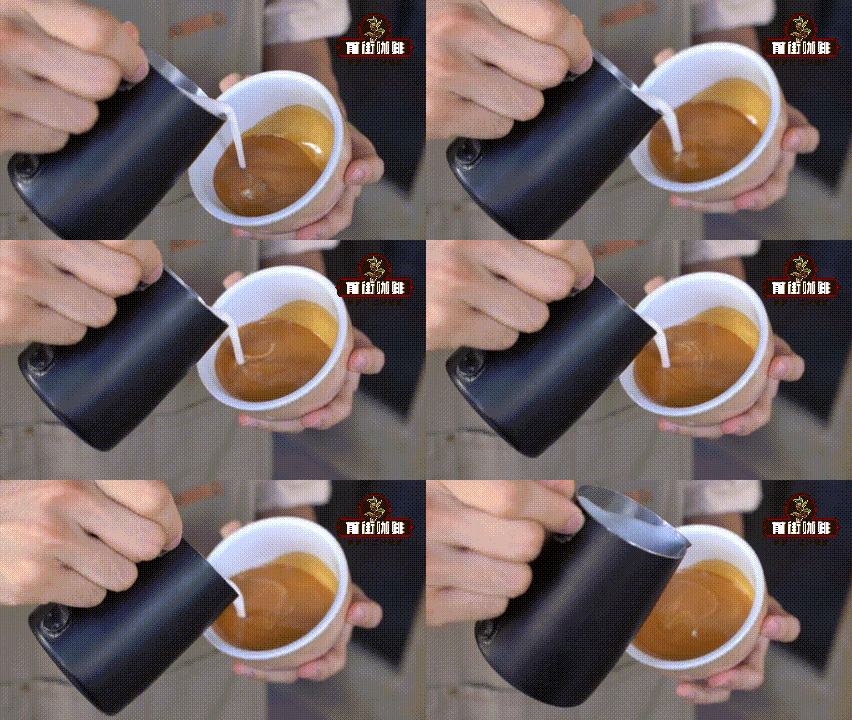
During the latte art process, stable wrist movements and flow control are key. It is recommended to start with simple patterns, such as straight lines or small dots, and gradually progress to more complex designs. Meanwhile, adjusting the height and angle of the pitcher can effectively control the thickness and layering of the patterns.
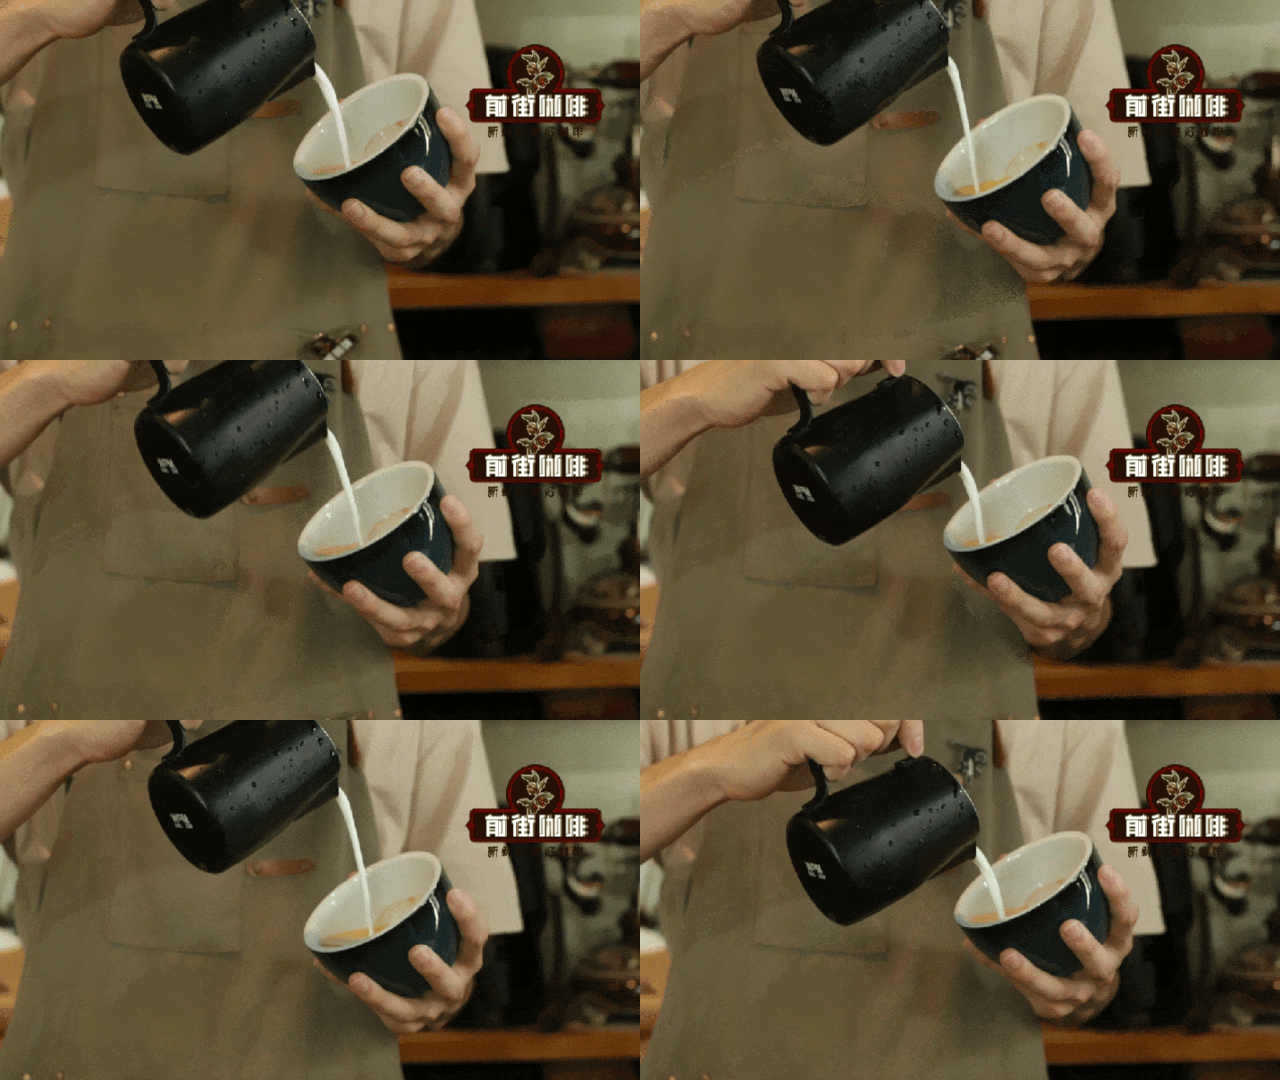
In addition, the fluidity of the coffee surface is also affected by the shape and size of the cup. It is recommended to choose a coffee cup with a wide rim and moderate depth, which helps stabilize the surface and latte art operation. If the surface is too uneven or spreads too quickly, it may result in blurry or asymmetrical patterns.
In summary, to improve the issue of a dirty or unclear latte art surface, the focus should be on mastering blending techniques, controlling milk foam texture, and refining latte art pouring methods. From milk foam steaming to pattern formation, every step requires care and patience. Through continuous practice and adjustment, you too can easily create professional-level latte art with clear patterns and strong contrast at home.
Whether you’re a beginner just starting out with coffee or an enthusiast looking to refine your skills, understanding the importance of blending and the full latte art process is key to enhancing your coffee artistry. Keep practicing, and you’ll discover that latte art is not just a technique, but also a creative process of enjoying coffee.
The above content is compiled by CoffeeHunters, a coffee news website.


