







Introduction:Mastering latte art isn’t just about repetitive practice — it’s about understanding the principles behind it. This article breaks down everything from the formation of espresso crema and milk foam, to pouring techniques and common mistakes, helping beginners systematically grasp the key points of latte art. It also provides a practical, step-by-step training path — starting with fresh milk, then water, and finally real-world practice — so you can avoid common pitfalls and improve quickly.
If you’re starting from scratch with latte art, relying solely on repetition isn’t enough. The key lies in identifying the reason behind each failure. This article systematically analyzes common latte art issues for beginners, covering espresso and crema characteristics, milk frothing principles, pouring techniques, and pattern formation, while offering effective improvement methods. Real-life examples are also included to illustrate how crema and milk foam affect the final design. Finally, it guides you through a complete training process using fresh milk, water, and then milk again — helping you improve more efficiently.
For many baristas, latte art training is an essential part of onboarding. The constant “hissing” sound of the steam wand is the most common background noise during the learning process. Some students pick up the skills in just a few days, quickly mastering various patterns; but others grow more and more confused the more they practice. What was once a simple heart shape becomes hard to control, and eventually even basic shapes become difficult. Faced with frustration, they lose confidence and may even want to give up. In reality, identifying the root cause of the issue is the first step toward breaking through the plateau.
For beginners, the primary task in learning latte art is understanding the principle behind each step. Only then can you make gradual adjustments and eventually become proficient.
To create beautiful patterns, a high-quality espresso is the foundation. It’s recommended to choose coffee with fine, golden crema that has good fluidity — such crema creates a strong contrast with the milk foam. For example, using a blend with Brazilian and Mandheling flavor profiles, or a custom blend with a small amount of Robusta to enhance the texture and richness of the crema, can lead to better latte art results. The finer and more uniform the crema, the more distinct the layers in the final pattern when it blends with the milk foam.
The latte art process can be divided into two main stages: pouring (fusion) and patterning. During the fusion stage, the spout of the pitcher should be held slightly higher, allowing the milk to enter the espresso with more force to create a smooth surface without white spots. When moving into the patterning stage, the spout should be lowered so the milk flows gently onto the surface, using different pouring techniques to create various designs. The difference in operation between these two stages is one of the key factors affecting the clarity of the final pattern.

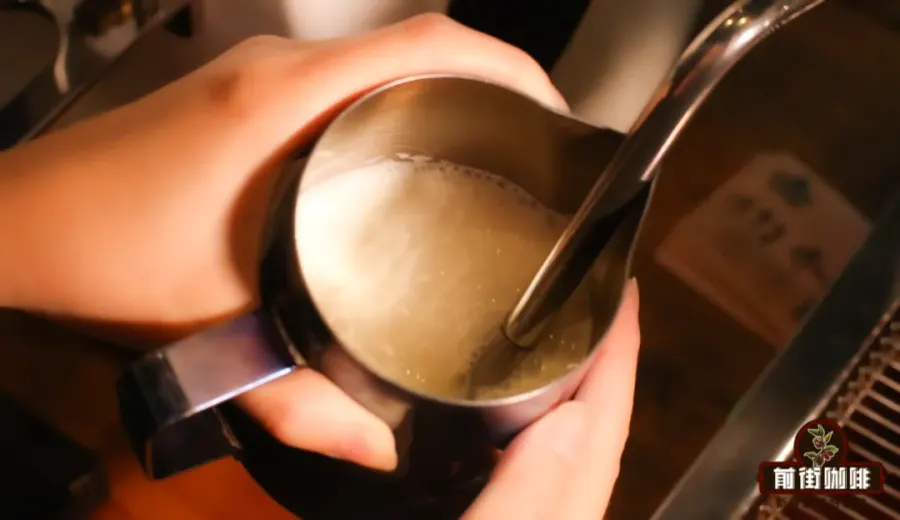
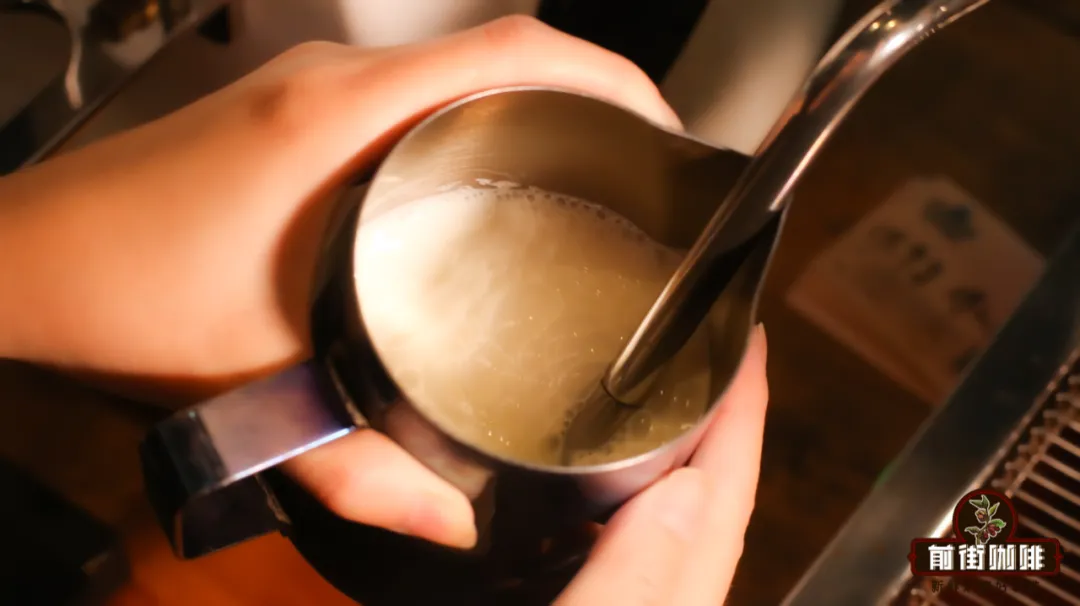
However, many people practicing latte art often feel frustrated when their patterns are unclear, have large white patches, or simply don’t hold together, blaming it on poor posture, a cup that’s too deep, or overly stiff crema. But the root issue is often that the milk foam itself isn’t fine enough. To create dense, appropriately thick foam, you need to master two key phases: aeration and texturizing with heat.
The high-temperature steam emitted by the steam wand is used to heat the milk. When the steam tip is partially exposed to air, air is forced into the milk — this is when you’ll hear the distinct “hissing” sound, indicating aeration. Generally, around 2–3 seconds of aeration is needed for a latte. After aeration, continuous spinning creates a whirlpool to evenly distribute the bubbles and break them into fine foam. This step not only affects the texture of the milk foam, but also directly influences how smoothly it will integrate with the espresso.
The quality of the fusion determines both the visual foundation and taste of the latte art. Successful fusion creates a uniformly golden surface with no obvious layers or white spots, and a smooth, velvety mouthfeel. Poor fusion not only looks unappealing but can also result in inconsistent flavors — one sip bitter, the next weak — or visible foam separation. It’s recommended to hold the cup at a 45-degree angle with your left hand, while your right hand holds the pitcher, keeping the spout 5–8 cm above the liquid surface. Coordinate both hands in a circular motion to ensure thorough mixing of milk and espresso. Be sure to avoid pouring too close to the rim to maintain overall aesthetics.
Proper posture is another crucial factor influencing the success of latte art. Taking the basic heart shape as an example: once the cup is about 70% full after fusion, you can begin lowering the pitcher to prepare for patterning. The key is to adjust the cup angle as you pour, guiding the milk to flow naturally across the surface and form clear lines. No matter what pattern you aim to create, remember: to display the milk on the surface, you must adjust the cup angle while pouring.

Many beginners try challenging patterns too early, but actually observing professional baristas’ overall movements — including how they hold the pitcher, angle the pour, fuse the milk, execute the pattern, and finish — can help you identify your own issues. By repeatedly watching, imitating, and practicing, and having someone observe your posture, you can accelerate your learning curve. After all, latte art is a skill heavily reliant on muscle memory. Quick movements are hard to fully explain in words — only through continuous practice can they become second nature.
If you’re new to latte art, it’s best to start with simple exercises: use fresh milk to get familiar with steaming and frothing, and to observe how milk foam creates white patterns when mixed with coffee. Next, switch to water to focus on controlling aeration time, rotation speed, and temperature, further refining your hand feel and technique. Once you’ve mastered the details, return to milk for real practice — starting with basic patterns like hearts and tulips — gradually applying what you've learned to further improve your overall performance.
The above content is compiled by CoffeeHunters, a coffee news website.


