







Introduction:Experiencing issues like overly coarse, thick, or layered milk foam when steaming? This article provides an in-depth look at four of the most common types of milk foam problems — including thin foam, coarse foam, overly thick foam, and separation of milk and foam — analyzing their root causes and practical impacts in detail. It also offers useful adjustments and remedies to help you effectively improve the texture of your milk foam and elevate both your latte art and flavor performance.
When making milk-based coffee drinks, the texture of the milk foam plays a crucial role in the final taste and appearance of the beverage. However, many coffee enthusiasts often encounter various issues while steaming milk, such as foam that is too coarse, too thick, too thin, or visibly layered. This article will take an in-depth look at four of the most common milk foam issues — thin foam, coarse foam, overly thick foam, and milk-foam separation — exploring their causes, effects on the drink, and effective ways to correct and adjust. This will help you confidently handle these common “mistake” situations.
Let’s start with the issue of overly thin milk foam. When the foam is too thin, its fluidity becomes too high, making it difficult to control the flow of the foam during latte art and requiring higher technical skill. While this condition has relatively little impact on the overall flavor and mouthfeel of milk coffee, if you’re aiming for more refined latte art, it’s still recommended to appropriately adjust the steam pressure and steaming time to achieve a more ideal foam thickness. Usually, if there are only a few large bubbles on the surface of the foam, the impact on the drink is minimal, and special remediation may not be necessary.
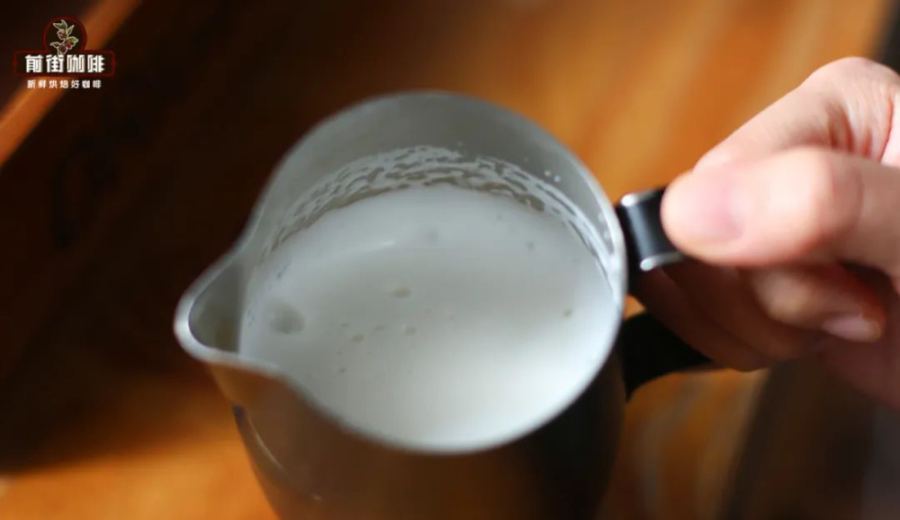
The second common issue is coarse milk foam, where the foam surface lacks fineness and visible large bubbles can be seen with the naked eye. This can make the texture of a latte feel rough and less smooth to drink. Depending on the degree of coarseness, it can be handled in two different ways.The firstis when the overall surface of the foam is still relatively smooth and glossy, with only a few prominent large bubbles scattered here and there. In this case, gently shaking the pitcher in one direction can help eliminate these jarring bubbles,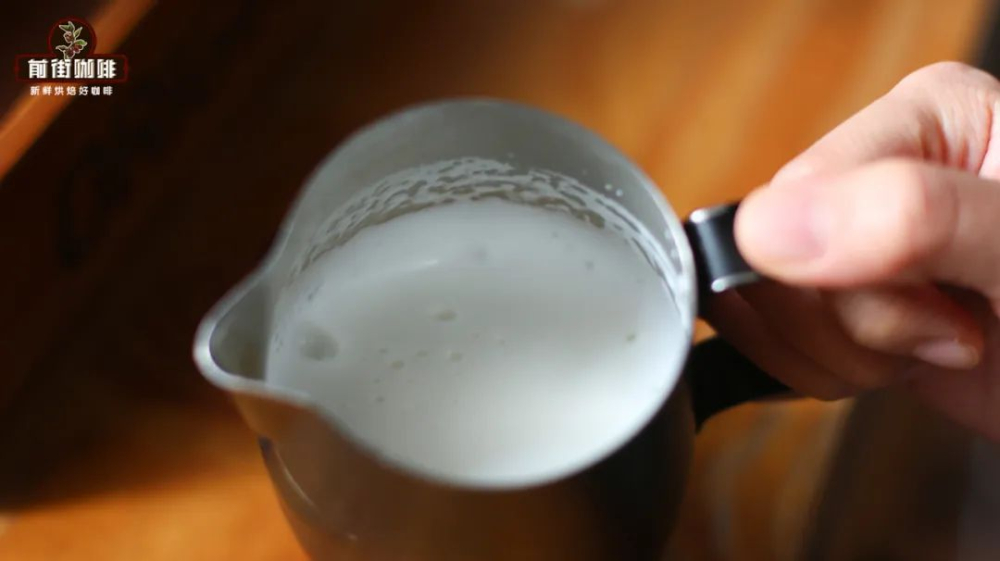 usually improving the surface texture effectively.The secondis when the foam surface has a lot of coarse bubbles. In this situation, it is recommended to use the “pitcher tap” technique: gently tap the bottom of the milk pitcher on the table two to three times. The vibration helps break the unstable large bubbles. This practice is quite common among professional baristas, and if you’ve ever heard a light tapping sound after the steam wand is turned off in a café, it’s very likely the barista was performing a pitcher tap.
The third scenario is overly thick milk foam. When the foam layer is too dense, its fluidity significantly decreases, not only making delicate latte art difficult but also affecting the even blending of the foam and the coffee liquid. Lattes made under these conditions often have unbalanced flavors, and because the foam mixes with the crema (coffee oils), it can easily produce a heavier bitterness, impacting the overall flavor profile. If you find the foam is too thick, it’s recommended to use the “foam scraping” method — carefully scooping off the excess foam layer from the surface with a spoon to effectively reduce the overall thickness and allow better integration between the foam and the coffee liquid.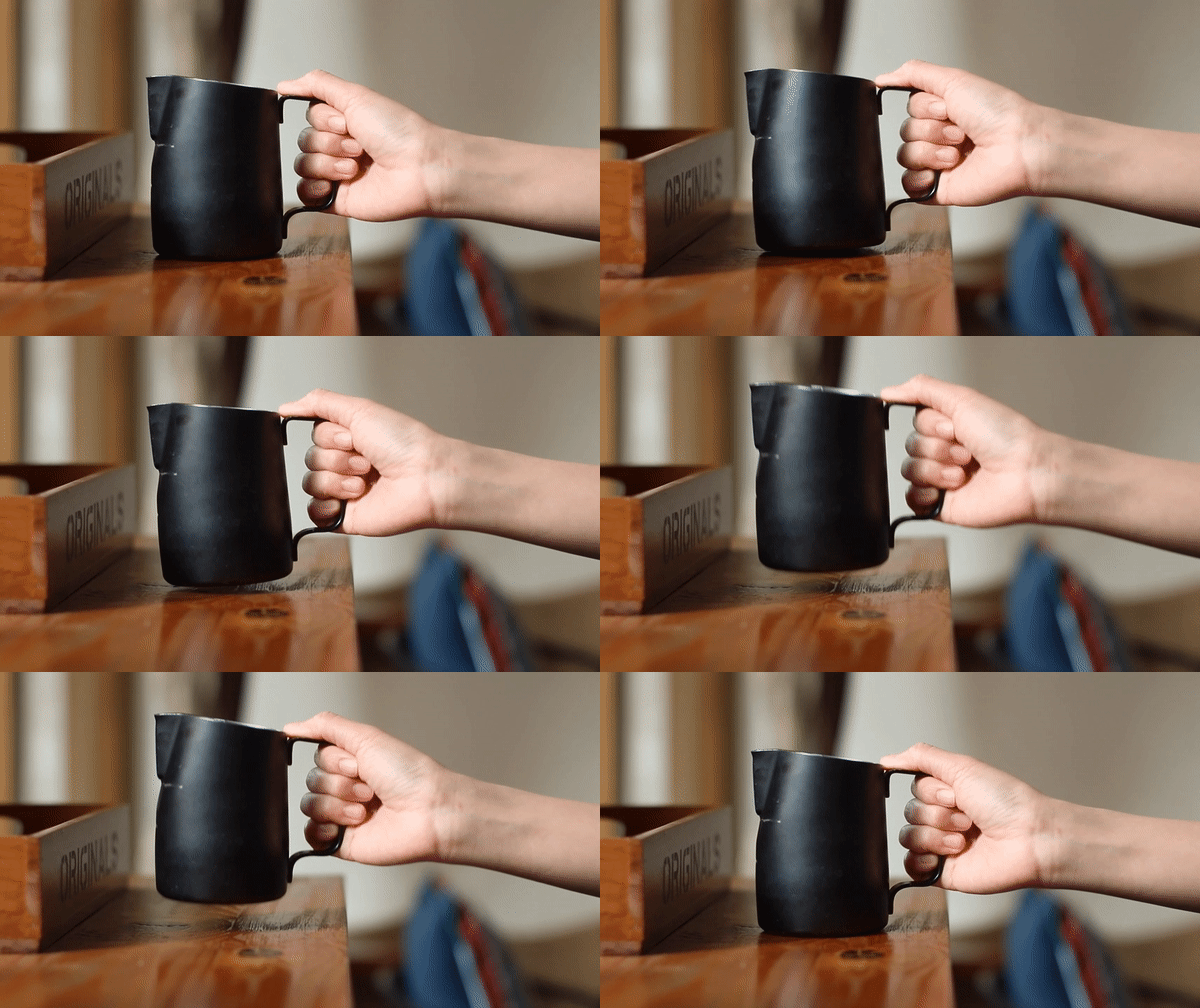
The last common issue is milk and foam separation. This often happens after the steaming process when the milk and foam, which were initially well-mixed, gradually separate over time. The heavier milk sinks to the bottom, while the lighter foam floats to the top. This separation usually becomes gradually more obvious about 30 seconds after steaming. When milk and foam are separated, the fluidity of the foam drops significantly, and during latte art, you might end up pouring only milk or suddenly pouring out a whole chunk of foam, severely affecting the outcome. To solve this, you can use the “pitcher pour” method: prepare two pitchers, and pour all the milk and foam from Pitcher A into Pitcher B. This remixing allows the milk and foam to form a blended layer again. If the fluidity is still not ideal, you can repeat the pitcher pour process once more. However, it’s important to note that each pour causes the foam temperature to drop, so it’s best to limit this to two times. Otherwise, not only will the temperature be affected, but the foam condition may also deteriorate irreversibly.
The above content is compiled by CoffeeHunters, a coffee news website.


