








Introduction:When does the milk foam on a latte start to dissipate? Why do some lattes maintain their texture for over ten minutes without forming large bubbles, while others develop coarse bubbles in just two minutes? Understanding the texture of the milk foam itself, the condition of the espresso crema, and the technique of integrating the two is key to mastering a delicate latte. This article delves into the three major factors that affect the stability of milk foam and shares practical tips on cup selection and operational details to help you enhance the flavor and appearance of your latte from the ground up.
After a latte is made, the milk foam on the surface begins to slowly dissipate. However, the time that the foam lasts can vary greatly between different cafés and baristas—some lattes show obvious large bubbles within two minutes, while others remain stable for over ten minutes. The stability of the foam actually depends on three key elements: the quality of the milk foam itself, the condition of the espresso crema, and the degree of integration between the foam and the coffee. In addition, details such as the preheating level of the cup and whether the inner wall is clean can subtly influence the rate at which the foam collapses.
This gradual disappearance of milk foam is what we call “foam collapse.” In fact, the moment the foam is whipped, it has already entered a slow process of separation. When the milk foam mixes with the crema in the espresso, it forms a temporarily stable interface, but over time, this structure will still gradually break down.

To make the milk foam in a latte last longer without dispersing, you first need to focus on the texture of the foam. Ideally, the foam should be fine, dense, and have good fluidity, rather than being thick and sticky. It’s important to note that the thicker and denser the foam is, the more likely it is to accelerate foam collapse. For example, if you order a latte and a cappuccino at the same time, the cappuccino often shows coarser bubbles earlier due to its thicker foam, because thick foam doesn’t blend as evenly with the crema, resulting in a looser structure.
In addition, some everyday operational details can also affect the stability of the foam. For instance, many people tap the milk pitcher after foaming to “degas” or remove large bubbles. While this action helps improve surface smoothness, it may also accelerate the separation between the foam and the milk itself, further promoting the foam collapse process.
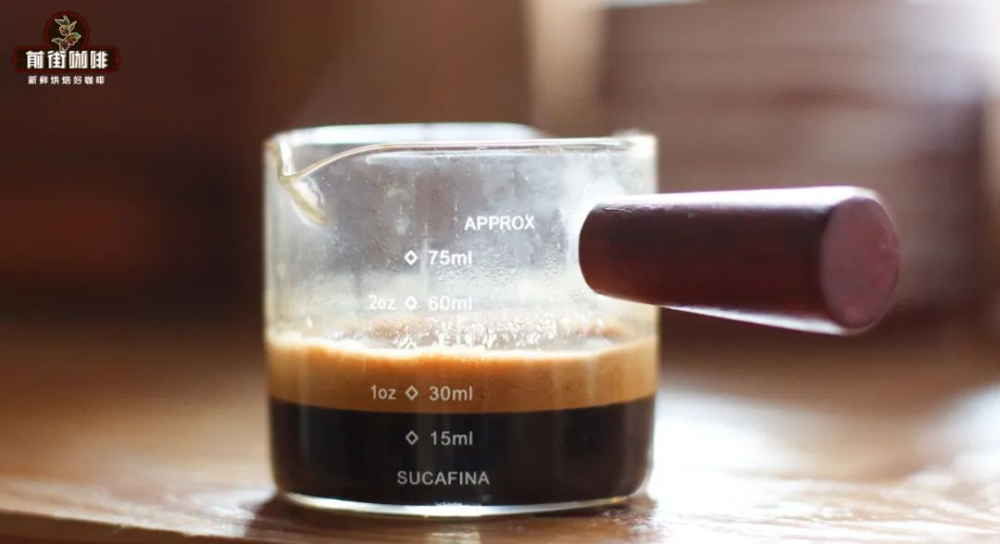
The crema of the espresso, which we commonly refer to as crema, also plays a critical role in the stability of the milk foam. The ideal crema should be fine, glossy, fluid, and look uniform without layering, with a thickness roughly equivalent to one-third of the entire shot of espresso.

Many professional shops will let the espresso beans they use degas for 10 to 14 days, allowing the beans to release most of their carbon dioxide before extraction. This results in a smoother, finer crema with better stability. On the other hand, using beans that are too fresh may produce crema that appears thick and dense right after extraction, but because it contains too much undischarged carbon dioxide, these gases can quickly break through the crema structure, causing it to collapse noticeably after about twenty seconds, leading to obvious layering or disappearance.
Even if you have high-quality milk foam and beautiful crema, the latte won’t be stable and long-lasting without proper integration between the two. Observing the “golden circle”—the color transition zone where the foam meets the coffee—can help you initially assess whether the integration is even. If there is a noticeable difference in shade in this area, it indicates insufficient blending, and these spots are often the first to start collapsing. Additionally, the clarity of the latte art pattern’s outline can also reflect details of the integration.
Beyond the three main factors mentioned above, there are some less visible but equally important details. For example, using a preheated cup to serve the latte can effectively slow down the dissipation of the foam, significantly improving stability compared to using a cold cup. Also, if there are water stains left on the inner wall of the cup, especially around the edges, they can cause the foam to break prematurely upon contact, so it’s recommended to ensure the inside of the cup is dry and free of water before pouring the coffee.
The above content is compiled by CoffeeHunters, a coffee news website.


