







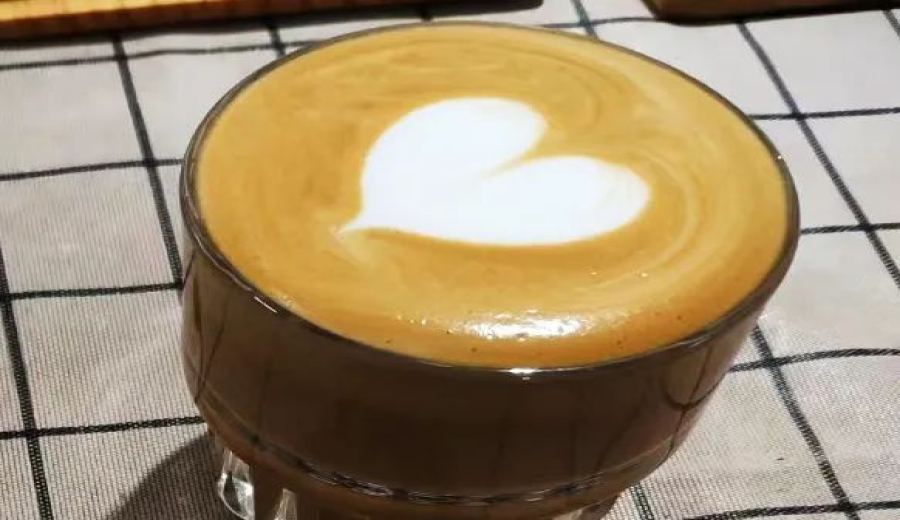
Introduction:When learning latte art, the large heart design is the most beginner-friendly starting point and also the foundation for more advanced complex patterns. This article provides a detailed breakdown of milk foam thickness control, pour ratio settings, drawing position selection, and finishing techniques, guiding you step-by-step to master the essentials of creating a large heart. It also includes illustrated examples of common mistakes and their causes to help you quickly identify issues and improve. Whether you’re just starting out or stuck on the finishing stage, you’ll find practical guidance here.
As an entry point into the world of latte art, the large heart pattern is arguably the best choice for beginners. Not only is the graphic simple and symmetrical, but it also serves as the foundation for many advanced designs. This guide will fully dissect each step of creating a large heart—covering milk foam texture standards, pour volume adjustments, precise pour point selection, and key details of the finishing motion. Additionally, it includes common failure examples with analyses to help you quickly spot problems and effectively boost your practice efficiency.
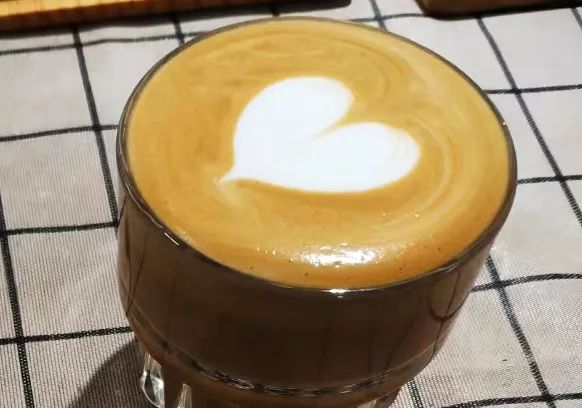
Let’s start with milk foam thickness. For the large heart, the foam doesn’t need to be overly fine, but it must have good fluidity. Generally, frothing the milk to about 6 to 8 tenths full in the cup is acceptable—even slightly thicker foam can help create a more three-dimensional pattern. Some latte artists who prefer etched styles might initially struggle with the smooth curves of the large heart. It’s recommended to first get familiar with the flow characteristics of the milk foam before practicing.

Pour volume control is one of the keys to the success of the large heart. The amount of poured milk directly affects the “convection” effect when the pattern emerges—the stronger the convection, the more pronounced the graphic tension. For example, when making a “pressed tulip,” which requires stronger convection, the pour volume usually only needs to reach about 4 tenths full. In contrast, patterns like “wheat ears,” which require less convection, often need a pour volume of 8 to 9 tenths full. For the large heart, it’s recommended to pour to around 7 tenths full. Too little will make the heart overly large and disproportionate, while too much will make it too small, affecting the overall aesthetics.
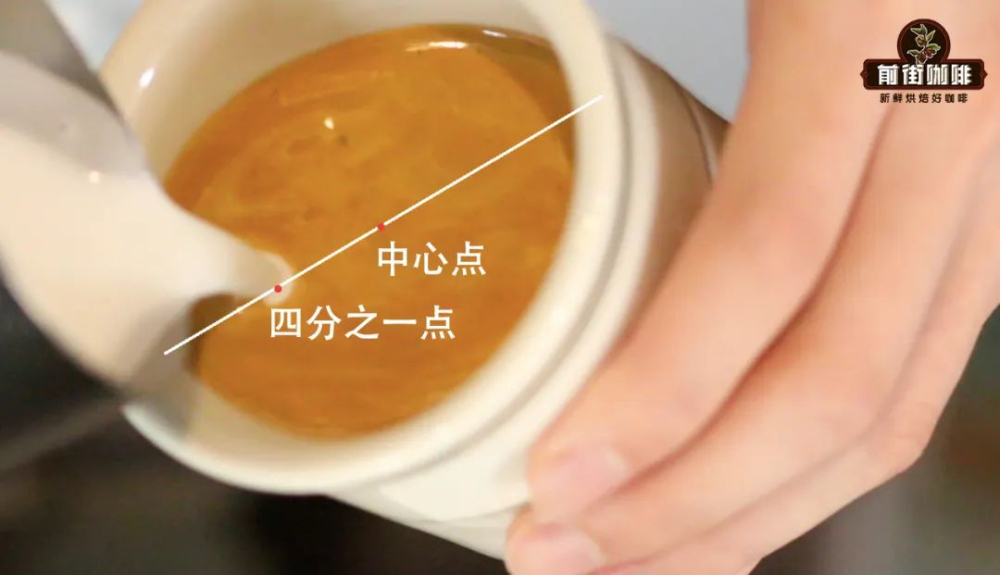
The selection of the pour point is equally crucial. Since the heart pattern emphasizes symmetry, the pouring point should stay as close as possible to the central axis of the cup. If it deviates from the axis, the entire graphic is likely to become skewed. In practice, it’s advised to position the spout of the pitcher at about one-quarter of the way from the side of the cup closest to the pitcher. This ensures that the heart lands at the visual center, presenting a balanced and symmetrical effect.
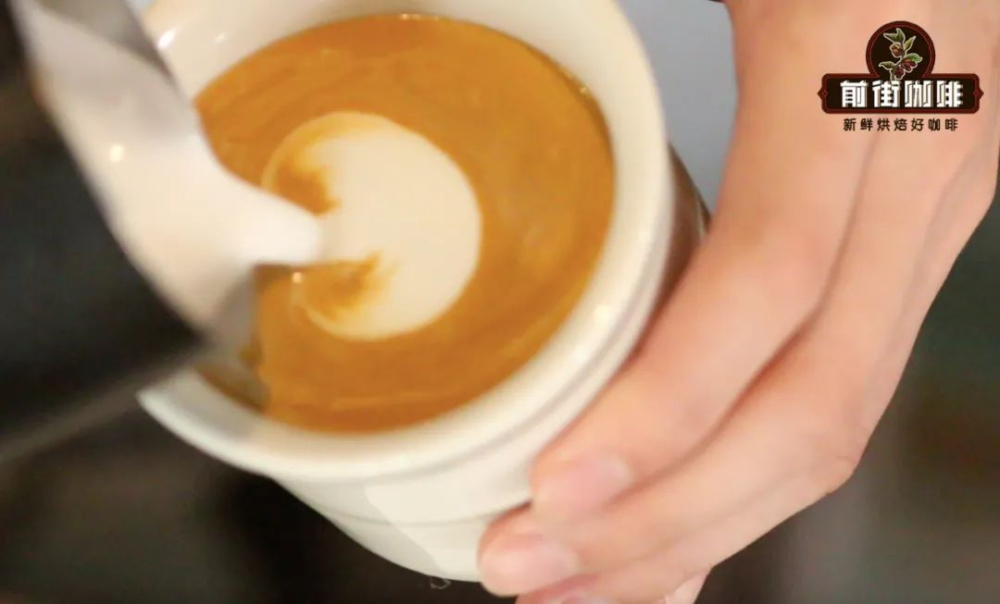
When entering the pouring stage, it’s recommended to maintain a relatively high milk flow rate. This helps enhance convection, making the heart pattern fuller and more three-dimensional. While pouring, gradually shift the pouring point from the initial one-quarter position toward the center. At the same time, keep your left hand steady in bringing the cup back, while slowly raising the spout of the pitcher with your right hand to prepare for the finishing motion. This process requires coordination between both hands. Common mistakes among beginners include inconsistent flow rates or uneven movement speeds. It’s advisable to practice more to develop a better feel.

The finishing motion is arguably the most error-prone part of the entire latte art process. When the milk level in the cup approaches 9 tenths full, it’s time to begin preparing for the finish. At this point, you should immediately reduce the milk flow rate while lifting the pitcher’s spout. Slowly move along the central axis down to the base of the heart, then decisively cut off the flow to form a clean, short tail. Many beginners hesitate at this step, resulting in an overly long milk stream that leaves an unsightly long tail behind the heart—or even spills onto the rim of the cup, compromising the overall visual appeal.
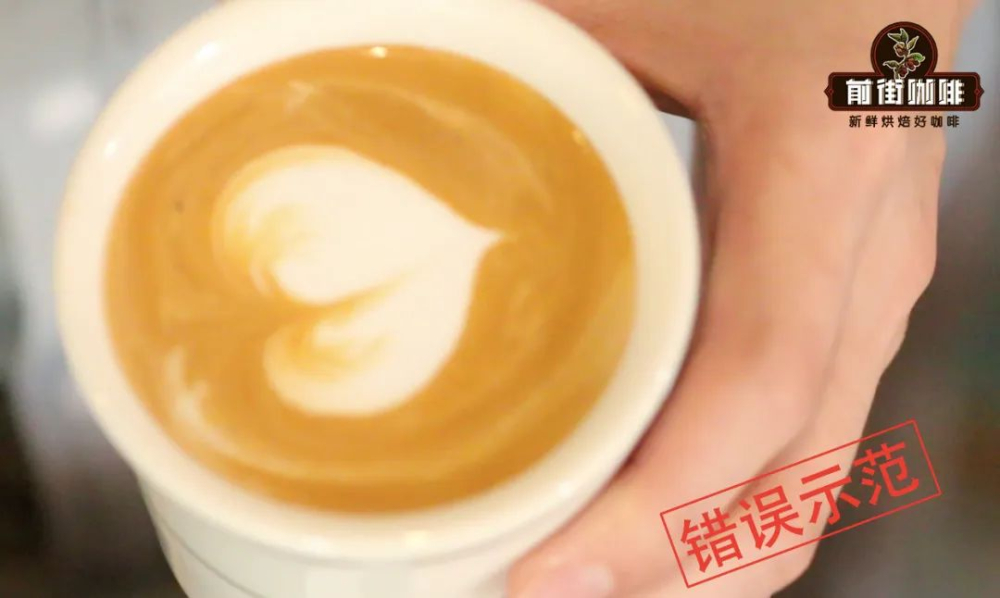
Below are several common failure cases in creating a large heart latte art, along with explanations of their causes to help you quickly pinpoint issues in your practice:
[Case 1] Uneven heart lobes: Usually caused by an uneven cup placement or a tilted pitcher angle, leading to uneven milk flow during pouring.

[Case 2] Distorted heart shape: A common reason is the pitcher spout not moving forward during convection, staying fixed at the initial one-quarter position, preventing the pattern from unfolding symmetrically.
[Case 3] Flat and unfulfilled heart: Often due to excessively lifting the pitcher during convection, causing the milk stream to fail to concentrate effectively and affecting the pattern’s three-dimensionality.
[Case 4] Insufficient white foam behind the heart and overly long tail: This may result from insufficient milk foam thickness or inadequate tilting of the pitcher during pouring to generate enough milk flow. Failing to decisively cut off the flow during the finish can also lead to excess milk stretching into a long tail.
[Case 5] Overall pattern positioned too low: Caused by an incorrect initial pour point setting. If the pouring point is at the exact center of the cup instead of slightly offset to one side, the heart tends to sit lower overall, affecting visual balance.



The above content is compiled by CoffeeHunters, a coffee news website.


