







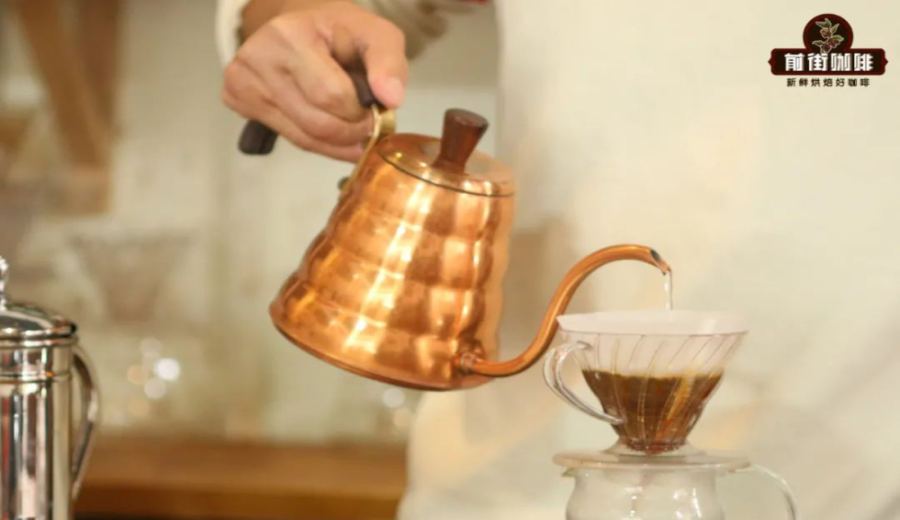
Introduction:Mastering the pulse pouring technique in pour over coffee is key to improving extraction consistency and flavor complexity. This article delves into the timing, water volume, and time points of the three-pour method, teaching you how to control water level height and flow rate to avoid common issues like channeling and uneven bed distribution. Whether you're a beginner or an advanced brewer, you'll gain practical brewing guidance to extract more balanced and expressive coffee.
The segmented pouring technique in pour over coffee is an important method many enthusiasts use to achieve precise extraction. However, knowing when to pause pouring and when to continue is often the most challenging part for beginners. Taking the classic three-pour method as an example, this article breaks down the timing, water level control, and time allocation of each stage in detail, helping you brew more consistently balanced pour over coffee.
First, the core of segmented pouring lies in controlling the bed height at each stage, ensuring that when you pour again, the water level can return to a similar height as the previous stage. This helps maintain stable extraction pressure and uniformity. If you wait until all the water in the filter has completely dripped through before starting the next pour, not only does it interrupt the continuity of extraction, but it may also cause fine particles to settle or channeling to occur, affecting the final flavor profile.
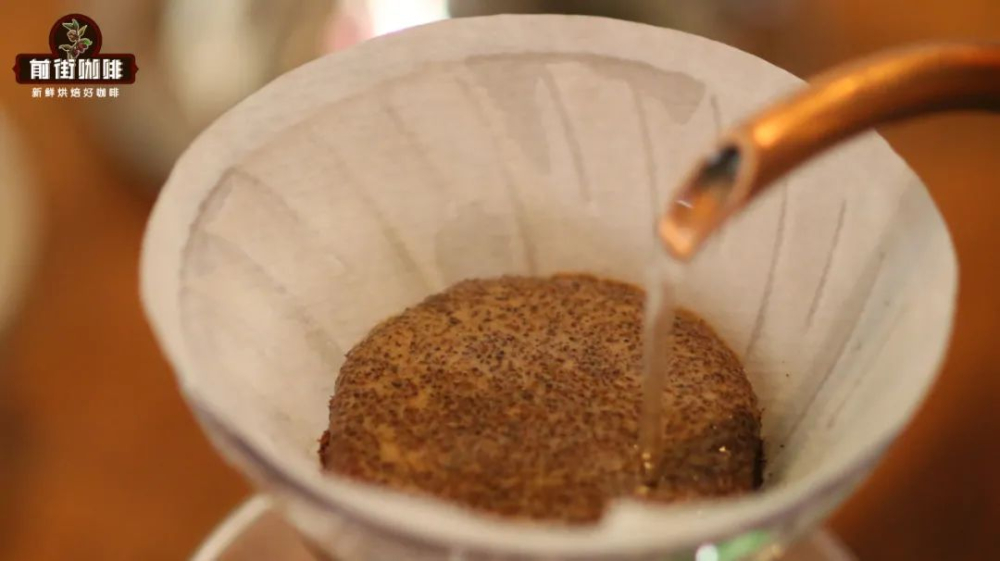
Taking 15 grams of coffee grounds as an example, the first stage is the bloom phase, where about 30 ml of water is poured and allowed to sit for approximately 30 seconds. This period primarily serves to hydrate the coffee grounds, release CO₂, and prepare them for subsequent extraction. Immediately afterward, at the 30-second mark, you begin the second pour — a crucial timing point.
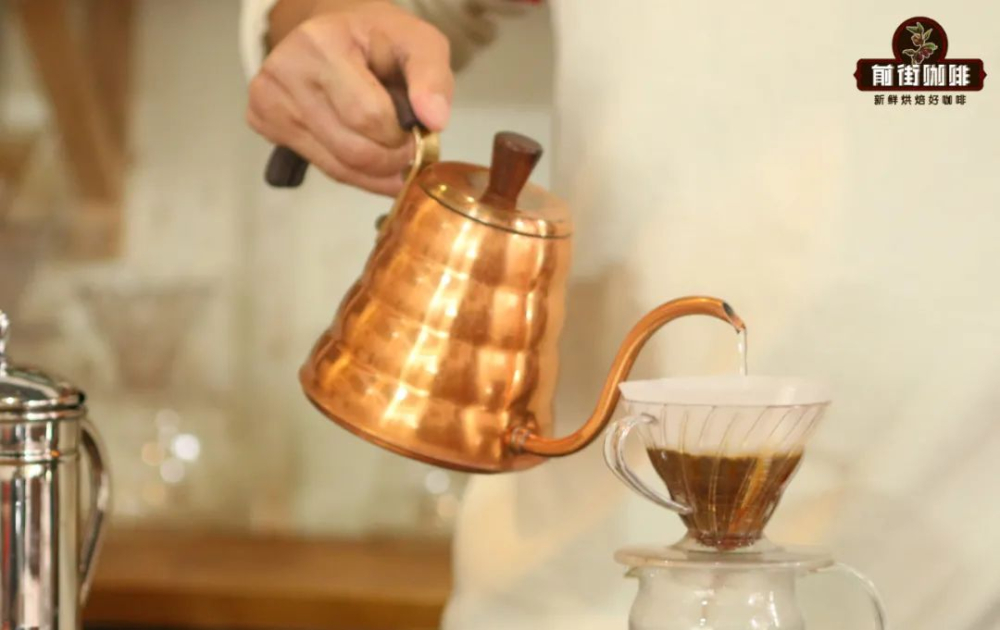
For the second pour, it is recommended to keep the water level around half the height of the shorter ribs of the filter. For commonly used V60 #01 filters, this height helps stabilize the subsequent water flow distribution. A reference water volume is about 120 ml, with the whole process ideally completed between 55 seconds and 1 minute. The key in this stage is to control the flow rate — avoid going too fast, which may overly agitate the coffee bed, or too slow, which could lead to under-extraction.
By the third pour, you need to observe the natural speed at which the water level drops, as differences in coffee bean origin and grind size will affect this. It’s recommended to wait until the water level falls to the junction between the coffee bed and the filter wall — roughly 0.5 cm below the shorter ribs, or halfway up the filter wall height — before beginning the final pour. At this point, pour about 90 ml of water, making small circular movements to avoid large sweeps that might disrupt the filter wall, causing localized over-extraction or channeling.
The suggested starting time for the third pour is between 1 minute 10 seconds and 1 minute 15 seconds, with the entire third stage finishing around 1 minute 30 seconds to 1 minute 35 seconds. The total dripping time should be approximately 2 minutes to 2 minutes 10 seconds. This way, both overall extraction time and flavor release can achieve a more ideal balance.
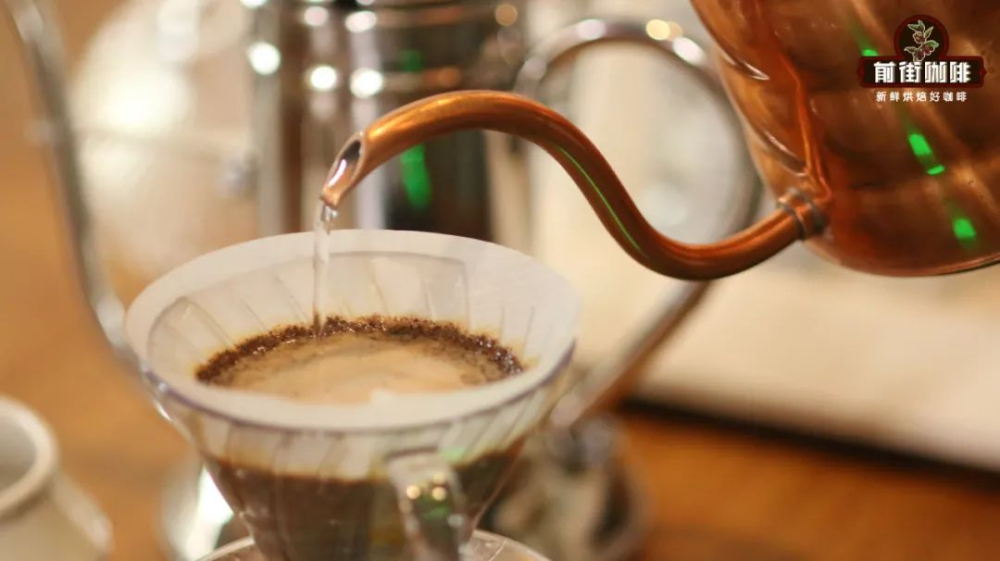
If you wish to try the four-pour method, the basic logic remains the same as the three-pour approach. You still need to pay attention to maintaining water level height and judging the right moments to pause pouring. Each pour should aim to return the water level to that of the previous stage, avoiding large disparities that could lead to uneven extraction or over-concentration in certain areas.
It’s especially important to note that a common mistake among beginners is waiting for all the water in the filter to drip out before starting the next pour. This actually interrupts the rhythm of the overall extraction and may also reduce flow efficiency and extraction quality due to a drop in coffee bed temperature or fine particle sedimentation. Additionally, if the coffee bed is too high during later pours, there may not be enough coffee grounds near the edge of the filter to support the water flow, causing it to pass too quickly along the ribs and affecting uniformity.
Conversely, if the water level is too low in the later stages, the upper parts of the coffee wall may not receive adequate water contact, resulting in incomplete flavor extraction. Therefore, maintaining consistent water levels throughout each stage is one of the keys to ensuring even extraction and balanced flavor.
Of course, some advanced techniques such as the “4:6 brewing method” deliberately wait for the water to finish dripping before pouring again, or use stirring methods to gradually build up the coffee wall. These are variations developed based on different coffee bean characteristics or personal preferences. However, for those just starting with pour over, mastering the foundational three-pour logic and stabilizing your timing and water level control is the best foundation for exploring these variations further.
Just as with learning any skill — “you must learn to walk before you can run” — the art of pour over coffee also begins with these fundamentals. By gradually building experience and feel, you’ll be able to brew delicious coffee in your own unique style.
The above content is compiled by CoffeeHunters, a coffee news website.


