







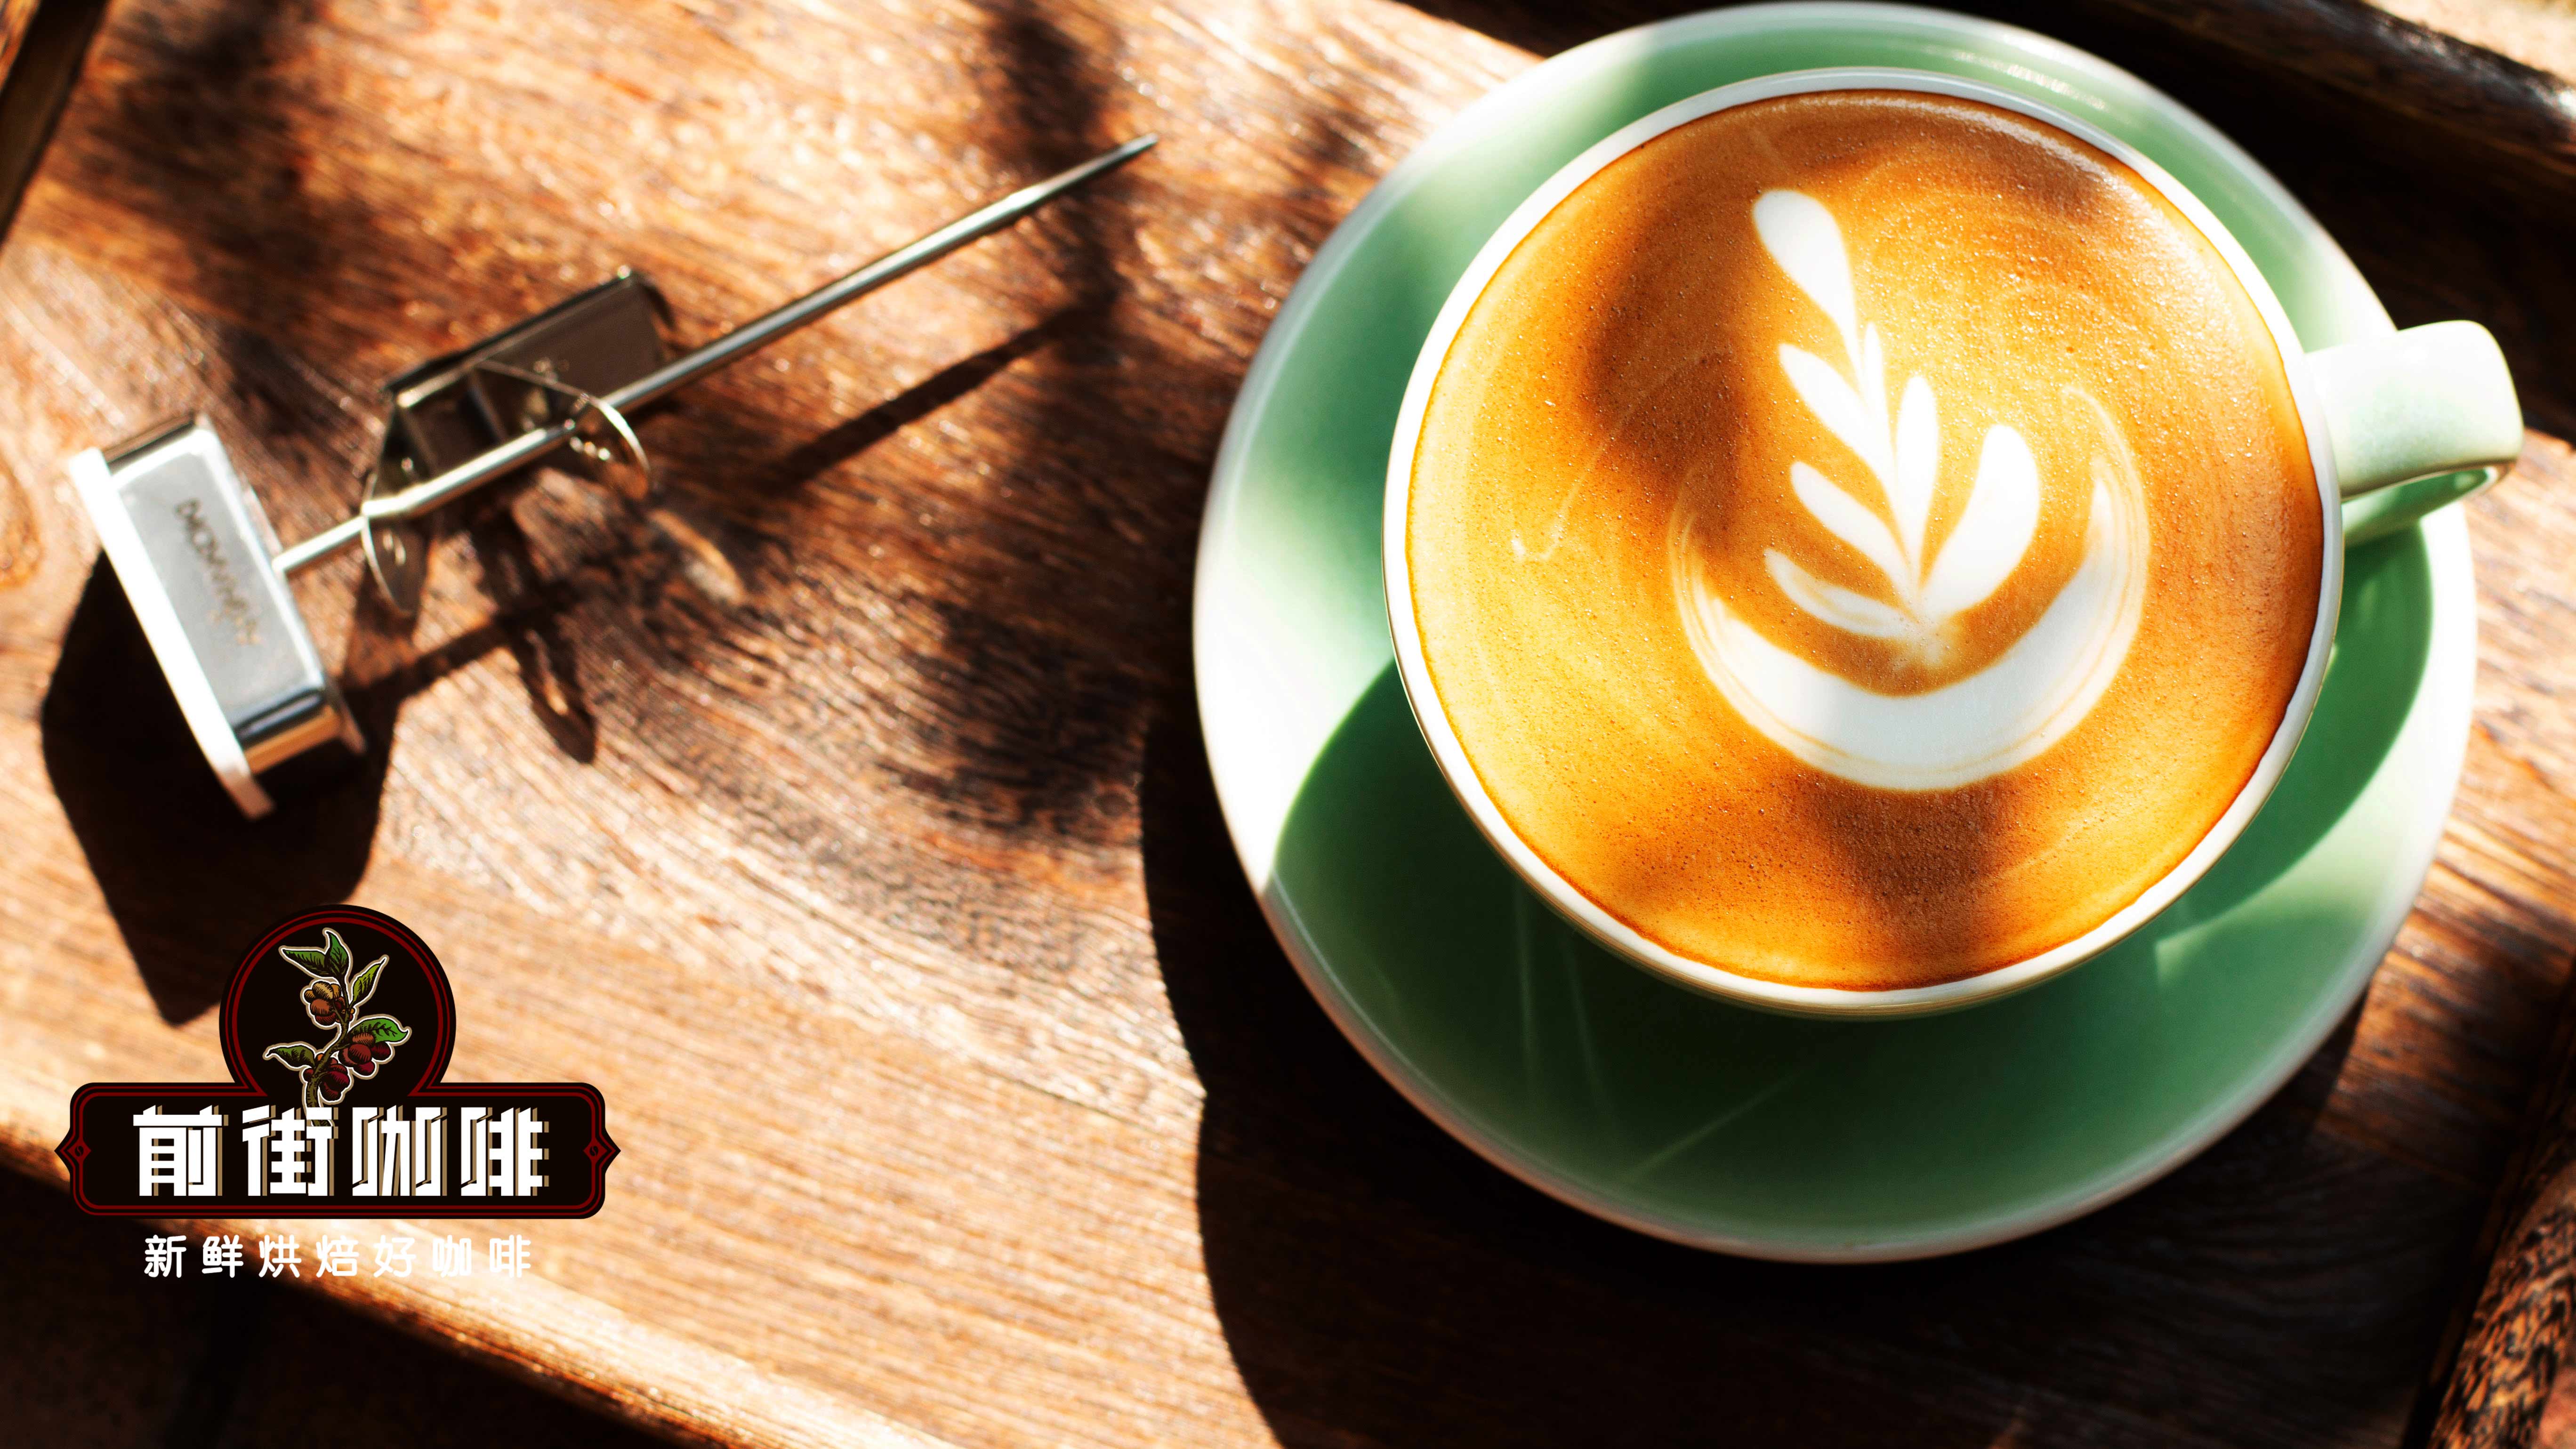
Introduction:To pour a beautiful heart-shaped latte art pattern, it’s not just about having flexible wrists — what’s more crucial is the correct pitcher grip, stable pouring technique, and high-quality coffee crema. This article starts with the basic principles of latte art, gradually explaining two practical pitcher-holding methods, and walks you through the key steps from milk foam integration to creating the heart shape, helping you build steady hand control and muscle memory.
When learning to make heart-shaped latte art, many people think that simply shaking the milk pitcher more will do the trick. But in fact, to pour clear and beautiful patterns, the key lies in the correct pitcher grip, even integration, and the quality of the espresso’s crema. This article will begin with the fundamentals of latte art, introduce you to two practical pitcher-holding techniques, and break down the steps of integration and patterning in detail, helping you develop stable operational skills.
Many beginner baristas often encounter this frustration: “Why can others easily shake the pitcher and pour beautifully patterned hearts, while no matter how much I practice, I just end up with a murky mess? Am I just not good with my hands?” In reality, the issue likely isn’t your hands — it’s probably the pitcher grip that’s off, preventing the milk foam from being released and controlled smoothly.

To pour a beautiful latte art design, you first need an espresso with rich crema and a fine texture. High-quality crema combined with well-frothed milk creates a vivid contrast and smooth patterns. It’s recommended to choose coffee beans with a delicate taste and stable crema, such as blends combining Brazilian and Mandheling profiles, or those with nutty aromas enhanced slightly with Robusta to boost crema layers — all of which lay a solid foundation for latte art.
The principle of latte art is actually based on differences in density. The crema on the surface of the espresso and the tiny bubbles in the steamed milk have lower density and float to the top. As the milk is poured slowly into the coffee, the contrast in color and texture naturally forms patterns during the integration process. Simply put, it’s about using the flow and stacking of milk foam and coffee liquid to create visual floral designs.

Latte art can be divided into two main stages: first is the “integration,” where the focus is on evenly blending the milk foam and coffee liquid to create a stable base; then comes the “patterning,” where by adjusting the pitcher height and angle, the milk is poured onto the coffee surface at different speeds and angles to form various designs, such as hearts, leaves, or tulips.
For beginners, it’s recommended to first choose a pitcher grip that suits you and practice consistently for at least 20 days or more to develop stable muscle memory. Once a habit is formed, wrist control becomes more flexible, allowing more precise handling of flow rate and angle, thus naturally improving the stability of your latte art and reducing hand fatigue or unstable shaking.

There are several ways to hold the pitcher, and different grips suit practitioners at different stages and varying pattern demands. The key is to hold the pitcher steadily while keeping your wrist flexible — never grip it so tightly that your wrist can’t turn naturally. Below are two common and practical pitcher-holding methods:
The first is the “fist grip,” which is suitable for those with less wrist strength or beginners just starting out with latte art, especially recommended for creating basic patterns like hearts, tulips, and leaves. This method involves wrapping all five fingers fully around the pitcher handle, but be careful not to grip too tightly, as it may limit wrist flexibility; nor too loosely, or the pitcher may wobble, causing unstable milk release and messy patterns.
The second is the “thumb and index finger grip,” suitable for those with stronger wrists and some foundational skills, particularly for handling complex patterns with distinct lines or combinations of multiple designs. This grip involves pinching the top sides of the pitcher handle with the thumb and index finger, focusing the force on these two fingers, while the middle, ring, and pinky fingers assist in stabilizing the rest of the handle. This method allows more precise control of milk flow rate and release, often used for etched designs or composite patterns.
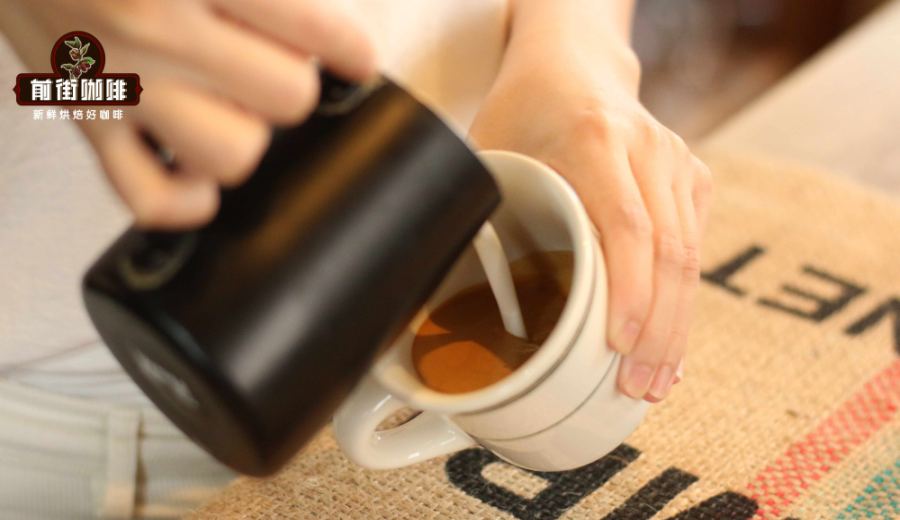
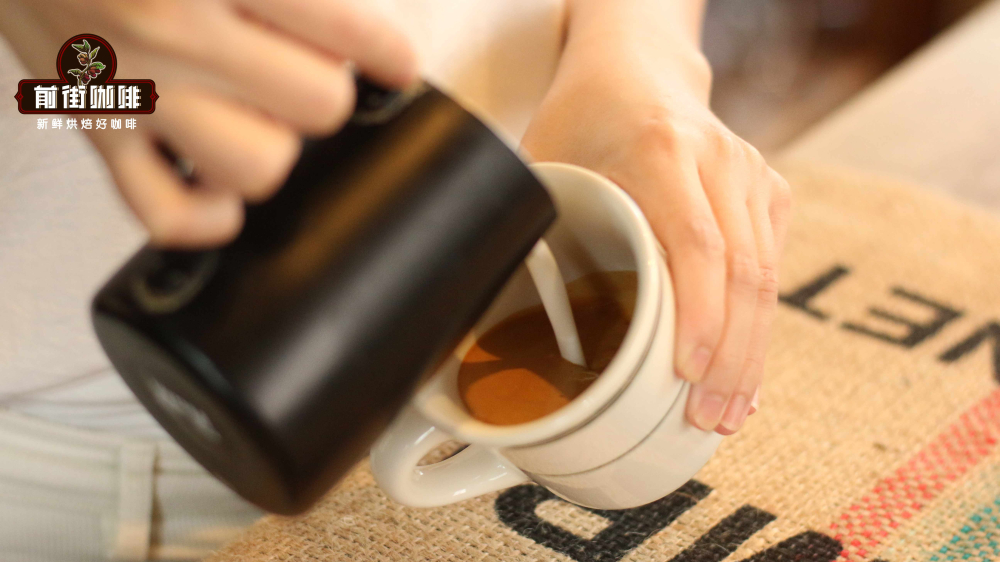
Some people find that even if their milk foam is well-frothed and their pitcher grip looks correct, they still can’t pour patterns — this is usually because they overlook the importance of integration. Integration isn’t just pouring milk into coffee; it’s about thoroughly mixing the two to establish a stable foundation for pattern formation. During this step, it’s advised to keep the pitcher spout about 5 to 8 centimeters above the coffee surface, tilt the cup slightly, and pour the milk slowly at a low flow rate, rotating either just the pitcher or the cup — not both simultaneously — to avoid disrupting the milk flow.
When the cup is about seven-eighths full, you can start attempting to pour patterns. But before officially moving into the pattern stage, it’s recommended to pause briefly — no more than three seconds — to prevent the milk foam from separating or losing fluidity. Then, reposition the cup upright and use changes in angle to guide the milk flow, allowing you to begin drawing hearts or other designs.
The above content is compiled by CoffeeHunters, a coffee news website.


