








Introduction:When your latte art techniques advance but the overall design still isn’t perfect? This article takes an in-depth look at three of the most common latte art issues: trailing long lines during the finish, incorrect drink volume (too much or too little), and asymmetrical patterns. From operational details, pitcher control to pouring fusion, we provide practical tips for improvement to help you master latte art details accurately, enhancing both consistency and visual appeal.
If you’ve already managed to create a basic coffee pattern but often get stuck on the finer details, you’re definitely not alone. Many coffee enthusiasts, after practicing latte art for some time, can generally complete the main body of their designs, but frequently encounter problems with the finish, drink volume, or symmetry, which affect the overall aesthetics. This article will analyze the causes of three common mistakes — trailing tails at the finish, insufficient or overflowing drink volume after pouring, and left-right asymmetry in patterns — and offer specific, actionable suggestions to help you pour more precisely and present more professionally.
First: Trailing long tails at the finish, ruining the overall visual
Many people, when the main part of their latte art is already quite complete, accidentally drag out an overly long line during the finishing stage, instantly making the entire design look less clean. This is especially common in symmetrical patterns centered around a middle line, such as hearts, leaves, and tulips. Common causes include: having inertia in your hand movements at the finish, unconsciously dragging the line too long; or being influenced by early tutorial videos that show “pulling the stream directly outside the cup,” forming bad habits.
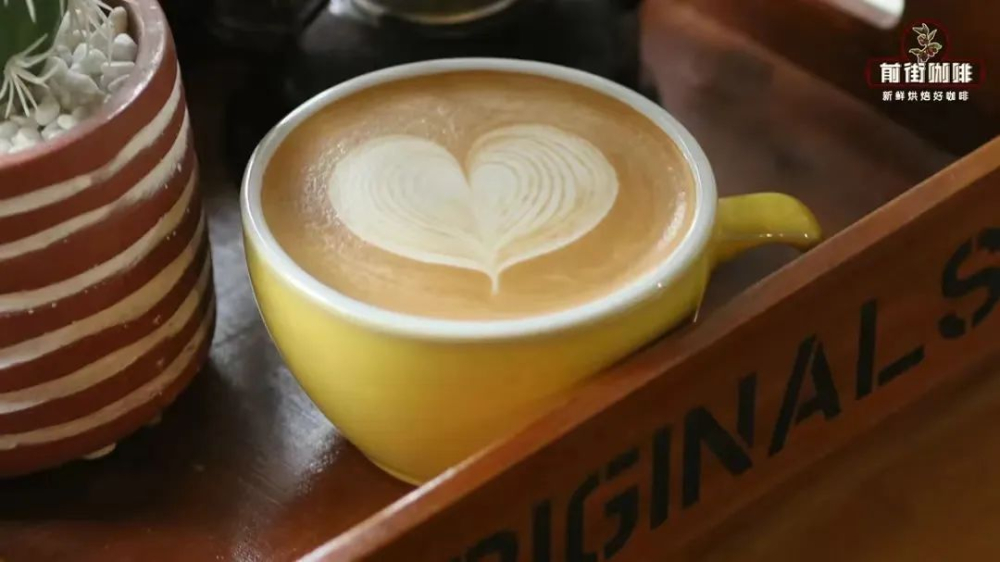
In fact, the finishing motion is one of the key factors determining the success of the design. The correct approach should be:Slightly raise the pouring pitcher as you near the completion of the main design, reduce the milk flow rate, and steadily push toward the tail,then quickly and cleanly retract the pitcher at the end to avoid creating any extra lines. It’s worth noting that for patterns like hearts or leaves, you may choose to leave a small natural tail, butfor tulips, especially etched tulips, it is not recommended to leave an obvious tailas it may compromise the overall sense of simplicity.

When practicing the finish, beginners often struggle with poor control, resulting in multiple drops of milk appearing on the liquid surface. This is usually because during the pouring phase, the spout of the pitcher is too close to the liquid, causing the outer edge of the spout to pick up milk foam — which then drips and smudges the surface when finishing. Additionally, overly dramatic or forceful retraction motions can also make the final line blurry. In reality,the finish only requires a gentle lift and a stable reduction of milk flow — there’s no need to dramatically raise the pitcher or jerk it forcefully.。
Second: Uncontrolled drink volume after pouring, either too little or overflowing
Some baristas or enthusiasts create beautifully designed patterns, but the final drink volume is either not full enough or overflows the cup rim, affecting the overall presentation. The root cause of this issue typically lies in the control of the ‘fusion level.’
The so-called fusion level refers to the height of the liquid surface after the milk is mixed with the espresso, which directly affects the space available for forming the subsequent latte art pattern. For simpler patterns, such as hearts, leaves, or four-petal tulips, it is recommended to pour until the liquid reachesabout seven-tenths fullso there’s enough room to shape the design; however, for more complex patterns like six-petal tulips or etched tulips, the fusion level should be controlled at aroundfour-tenths fullto allow sufficient space for the intricate pouring steps that follow, preventing the coffee from ultimately overflowing.

Third: Asymmetrical patterns, uneven sizes that ruin harmony
Sometimes the overall pattern pours relatively smoothly, but it just doesn’t feel symmetrical — one side is noticeably larger than the other, disrupting the balanced aesthetic. This situation often stems from three common issues: holding the coffee cup crookedly, tilting the pouring pitcher at an angle, or uneven rocking motions on the left and right during the etching process.
Since our perspective is often limited while pouring, it’s hard to immediately notice whether the cup or pitcher is tilted, so quite often the asymmetry is only discovered after the pour is done. If you often face this kind of issue, it’s recommended to practice with the help of a friend or fellow enthusiast who can observe your cup and pitcher holding posture from the side, give real-time feedback, and help you adjust to the optimal angles. Over time, this will help you develop a more accurate sense of hand control and visual judgment.
The above content is compiled by CoffeeHunters, a coffee news website.


