







Introduction:Want to consistently pull a well-balanced shot of espresso at home? By mastering key parameters such as dose, yield, time, and pressure, you can significantly improve the quality of your espresso. This article will take an in-depth look at practical recipes for double baskets, from the beginner-friendly 1:2 brew ratio recommendation to fine-tuning time to find the optimal flavor sweet spot, as well as practical tips to avoid channeling and holes in the puck — helping you elevate your espresso from “drinkable” to “delicious.”
Whether at home or in a café, making a consistently great shot of espresso doesn’t necessarily require expensive or complex equipment. The key lies in mastering a few core extraction parameters. This article will draw from practical experience to help you better understand variables such as dose, yield, extraction time, water temperature, and pressure, and will provide specific guidance for the commonly used double basket. You’ll learn why a 1:2 brew ratio is recommended as a starting point, how to adjust time to find the best flavor, and how to avoid common issues like holes and channeling.
In the daily menus of most cafés, drinks like lattes, cappuccinos, and Americanos all rely on a consistently high-quality shot of espresso as their base. While there’s already plenty of discussion about espresso extraction, this time we’ll approach it from a more practical and stress-free angle, teaching you how to produce a well-made, flavorful shot of espresso.
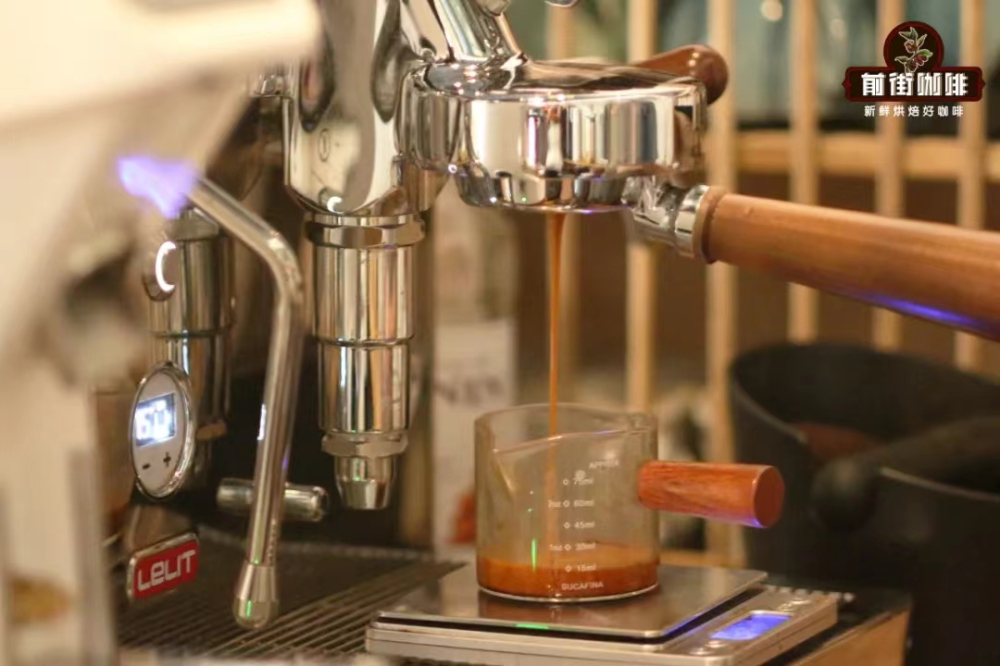
To pull an ideal shot of espresso, at least three key data points need to be closely monitored and controlled: dose, yield (i.e., total liquid weight), and extraction time. Many professional baristas check these three parameters before opening shop each day, and some even reassess them for every shot to ensure consistency in their output.
When choosing a portafilter basket, it’s recommended to use a double shot basket rather than a single shot basket. Although that’s a separate topic, in terms of recipe design, a double basket provides more stable extraction conditions and better flavor expression. Now, let’s start with dose and go through the practical application of each parameter step by step.
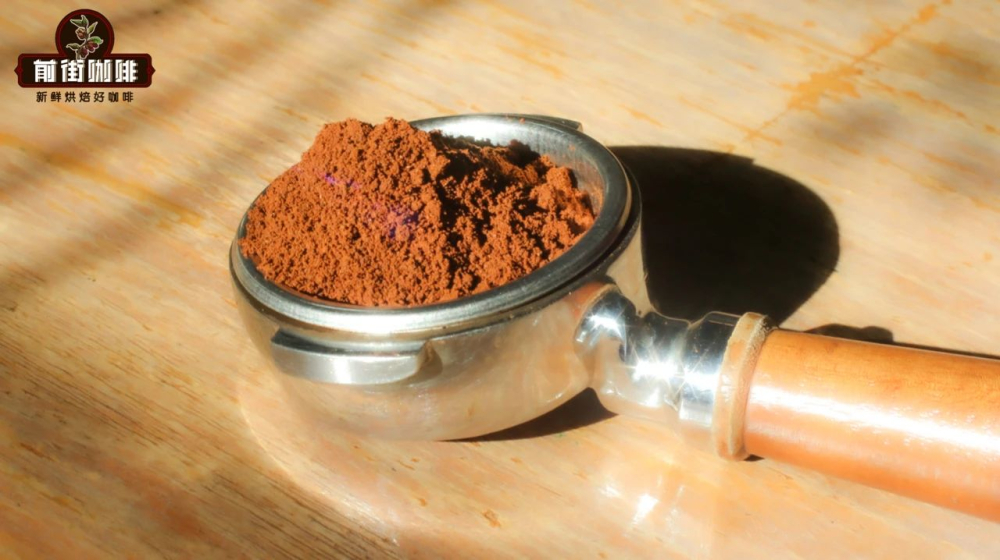
Dose, as the name suggests, refers to the weight of coffee grounds placed in the portafilter, measured in grams. Generally speaking, the dose range for a double shot is between 14 and 24 grams, with actual amounts adjusted based on the size of the basket. In the past, during the era of very dark roasts, 14 grams was considered standard, but as roasting styles have shifted toward medium-dark and even light roasts in recent years, doses have generally increased.
Dose is usually the first variable recommended for adjustment. To determine the dose that suits you, the most straightforward way is to decide based on the actual capacity of your basket. For example, a common Lelit V3 double basket has a standard capacity of around 20 grams, so many recipes use 20 grams as a starting point. Of course, if you’re also using a 20-gram-capacity basket, you can further fine-tune based on the roast level of the beans: darker roasts are recommended to use slightly less dose (around 18–20 grams), while lighter roasts can go up to 20–21 grams for better extraction.
It’s particularly important to note that if you must use a small dose (such as 14 grams) for special reasons, it’s advisable to switch to a shallow, flat-bottomed basket with a smaller capacity. Using a large-capacity basket with only a small amount of coffee grounds will result in uneven distribution of the coffee bed, and excessive space between the puck and the filter screen after tamping, causing water to flow through concentrated channels — leading to a hole in the puck. Once a hole forms, hot water cannot evenly pass through the entire puck, affecting not only extraction uniformity but also rendering the overall extraction parameters and final flavor unreliable.
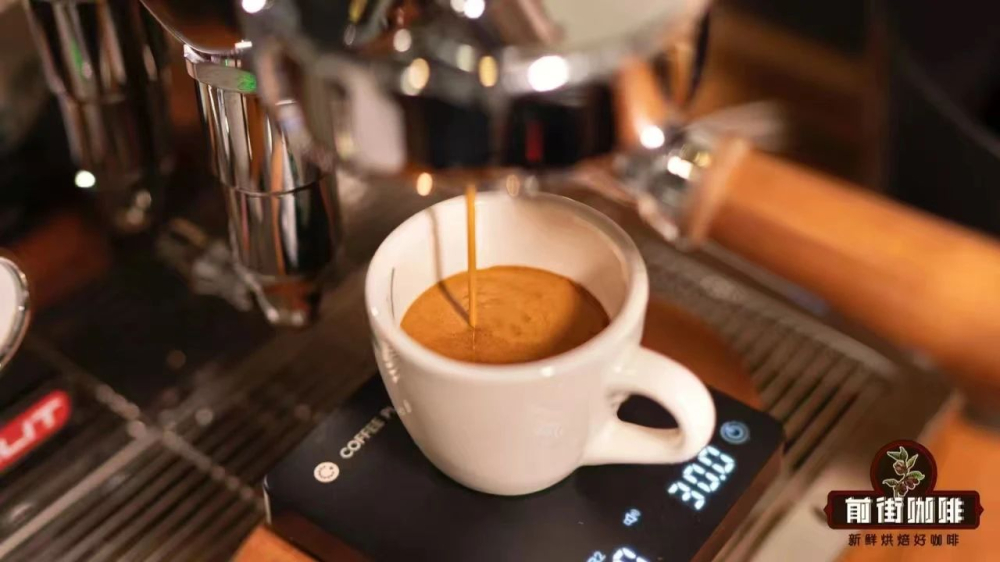
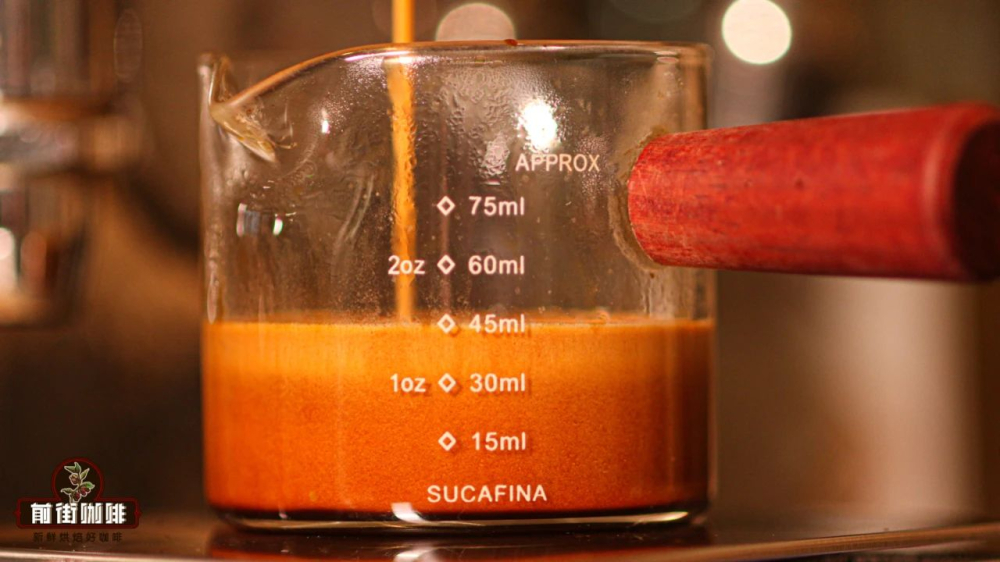
Yield refers to the total weight of the coffee liquid and crema that ends up in the cup, typically measured in milliliters or grams. Although traditionally calculated in milliliters, in the past decade, more and more baristas have switched to using electronic scales to weigh yield in grams, as this avoids errors in crema volume caused by factors like bean roast level and freshness, resulting in more accurate and reliable data.
Yield is often closely related to dose. For example, when we talk about a 1:2 brew ratio, it means 20 grams of coffee grounds yield 40 grams of liquid. Other common ratios include: 15 grams yielding 37 grams (approximately 1:2.5), 17.5 grams yielding 47.5 grams (approximately 1:2.7), and 22 grams yielding 44 grams (approximately 1:2). When the dose is fixed, the higher the yield, the lower the concentration of the espresso, and the flavor tends to be lighter; conversely, the lower the yield, the higher the concentration, and the flavor becomes more intense and concentrated.
It’s generally recommended to start recipe design with a 1:2 brew ratio, as this ratio allows most espressos to retain sufficient flavor intensity — rich yet detailed, suitable for appreciating different layers of flavor. If certain beans still seem too strong at a 1:2 ratio, then consider adjusting the ratio. However, before adjusting the ratio, it’s suggested to try varying the extraction time first to find the best balance.
Extraction time refers to the duration from the start of extraction until the target yield is reached, measured in seconds. Most professional guidelines suggest that espresso extraction time should fall between 20 and 30 seconds. Generally, the darker the roast, the shorter the recommended extraction time; the lighter the roast, the longer the time can be. This is because darker roasts have lower density and their flavor compounds are more easily extracted, while lighter roasts have higher density and require more time to release their flavors.
In practice, the simplest adjustment method is to observe the flavor profile of the coffee and identify the point where bitterness begins to appear, then backtrack to the last moment when the flavors were still balanced. For example, take a certain Sunflower Warm Sun blend: at 25 seconds, it might taste overly sour and astringent with a short aftertaste; at 27 seconds, the acidity is bright and the flavors are well-developed; at 29 seconds, it’s sweet and acidic with a balanced finish and a long aftertaste; by 31 seconds, obvious bitterness and flavor clashes may appear. In this case, 27 to 29 seconds is usually the optimal extraction time range for that bean. But if you want to explore more flavor layers, you can extend to 31 seconds, adjusting back once signs of over-extraction appear.
Water temperature is another important parameter affecting espresso extraction, measured in degrees Celsius. Although adjusting water temperature is usually not the first step, if you find that the coffee consistently fails to reach an ideal extraction state, then fine-tuning the water temperature is well worth considering. Generally speaking, the higher the water temperature, the faster the extraction rate and the more fully flavor compounds are released.
If you find that you can’t extract enough flavor within 30 seconds (especially with lighter roasts), you can try moderately increasing the water temperature. This is because in the later stages of extraction, flow rate can easily increase due to channeling, and if flavors weren’t fully extracted earlier, under-extraction is likely to occur. Raising the water temperature in advance helps improve overall extraction efficiency before channeling sets in.
Pressure profiling refers to the fact that the pressure applied during extraction is not constant throughout, but varies at different stages, measured in bars. Although only some high-end machines (like Synesso, Modbar, or Slayer) allow precise pressure curve settings, understanding the impact of pressure changes on extraction is still very important. For lighter roasts, you can try using slightly lower pressure in the early stage of extraction, gradually increasing pressure in the middle stage, and then reducing pressure in the final stage. This helps reduce acidity and improve overall extraction balance, while also lowering the likelihood of channeling.
Finally, to pull a truly excellent shot of espresso, “even extraction” is the key goal — ensuring that hot water passes uniformly through the entire puck, avoiding localized over-extraction or under-extraction. To achieve this, in addition to controlling the above parameters, attention must also be paid to the evenness and pressure of puck tamping, as well as ensuring unobstructed water flow paths. As long as you master these points and continue to practice and adjust, you too can consistently produce satisfying shots of espresso at home or in your café.
The above content is compiled by CoffeeHunters, a coffee news website.


