








Introduction:Cappuccino is one of the representatives of Italian coffee, renowned for its dense foam and layered golden crema. This article will take you deep into the historical origins of cappuccino, the key parameters of authentic Italian preparation, analyzing everything from cup size, coffee dosage to extraction time, with a focus on the techniques for frothing milk and forming the golden crema. Whether you're a beginner or a barista looking to refine your skills, you'll find practical operational guidance here.
Cappuccino has always held a special place among various Italian coffees, with its classic appearance and taste being unforgettable. A successful cappuccino relies not only on the coffee itself but more importantly on the texture of the milk foam and the balance between coffee and milk. This article starts with the origin of its name, details the requirements of traditional Italian preparation in terms of cup selection, coffee dosage, and extraction conditions, further analyzes the key techniques for frothing milk—including aeration time, temperature control, and fluidity adjustment—and finally guides you through mastering the essentials of forming the golden crema.

When it comes to cappuccino, many people first think of that silky-smooth, delicate milk foam and the unique gloss of coffee oils floating on the surface. But to truly understand this coffee, it’s recommended to start with the story behind its name. The term "Cappuccino" comes from Italian, and it’s said to be inspired by the white hood "Cappuccio" worn by Capuchin monks, as the pure white milk foam on the coffee resembles the color and outline of the hood, hence the name.
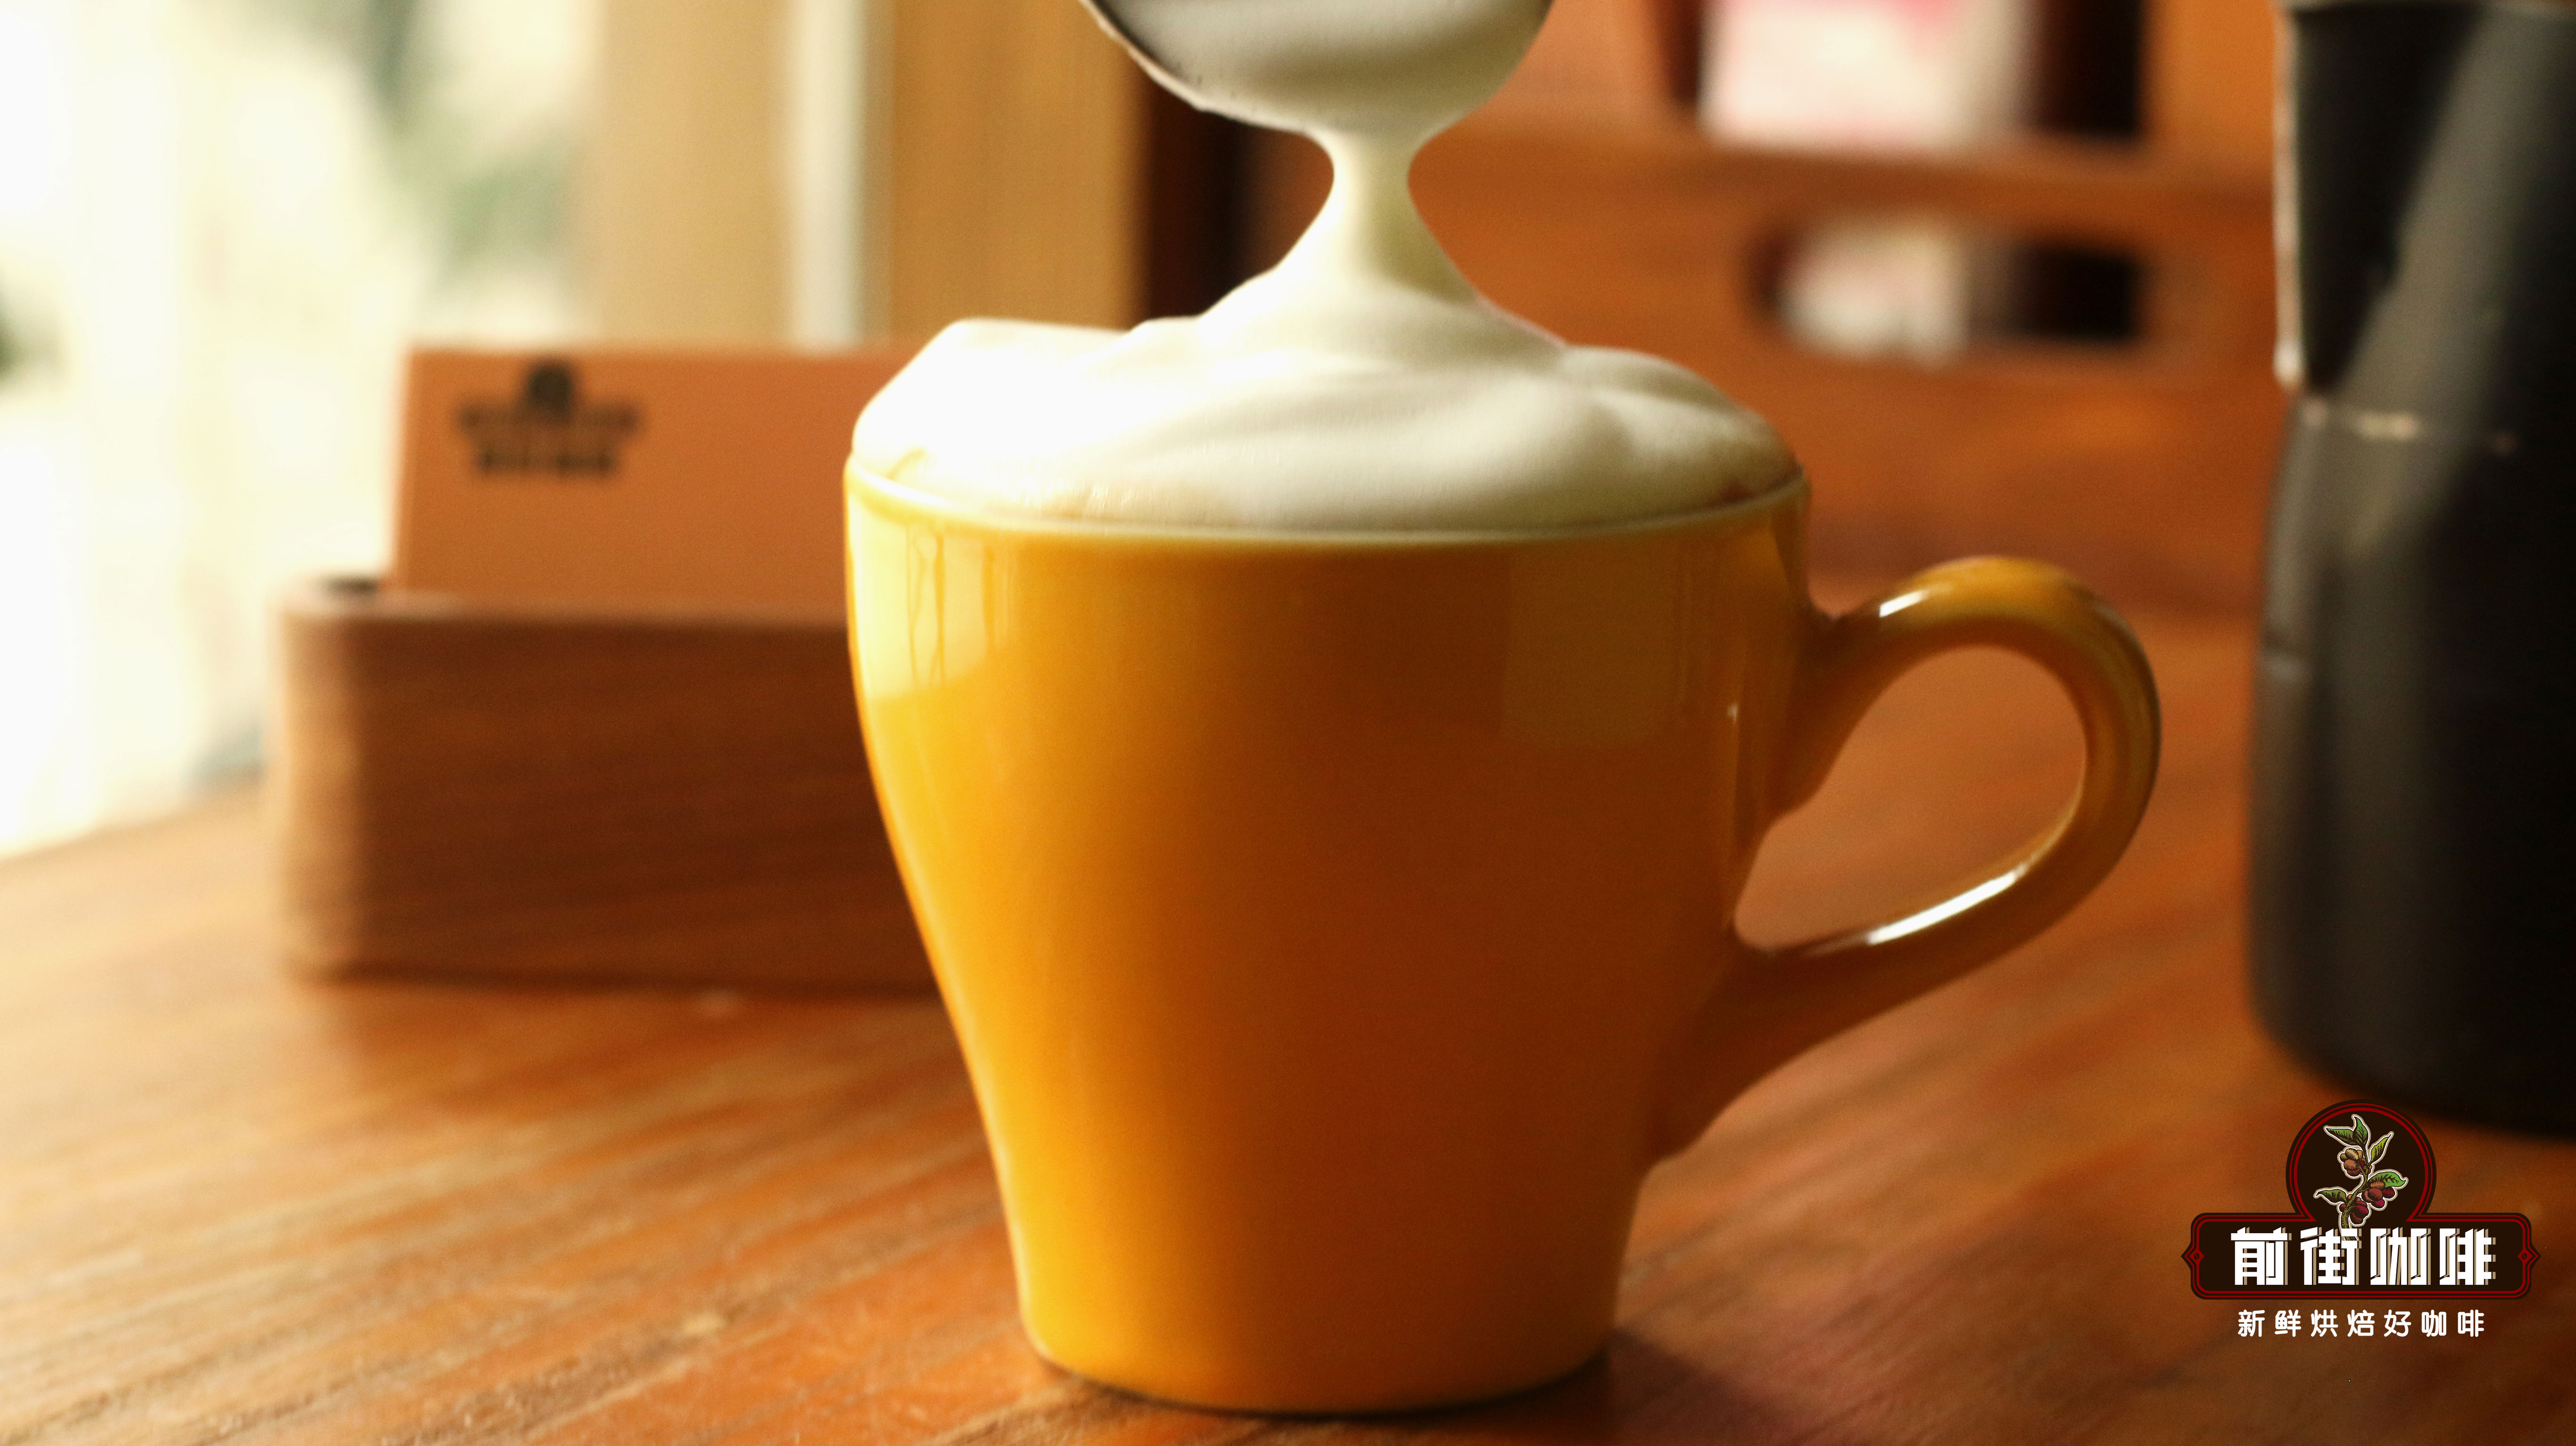
So, according to traditional Italian preparation, how should a standard cappuccino be made? Typically, it’s recommended to use a tall ceramic cup with a capacity of about 180 milliliters, with the coffee part consisting of just a single shot of espresso—namely, using 7 to 8 grams of finely ground coffee beans to extract about 30 milliliters of espresso. This ratio ensures that the coffee is strong enough to support the large amount of milk foam added later. Next, the well-frothed milk foam is poured together with slightly warm milk, ultimately forming a “golden crema” on the surface of the coffee, interwoven from the espresso crema and milk foam, creating a visual and textural contrast with the thick layer of milk foam in the center.
In terms of coffee bean selection, traditional Italian practice favors dark-roasted blends, emphasizing smoky richness, intensity, and even a hint of dark chocolate flavor characteristics. However, different roasting philosophies can also affect the final product. For example, some roasters, while supplying Italian-style blend beans, choose to retain more of the beans’ original flavors, not necessarily aiming for an extremely dark roast, but rather seeking a balance between flavor and intensity.
Taking a medium-dark roasted blend as an example, such beans may combine the fruity notes of sun-dried processing with the aromas from sherry barrel fermentation. Although the roast level isn’t as dark as in traditional Italian styles, when paired with hot milk, it can still showcase multi-layered flavors of caramel, chocolate, and vanilla. In practical operations, a common espresso preparation method is a single dose, using about 9 grams of coffee beans to extract around 20 grams of espresso, with the time controlled around 22 seconds, ensuring a balance between concentration and flavor extraction.
One of the cores of cappuccino preparation lies in the handling of milk foam. Compared to latte, cappuccino requires denser and thicker milk foam, so the aeration stage needs to be significantly extended. During operation, after pouring the milk into the pitcher, insert the steam wand diagonally about 1 centimeter below the liquid surface, turn on the steam, and when you hear a sharp sound similar to tearing paper, it indicates that aeration is taking place. This stage produces tiny air bubbles, gradually thickening the milk foam. It is recommended to maintain this step for a relatively long time to achieve the suitable foam density for cappuccino. After aeration is complete, insert the steam wand deeper into the center of the milk and let it rotate to froth until the temperature approaches 55°C, then turn off the steam.
Since cappuccino foam is thicker and has relatively lower fluidity, the latte art patterns are usually simpler or no elaborate designs are made. The most recognizable “golden crema” of cappuccino can be formed by using a spoon to assist in gently placing the milk foam in the center of the coffee surface after pouring the espresso, allowing it to naturally spread without immediately mixing with the milk, and then slowly pouring the milk to fill the cup, creating a distinct layered visual effect.

Modern latte art trends have also had a certain impact on the way cappuccinos are made. Some baristas, in order to present more decorative patterns, deliberately reduce the air content in the milk foam to make it thinner and more fluid. Additionally, to prevent spills when taken away, some shops also adjust the height of the milk foam, making it less protruding and the overall appearance flatter. However, whether emphasizing latte art or not, mastering the milk foam texture and the formation of the golden crema remains key to making an outstanding cappuccino.
The above content is compiled by CoffeeHunters, a coffee news website.


