








Introduction:Dirty Coffee has become a popular choice in cafés thanks to the striking visual contrast between espresso and cold milk—but its appeal goes beyond aesthetics. This article delves into the complete production logic, from bean variety and roast level, to milk fat ratio and temperature control, revealing practical techniques for maintaining a clear layered effect. It also provides professional baristas’ go-to methods for pre-chilling serving vessels, helping readers master the essence of this extreme contrast beverage.
The explosive popularity of Dirty Coffee is no accident—when a dark-roast espresso, like ink, plunges into cold milk, the intense contrast of hot and cold, bitter and sweet creates an addictive sensory experience. This so-called “dirty” drink is actually the result of a barista’s precise control over density and temperature. To make a qualified Dirty, both visual layering and flavor balance must be achieved, with hidden expertise in everything from coffee bean selection to pouring technique.
[The Roasting Secrets of Espresso Beans] A rich bitter base is the soul of Dirty Coffee. It is recommended to usemedium-dark roasted (Agtron 45–55)espresso blends. Over-light roasts tend to release sharp acidity, disrupting the contrast with milk; overly dark roasts produce burnt, bitter aftertastes. In practice, lab data shows that beans roasted from the start of the second crack to its end can yield a base with chocolatey undertones and moderate body, creating an ideal contrast with cold milk.
[Milk Selection Criteria] Fresh whole milk is the top choice, witha fat content of 3.2%–3.8%that maintains optimal viscosity and layering stability. The milk fat in whole milk not only enhances sweetness but also slows the penetration rate of hot espresso. Avoid using ultra-high-temperature (UHT) milk, as its altered protein structure can cause blurred layering. In terms of temperature, chilled milk (below 4°C) and the extraction temperature of the92±1℃espresso create atemperature difference of nearly 88°C—a key physical condition for maintaining layering. Tests have shown that pre-chilling milk to 2°C can extend layering duration by over 30%.
Pre-treating the cup is often overlooked but crucial. Storing a glass cup in the fridge for 15 minutes in advance reduces liquid heat absorption—unpre-chilled room-temperature cups can raise the milk’s temperature2-3℃within 30 seconds, accelerating layer breakdown. For pouring, it’s recommended to use a straight-sided glass (200–250ml capacity) to facilitate observation of flow trajectory and control of pouring height.
[Layering Technique Details] The key to success lies in “zero-blend extraction”: maintaining the espresso machine’s portafilter pressure at9-10bar, allowing the espresso to drip vertically in a column onto the milk’s surface. During operation, the coffee spout should be held close to the liquid surface (distance<2cm),利用重力自然擴散而非衝擊混合。進階技巧包括:用冷勺背輕抵液麵削減動能,或將牛奶杯稍微傾斜使液麵呈現凹陷區域,引導濃縮集中沉降。
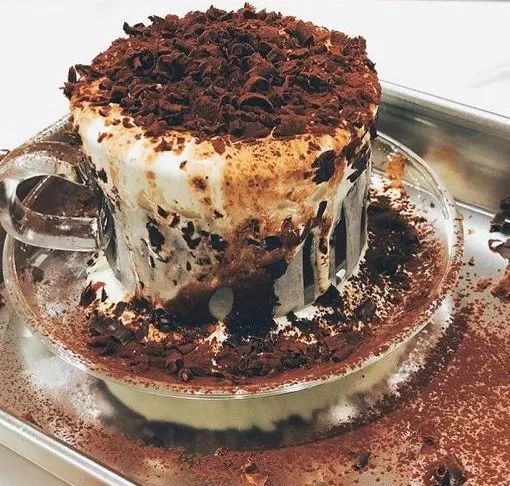
). Common failure reasons often stem from three issues: first, too fast an extraction flow rate causing dispersed droplets; second, milk temperature exceeding 6°C reducing its density; third, using non-professional milk pitchers causing splashing. Professional baristas let the drink sit for 10 seconds before serving to observe the layering line—the ideal state should show a clear boundary lasting over 5 minutes without fading.
This seemingly simple drink is actually a miniature showcase of coffee physics. Master the golden intersection of roast level and temperature, understand the natural laws of density differentials, and even at home you can replicate café-grade Dirty Coffee—remember, perfect layering is never accidental, but the result of precisely calculated parameters.
The above content is compiled by CoffeeHunters, a coffee news website.


