







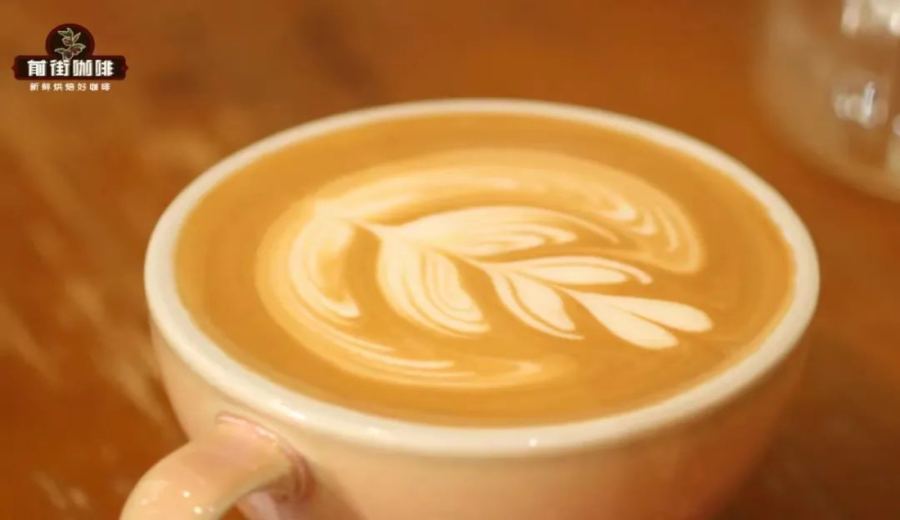
Introduction:While latte art with steamed milk may look elaborate, mastering the key steps can help you consistently produce clear and well-defined patterns. This article details how to pour latte designs with sharp textures and distinct edges through four aspects: controlling milk foam thickness, mastering the pouring technique (fusion), practicing basic patterns, and adapting on the spot. In addition to analyzing common mistakes, it also provides practical tips to improve your success rate and consistency in pouring latte art.
For many coffee enthusiasts, latte art is both a pleasure and a challenge. Some may occasionally pour a beautiful design but struggle to reproduce it consistently. So, what exactly makes a successful latte art? The criteria can be summarized into three points: first is surface fineness — the more uniform and delicate the milk foam, the better the visual effect; second is the evenness of fusion, that is, the boundary between the so-called “golden circle” and the pattern should be clear; and lastly comes the shape of the design itself. As long as the texture is clear and the structure is well-defined, even a simple pattern can convey a sense of professionalism.
These elements may sound simple, but they require long-term practice to build up hand feel — theory alone is not enough to master them completely. However, by understanding some practical techniques, you can significantly reduce the chance of failure and get closer to the ideal result with each pour. Below, we’ll guide you step-by-step through milk foam preparation, pre-pouring setup, basic skill training, and on-the-spot adjustments to help you master the practical essentials of steamed milk latte art.
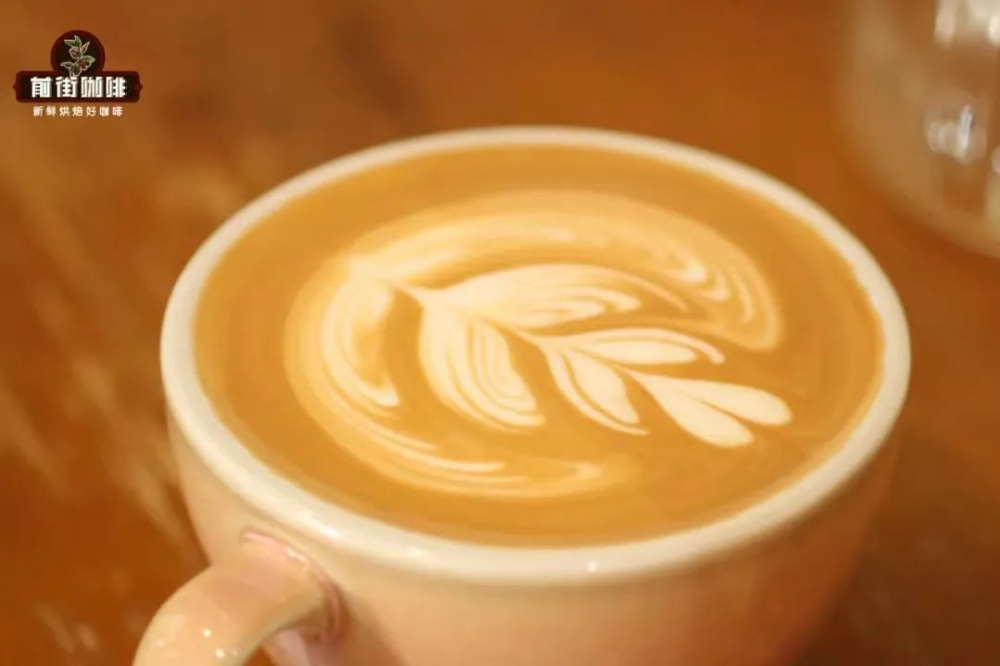
Many beginners have had this experience while practicing latte art: they occasionally pour a nice design, but no matter how hard they try afterward, they can’t replicate the same effect. Often, this isn’t a technical issue, but rather a lack of a stable process and hand feel training. To improve your success rate in latte art, besides practicing the basics diligently, choosing the right milk foam thickness and properly preparing for fusion are details that shouldn’t be overlooked.
Milk Foam Thickness Adjustment: Slightly Adjust Thickness for Etched Patterns
If you want to try etched patterns, it’s generally recommended to use thinner milk foam to increase fluidity, which helps create finer lines. However, if the foam is too thin, it can be hard to control, and the pattern may disperse or fail to form due to overly fast flow.

In such cases, consider making the milk foam slightly thicker. For example, milk steamed to 5.5 to 6 parts full (out of a full cup) is considered relatively thin. If you find that your patterns are easily distorted, you can try steaming the milk to 6.5 to 7 parts full. Although the lines will be slightly thicker, the stability improves noticeably. For everyday service, stability is more important than fineness.
Preparation Before Fusion: Pour a Small Amount of Milk Foam First
For those who aren’t yet skilled in fusion techniques, it’s recommended to pour a small amount of milk foam (or milk) into the cup before the official fusion, and gently swirl the cup to mix the coffee and milk foam in advance. This helps the coffee crema and milk foam combine more evenly, preventing the liquid surface from turning “white” during the official fusion, resulting in a cleaner overall appearance with clearer boundaries.
Starting with Basic Patterns: Focus on Consistent Reproduction
Many baristas make a common mistake when practicing latte art: after pouring a few decent-looking “white hearts,” they assume they’ve mastered the skill and are eager to try more complex patterns. But in reality, being able to consistently pour identical white hearts is the true foundation.
It’s recommended that beginners choose simple patterns (such as a white heart or tulip),and repeat the practice until they can pour nearly the same texture and structure in every cup,before moving on to learn new patterns. The ability to stably reproduce a design is far more crucial than short-lived success.
On-the-Spot Adaptation: Flexibly Adjust the Pattern
During the latte art process, it’s inevitable to encounter issues like misaligned pours or distorted patterns. Persisting in completing the original design often makes the overall result worse. The correct approach is to quickly assess the situation and switch to another design for a remedy.

For example, if you intended to pour a heart but the pour started too far forward, forcing completion may shift the entire design forward. In this case, you might as well switch to pouring a leaf or directly push it into a tulip shape. Or, if you find the cup isn’t full by the time you finish the heart’s tail, there’s no need to rush to pour the tail — you can instead push 1 to 2 small hearts to form a 3-petal tulip, which is both aesthetically pleasing and makes good use of the remaining space.
In summary, steamed milk latte art not only tests your technique but also requires flexible adaptation and solid foundational skills. By adjusting milk foam thickness, perfecting the fusion steps, repeatedly practicing basic patterns, and gaining experience in on-the-spot adjustments, you can gradually pour stable and beautiful latte designs.
The above content is compiled by CoffeeHunters, a coffee news website.


