








Introduction:Latte art is often the first step for many coffee enthusiasts entering the professional realm, but what core skills are needed to go from zero to being able to consistently pour clear patterns? This article delves into the two key steps of latte art—pouring and drawing—including height control, cup-return timing, pressure adjustment, and finishing details, while also offering practical practice tips to help readers gradually advance from basic heart and leaf designs to tulip patterns.
Latte art is always fascinating—whether you're a beginner trying pour over for the first time or a specialty coffee enthusiast, seeing a barista draw intricate designs in a cup makes you want to try it yourself. But how long does it actually take to consistently pour aesthetically pleasing patterns? In reality, if you just want to create basic shapes, mastering the basics can yield initial results within a day if you’re in good form; if you aim to tackle more complex combined patterns, however, you’ll need to understand the underlying principles and keep practicing.


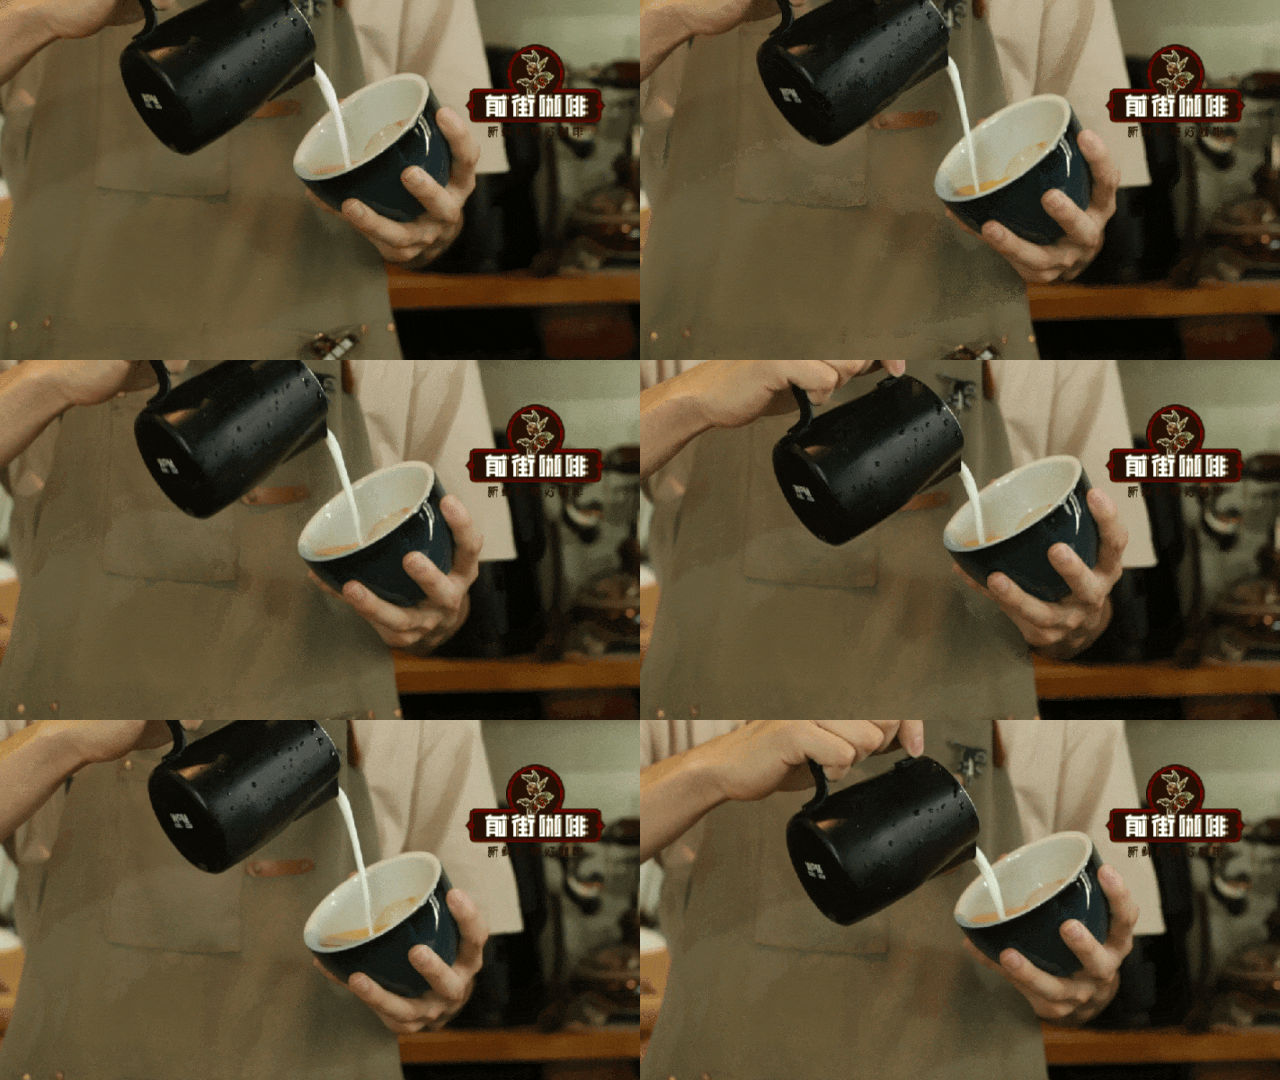
The core actions of latte art can be divided into two main parts: pouring and drawing. The primary difference lies in the distance between the spout of the pitcher and the surface of the coffee. When the spout is farther from the surface, the milk foam is poured directly and mixes with the coffee—that’s the pouring phase. When the spout is almost touching the surface, and the poured milk foam creates white patterns on the coffee’s crema (coffee oils), you’ve entered the drawing phase.
It’s generally recommended to first mix the milk and coffee until the cup is about half full. This not only helps the milk and coffee integrate well, but also makes it easier for the final design to take shape on an appropriately sized coffee surface. And the pouring technique matters a lot—it’s not just a matter of randomly swirling the cup.
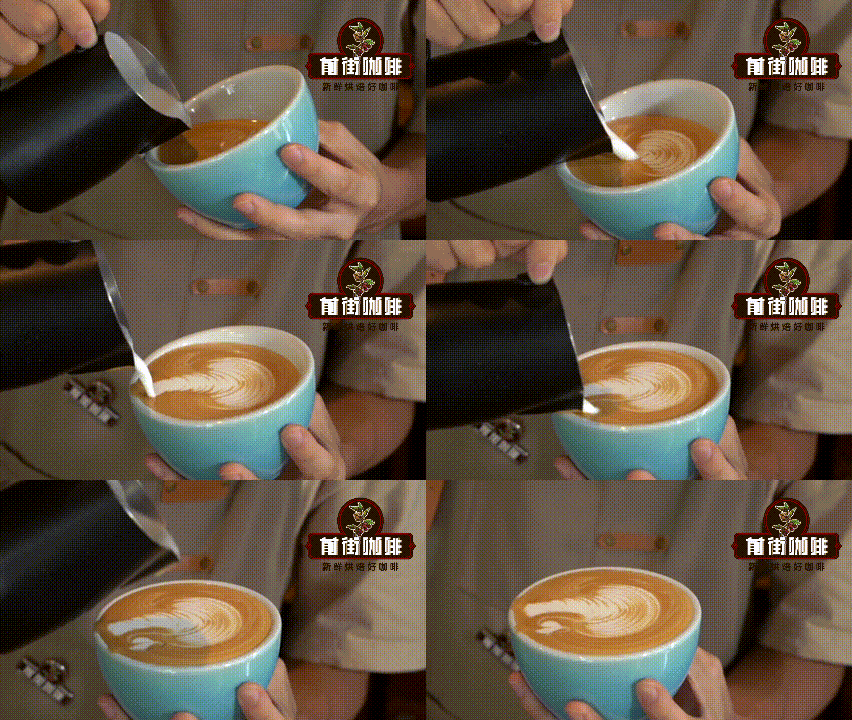

When pouring, it’s suggested to hold the cup in one hand and the pitcher in the other, with your hands offset by about half a circle as you move them in opposite circular motions. The key is to control the distance between the pitcher spout and the liquid surface at5 to 10 centimeters, and to stir up and down with moderate to firm pressure. This helps effectively avoid chaotic patterns or an uneven “stained” appearance on the liquid surface. Mishandling this stage can greatly detract from the overall visual appeal, no matter how refined the subsequent drawing is.
Once you enter the drawing phase, there are four key points to pay special attention to. First is the “cup return” movement—that is, while you control the milk flow with your right hand, your left hand turns the cup at the right time. This coordinated two-handed motion is extremely important. The timing of the cup return needs to be precise: returning too quickly makes the pattern hard to form, while returning too slowly can cause it to overflow. Therefore, during initial practice, it's essential to develop a sense of synchronization between both hands.
Second, the pressure with which you pour the milk foam directly affects the thickness of the patterns. The greater the force, the more milk flows out, and the patterns will be thicker; if the milk foam itself is too thick, it can also cause blurriness. On the contrary, using lighter pressure along with moderately thick milk foam makes it easier to create clear and delicate patterns.
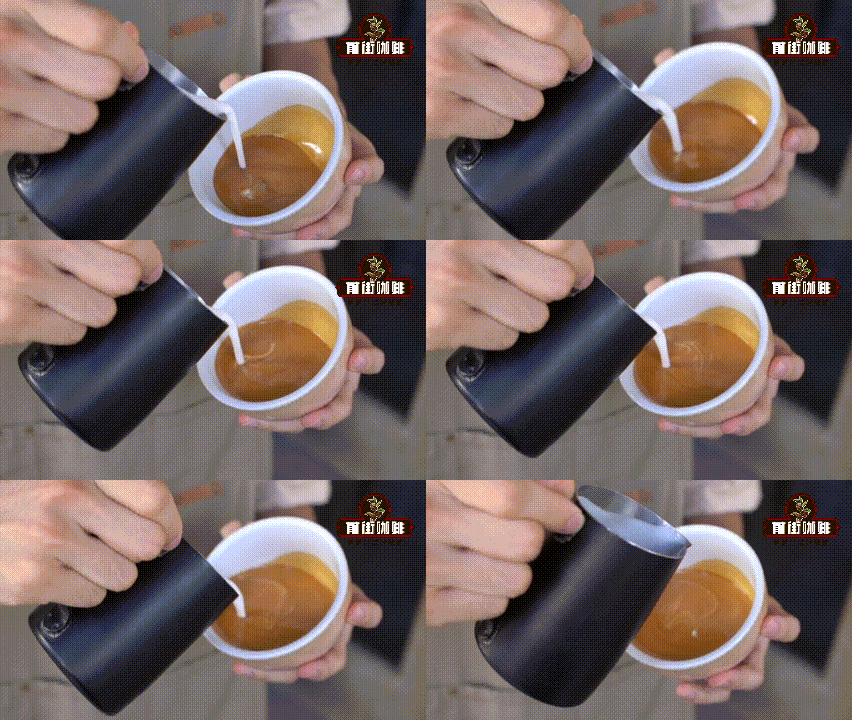
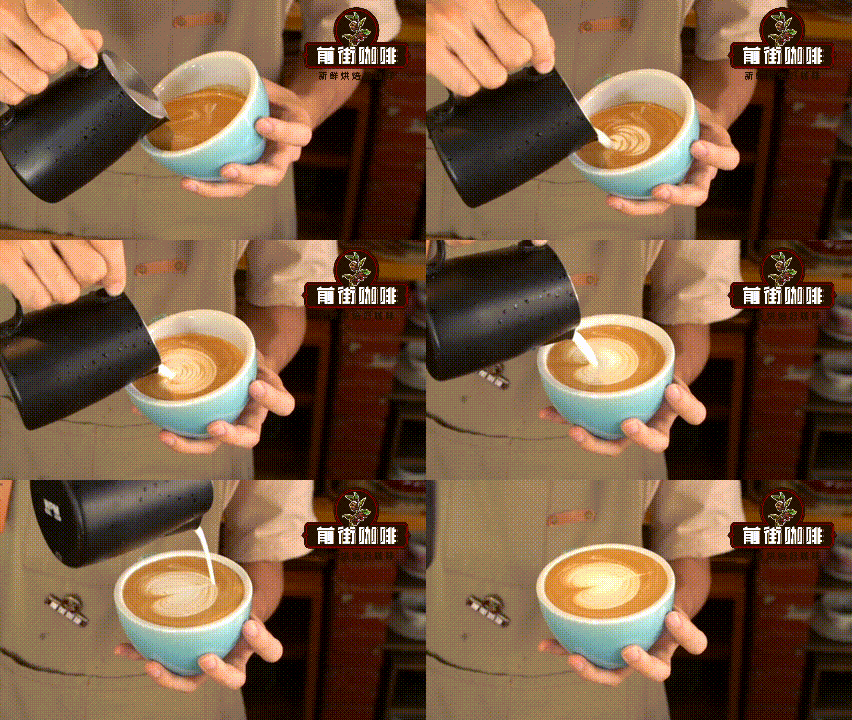
The third point is the starting position of the design. A common misconception is that the final pattern will appear right at the center of where you’re pouring, but due to the cup return movement and the push of the milk, the final pattern often shifts slightly from the starting point. For example, if you want a heart shape to appear in the exact center of the cup, the starting point of your pour should be slightly to the right (closer to the side of the pitcher)—this compensates for the displacement caused by the cup return.
The last point is that the finishing movement is extremely crucial. A poor finish can ruin the overall beauty of even the most beautiful preceding patterns, due to stray strokes or loss of height control. During the finish, it’s important to control the height of the pitcher to avoid getting too close to the liquid surface, which could result in overly thick lines or asymmetrical patterns. Also, it’s recommended to start the finish when the cup is aboutnine-tenths fullto prevent the coffee from overflowing.

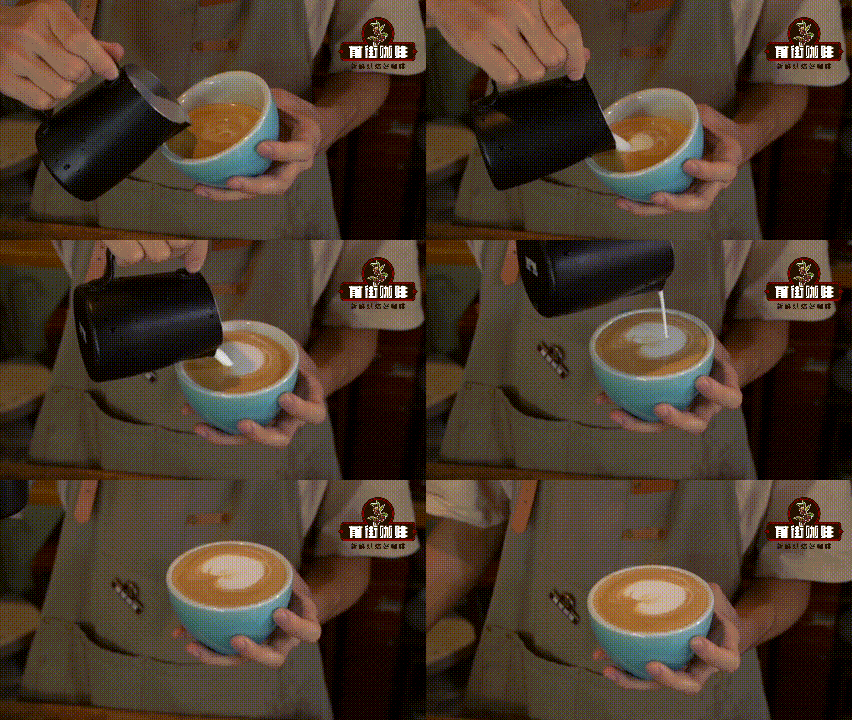
For readers who are just beginning to practice latte art, here are four practical suggestions worth considering: First, it’s advised to perform one or two actual pours with real milk and coffee to get a feel for the resistance and sensation of pouring milk foam—this is very helpful when later practicing with substitute liquids (like dish soap and soy sauce). Of course, if conditions allow, continuing to practice with real milk yields better results.
Second, the core of latte art training lies in developing muscle memory in your hands, rather than aiming for complex patterns right from the start. It’s recommended to focus on the basics first, including the posture for holding the cup and pitcher, the pouring technique, the cup return skill, and the detailing of the pattern—all of which, once solidified, allow you to grasp simple designs like hearts within a day or two.
Third, manage the duration of each practice session to avoid prolonged continuous operation that can lead to hand fatigue and mental stagnation. It’s recommended to take a short break after about twenty minutes of practice, review your previous movements, and think about what can be improved—this helps progress more efficiently.
Finally, if you encounter bottlenecks or unclear aspects during practice, don’t hesitate to take photos and seek advice through related communities or platforms—sometimes an outside perspective can offer unexpected inspiration.



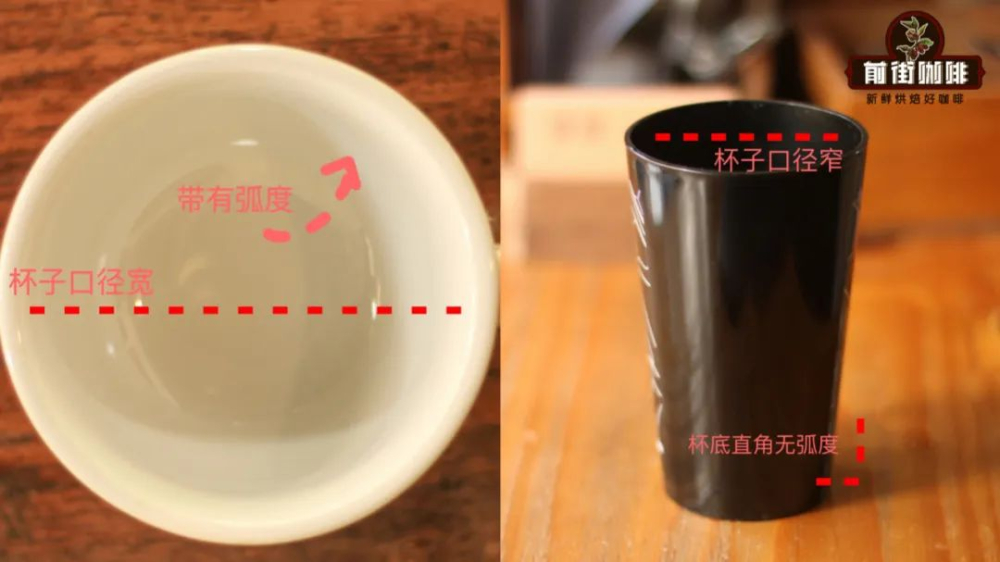
Additionally, there’s a commonly overlooked small detail: once you’re familiar with basic shapes and ready to challenge combinations like hearts and leaves or more complex tulip layering patterns, the choice of cup will greatly impact your performance. A wider cup rim provides more space for drawing; a narrower rim limits how the design can be presented. Similarly, cups with deeper bases help milk and coffee mix more evenly. Overall, choosing a wide-rimmed cup with a curved base can make advancing your latte art skills much easier.
The above content is compiled by CoffeeHunters, a coffee news website.


