







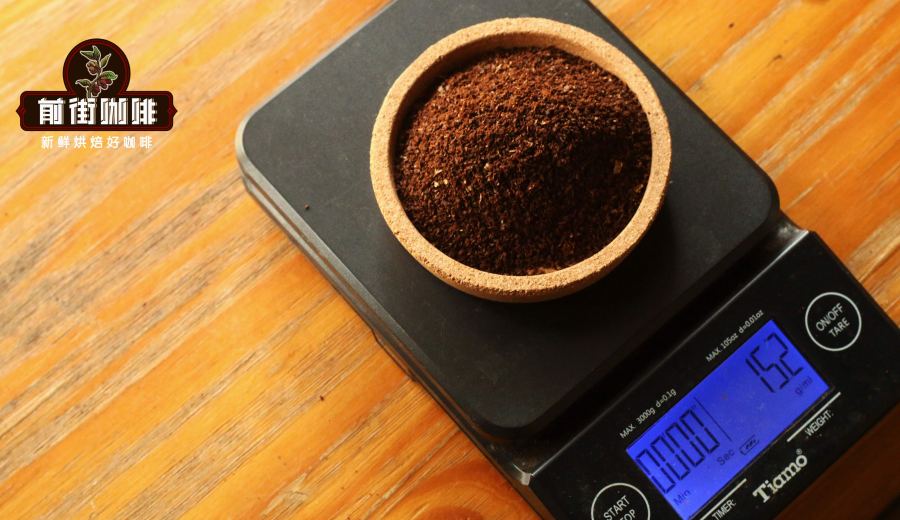
Introduction:Want to brew a delicious pour over coffee with a hand grinder? Start by correctly adjusting the grind size. This article explains in detail the structure of a hand grinder, the principle of adjustment, and practical operation steps, and teaches you how to determine whether the grind is appropriate using a 0.80mm sieve. It also delves into the key parameters for different pour over devices—such as grind range, brew ratio, water temperature, and extraction time—and concludes with a complete demonstration of the three-step pour over process using Panamanian Geisha beans from Diamond Mountain, helping you master everything from bean selection to brewing with precision.
The quality of your pour over coffee starts with the very first step: grinding. Many coffee enthusiasts, due to the relatively high cost of electric grinders, opt instead for more cost-effective hand grinders. But how do you adjust the grind size on a hand grinder? What grind size is suitable for pour over? This article will take you through the basic construction of a hand grinder, how to adjust it, and how to tell if the grind is just right, so you can consistently brew flavorful, clear pour over coffee at home.
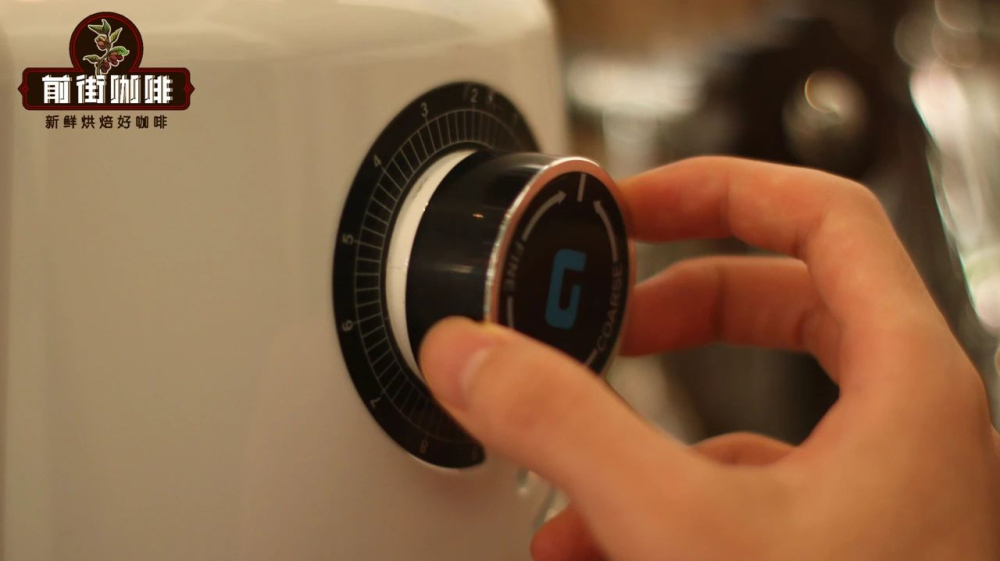
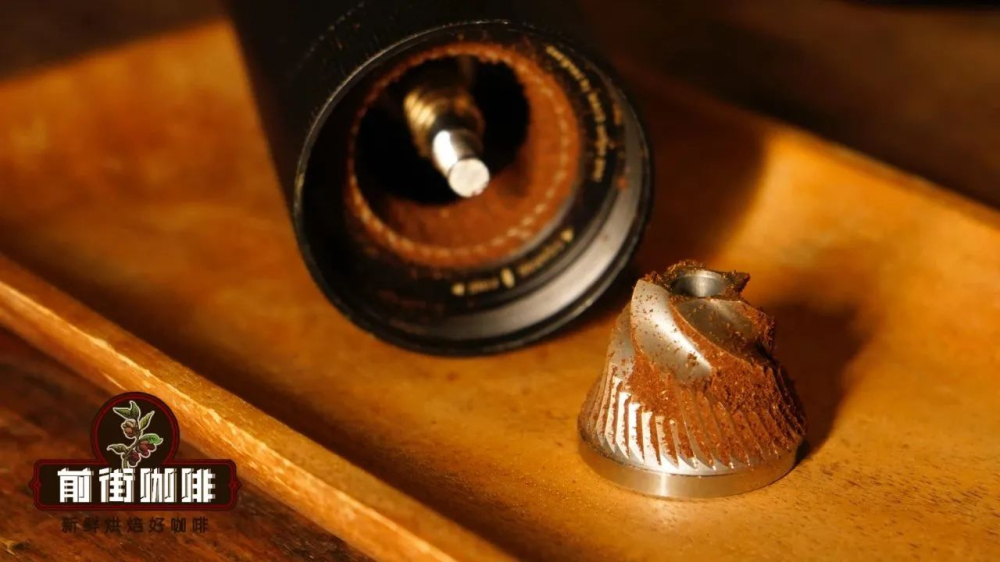
First, let’s get familiar with the main components of a hand grinder. Though there may be slight differences between brands and models, they generally include several core parts: the grind adjustment knob, inspection locking ring, A-shaped fixing screw, handle, and main locking screw. Some models require disassembling certain parts before adjusting the grind size, while others allow you to turn the adjustment knob directly. The basic principle is: turning the adjustment knobclockwiseresults in a finer grind; conversely,turning it counterclockwiseyields a coarser grind.
If you’re using a blade-style electric grinder and want to achieve uniform coffee particles, a key technique is to gently shake the grinder up and down during operation. Experienced users can even judge the grind size by the sound—typically, the finer and duller the sound, the finer the grind. This takes some practice but is very helpful for controlling grind quality.
Here’s how to practically adjust a hand grinder: first, unscrew the metal nut at the top of the grinder, then remove the handle and the metal locking plate above the grind adjustment knob. Next, hold the central fixing column steady with your left hand to prevent it from rotating, and use your right hand to turn the grind adjustment nut—turning it downward makes the grind finer, and upward makes it coarser. It’s recommended to occasionally attach the handle, add a small amount of coffee beans, and test the grind to see if it meets your expectations. Once adjusted, reattach the handle and tighten the screws before you begin grinding.
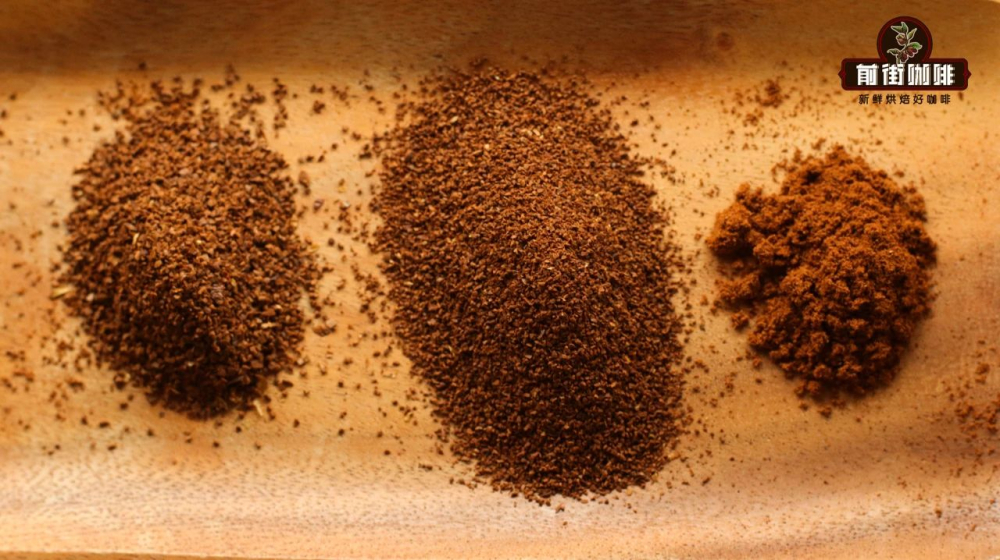
It’s important to note that while hand grinders are suitable for many brewing methods, they are not ideal for making espresso, which requires an extremely fine grind. For espresso, it’s better to use a professional espresso grinder. Generally, the grind size for pour over coffee falls between medium-coarse and medium, noticeably coarser than espresso. Common devices have grind ranges roughly as follows: siphon brewers can use a slightly coarser grind, while French press requires an even coarser one. Based on practical experience, the suitable grind size for pour over is about80% passing rate on a siphon sieve, slightly finer than American drip but much finer than French press.
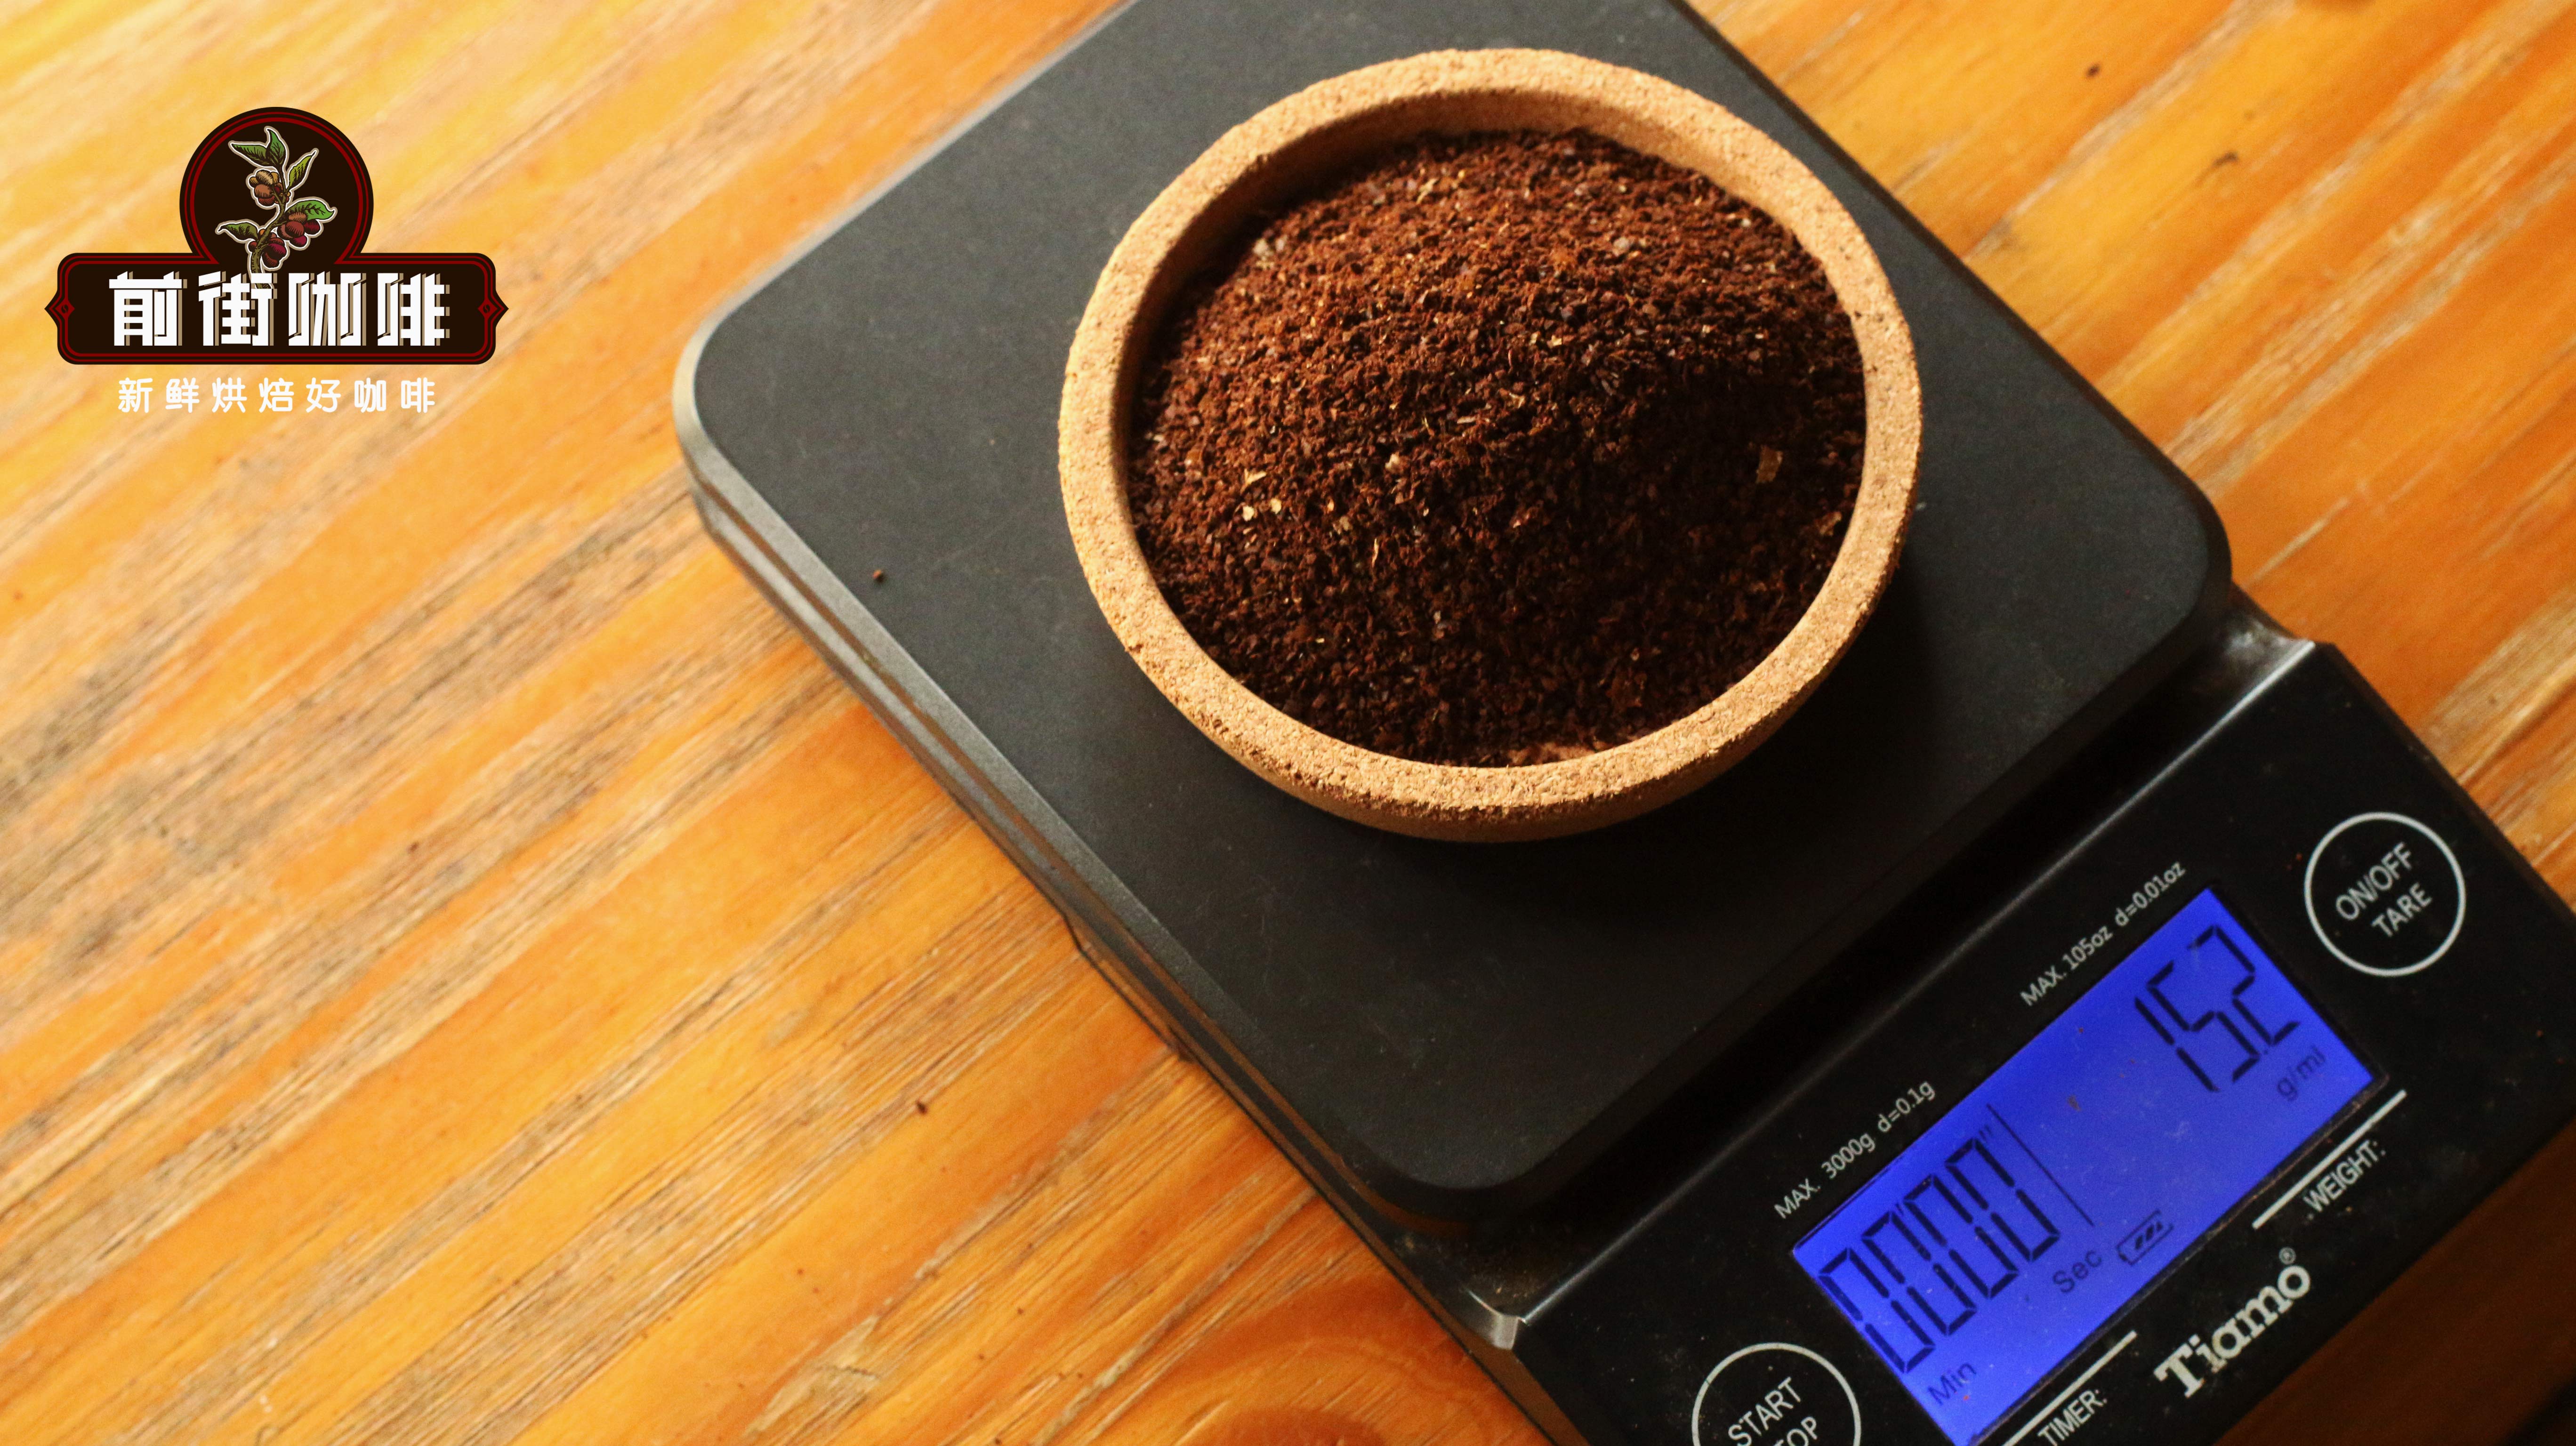
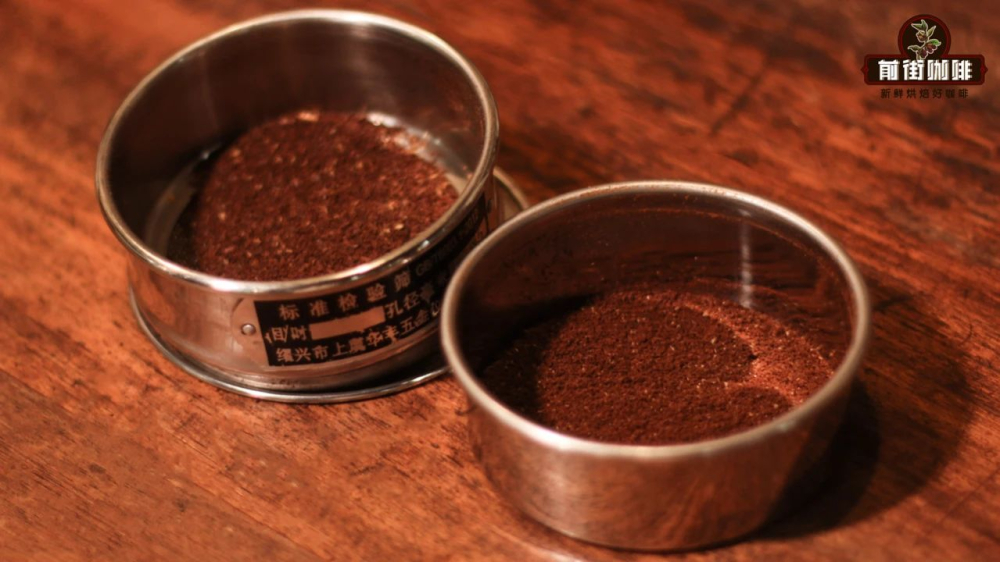
How can you tell if the grind size is suitable for pour over? It’s recommended to usea 0.80mm standard sievefor testing: take 10 grams of coffee beans, grind them, and pour the grounds into the sieve. Gently shake it to let the fine powder pass through. If about 8 grams of coffee powder passes through, representing an 80% passing rate, this is a common benchmark grind size for pour over. If less than 8 grams pass through, the grind is too coarse, and you should adjust the grind knob counterclockwise slightly; if more than 8 grams pass, it’s too fine, and you should adjust it clockwise.
Although this sieving process may seem tedious, once mastered, it can greatly improve brewing consistency. After all, the flavor performance of pour over coffee is influenced by multiple factors, including brew ratio, water temperature, grind size, and extraction time—all of which can alter the final taste and aroma. Many baristas record the optimal grind settings and brewing parameters for each type of bean to reproduce ideal flavors.
Taking common pour over parameters as an example,the recommended brew ratio range is 1:14 to 1:18. Currently, most shops and enthusiasts use 1:15—that is, 15 grams of coffee grounds to 225 grams of water. If the ratio is too high, the coffee may taste weak and bland; if too low, it may over-extract, resulting in pronounced bitterness. As for water temperature,light roast beans are recommended to use 90°C, while dark roast beans suit 88°C, to balance acidity and sweetness. Extraction time is advised to be around2 minutes; too long risks over-extraction, while too short may not fully release the flavors.
With the basic parameters understood, let’s use a popular Panamanian Geisha coffee from Diamond Mountain as an example to demonstrate a full three-step pour over process. These beans are washed processed, featuring bright berry acidity and complex notes of citrus and chocolate, with a smooth mouthfeel and distinct layers—perfect for practicing pour over techniques.
The actual brewing parameters are set as follows: using a Hario V60 filter cone, water temperature at 90°C, 15 grams of coffee, and a 1:15 brew ratio. Step one: start with a 30-gram bloom to let the coffee grounds fully absorb water and form a “hamburger” shape, for 30 seconds; step two: when the timer reaches 54 seconds, pour water up to 125 grams, then wait until the water level drops to two-thirds of the coffee bed before proceeding to the third pour; step three: at 1 minute 40 seconds, pour water up to 225 grams, with total extraction time of about 2 minutes 10 seconds. Once done, gently swirl the filter cone to mix the coffee evenly, and it’s ready to enjoy.
This Panamanian Diamond Mountain coffee showcases clear berry acidity, paired with soft citrus and chocolate undertones, offering great overall balance and a long-lasting finish. The washed processing gives it a clean and bright character—not only lively in acidity, but also with a hint of caramel-like sweetness. It’s a classic bean suitable for both beginners and advanced pour over enthusiasts.
The above content is compiled by CoffeeHunters, a coffee news website.


